
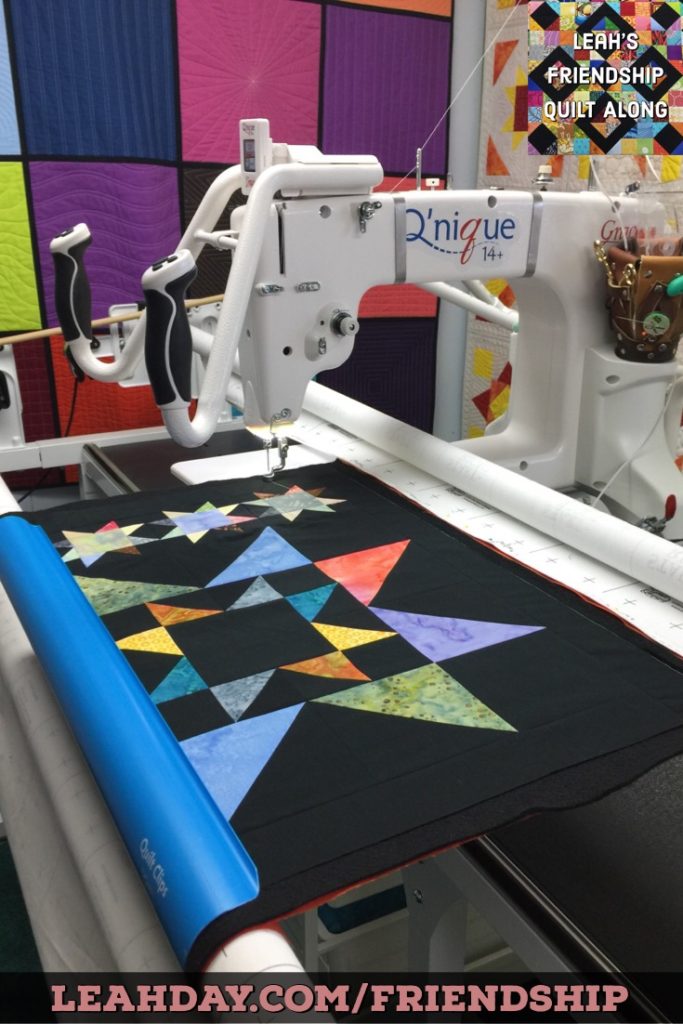
Quilt Stippling on the Scrappy Star Block on a Longarm
I loaded my quilting frame with my Scrappy Star Quilt Block and now it’s time to quilt! See how I quilted stippling over the stars in this quilting tutorial:
Click here to find the pattern for block #1 of the Friendship Quilt Along. This block includes all the information you need to get started as well as resizing information so you can make a crib, throw, twin, queen, or king-sized quilt.
I’ll be making two blocks per month because I’m making the king-sized version of the quilt. This means you get to see two different quilting designs every month.
Click here to find the video on loading a longarm with a single block. Make sure to watch this video if you are confused about how the block is being loaded on the longarm frame.
After quilting to the end of my block, I noticed the backing fabric was running a little small because I lost 1/2 inch from both ends from pinning to the leader cloth. I think cutting your backing fabric at 27 to 28 inches long might work a bit better. Remember we will trim the blocks down before connecting them together so it’s okay if your backing fabric runs a little small.
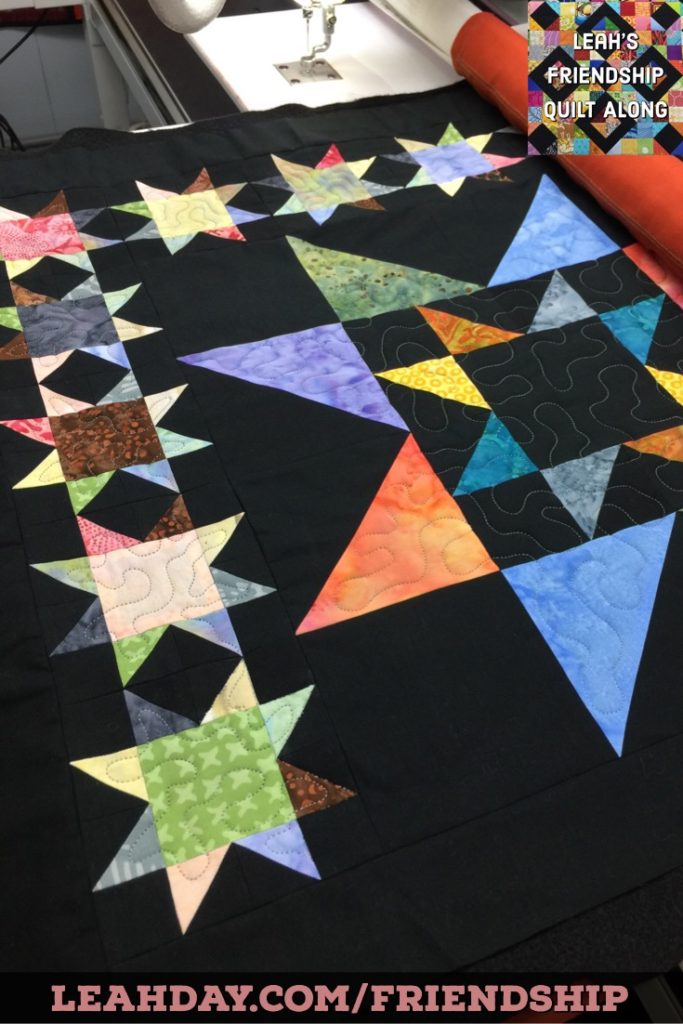
Quilting Stippling in Tiny Scrappy Stars
The first thing I tackled was the two tiny Scrappy Stars on the side of the block. I quilted Stippling through the stars very carefully, on a ¼-inch scale to fit nicely into the small space. I only have around 10 inches to comfortably quilt with in my frame, so once I quilted through the second star I broke thread and moved to the large star.
This block is obviously bigger than my frame so I will have to quilt through the areas I can reach, then advance it to quilt other areas.
Dealing with Thread Breaks
Yes, even on my longarm frame, I always tie off and bury my thread tails as you saw in the video. Click Here to find a tutorial on securing your thread tails.
Quilting the Large Star with Stippling
Starting on the side of the star and at the bottom of where my machine hits against the front rail on the longarm. I quilted up and into the star points and swirled back down with Stippling on a ½-inch scale.
To avoid hitting the bottom rail, which could have created a straight line in my pretty stippling design, I made sure to stop before I reached the edge of my space.
I quickly advanced the quilt block through the frame. I unlocked the front rail and rolled the block up onto the top rail to shift the quilt through.
Half the star was quilted with Stippling, then advanced the quilt to stitch the other half of the space.
The rest of the large star was quilted very quickly. I quilted the Stippling design through the bottom star points, carefully interlocking it with the other shapes I’d quilted before.
Quilting the Scrappy Star Border in a Continuous Line
Now it was time to quilt the rest of the tiny Scrappy Stars. I realize I could quilt through all the remaining stars without breaking thread if I was very careful.
I trace my finger over the spaces to practice Stippling and understand where I was going. It’s a good habit to trace your path so you have a plan before you get started.
I quilted the two tiny Scrappy Stars on the left side, then advanced the quilt again through the longarm. I kept the needle in the down position and carefully pushed the machine and quilt back at the same time.
After locking the rails back down, I was able to quilt through the long row of five Scrappy Stars. Each one I swirled through quilting basically the same stippling design through the points and bounced from star point to star point carefully.

This quilting is super simple and soft – perfect for a bed quilt!
I was careful not to pause over the star points. I found these areas of intense seam allowance that could create issues for my machine.
Stitching in the Ditch on a Longarm
I tried a tiny bit of stitching in the ditch at the very end. Using the Slice quilting ruler as a guide, I quilted very slowly, but ultimately this was just too nerve-racking and I was hopping in and out of the ditch which drives me crazy.
It is possible to learn stitching in the ditch on the longarm, but I’m not sure this was the best block to try it with. The amount of seam allowance under some of the points can pose a challenge.
I’m also willing to admit if I’d pressed the seams to the dark side, stitching in the ditch over the scrappy fabrics would be easier. That doesn’t mean I’m going to change the way I press! I like pressing my seams open, but I do think ditching on a longarm is different from a home machine.
After finishing the block I took a day or two to think about the design and decide if I wanted to add more. You have a lot more space to play here!
But I really want my quilt to finish soft and squishy and perfect for my bed and this is as much quilting as this batting requires. So feel free to add more quilting if you need to, or just simply stitch Stippling through your stars and call it done.
Click here to find the pattern for this Scrappy Star block and get started on the Friendship Quilt Along with everything you need to pick multiple quilt sizes begin machine quilting on a home machine or longarm and get lots of tips for quilt piecing as well.
Let’s go quilt,
Leah Day
Find more Friendship Quilt Along Tutorials
Check out the other tutorials I shared for this Scrappy Star quilt block:
How would you load and quilt the block on a Q-zone frame?
Great question Janelle! You will need to smooth out the backing, batting, and quilt block as demonstrated for basting a block on your home machine. Then I would probably pin a sort of leader cloth to the top edge so you can clamp across the top and have plenty of space to quilt the center. Then quilt and advance and pin another cloth along the bottom edge so you can reach the bottom stars. Does that make sense?
Beautiful work! I love your instructions, you break it down in easily understood sections. Thank you
Thank you Sylvia!
When I want to make sure I don’t go to the edge of the quilting area on my longarm I use a piece of painters tape to mark the end of the quilting area. Sometimes I get so involved in my stitch design that I forget where I need to stop. The tape keeps me from making mistakes.
That’s a very good suggestion Kay! Thank you for sharing!