
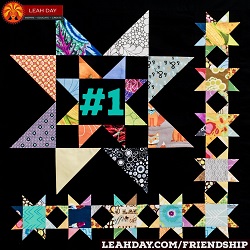
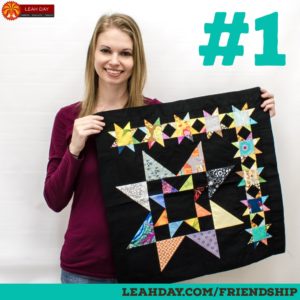
How to Piece a Scrappy Star Quilt Block
Click Here to find the quilt pattern for Block #1. The best part of the Friendship Quilt Along is we’re going to piece AND quilt the blocks together! The quilting tutorials have already been posted for this quilt pattern. Scroll to the bottom of this post to find all of the links for the Scrappy Star Quilt Block.
Click Here learn how to piece Half Square Triangles. You’ll need to make three different sizes of half square triangles for this quilt block. Refer to page 12 of the Block 1 pattern for guidance on the size to trim your triangles.
Click Here to learn my 5 tips for Quilt Piecing. This will help you understand why I use a scrap charger and change my stitch length to 1.5 mm.
If you have questions about pressing seams open, Click Here to find a podcast episode all about this topic.
Piecing the Scrappy Stars
This Scrappy Star block is very easy to piece with eight half square triangles surrounding a center square. I always arrange the pieces on my table so I’m sure the star is set up the right way. Then I clip my pieces together so they don’t get out of order on the way to my machine.
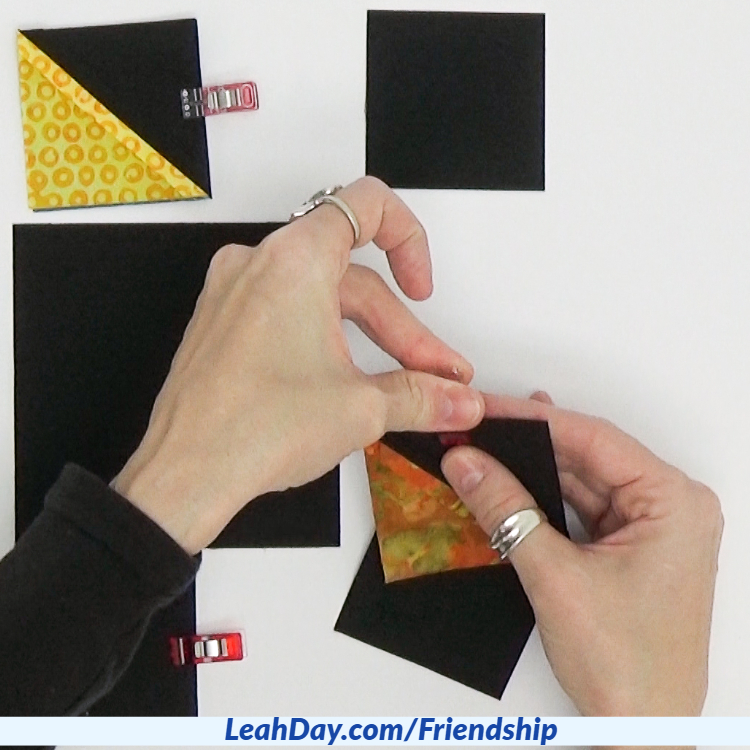
Clip the pieces together before moving to your machine so nothing gets flipped the wrong way
At the sewing machine, I check in on the seam I’m going to stitch. If there’s a half square triangle with seam allowance on one end, I’ll flip over the piece so that edge goes into the machine first.
This is my method of putting the fabrics in “jail” to stop the area of seam allowance from slipping downward as I stitch the pieces together.
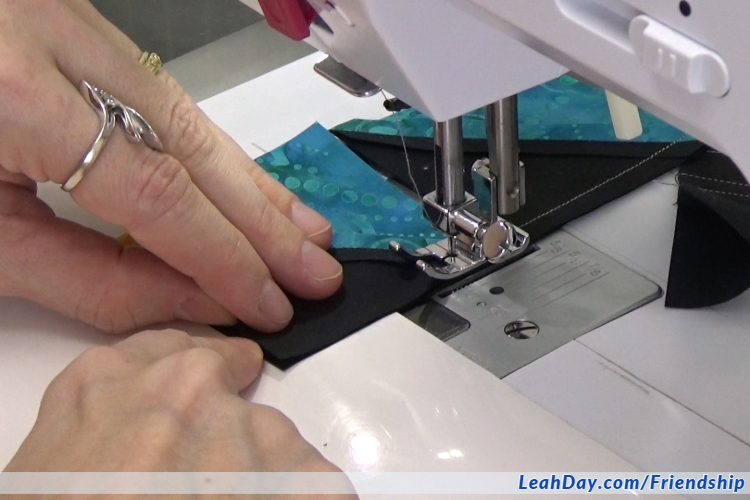
Piecing Tip: Insert the side with the bulkiest seam allowance first
Which seams should match?
The corner seams are the most important to match on the Scrappy Star Block. This will give you a nice right angle where the half square triangles match up.
Matching seems with the seam allowances press open is a little bit tricky, but not impossible. Honestly, I rely a lot on my fabric preparation to match seams. If all the fabrics have been starched and pressed equally, the seams will naturally match up nicely.
To match a particular spot, I line up the seams perfectly, then pin right above the seam allowance. As I am piecing, I also check the pieces often and make sure the edges are lined up nicely. I also feel for excess fabric on the back and the front. This ensures that if the pieces start to get off I can ease the fabrics through the length of the seam rather than stitching a pleat in my quilt block.
Piecing the Star borders
Pieced borders can be tricky. If your seam allowance isn’t accurate, the border can end up bigger or smaller than the size you need.
In this case we have lots of seams along the Scrappy Star border you can use to match up with the half square triangles in the large scrappy star. Pin the seams carefully before attaching the border strips. After piecing, carefully finger press all the seam allowances open, then press the block flat with a hot, dry iron.
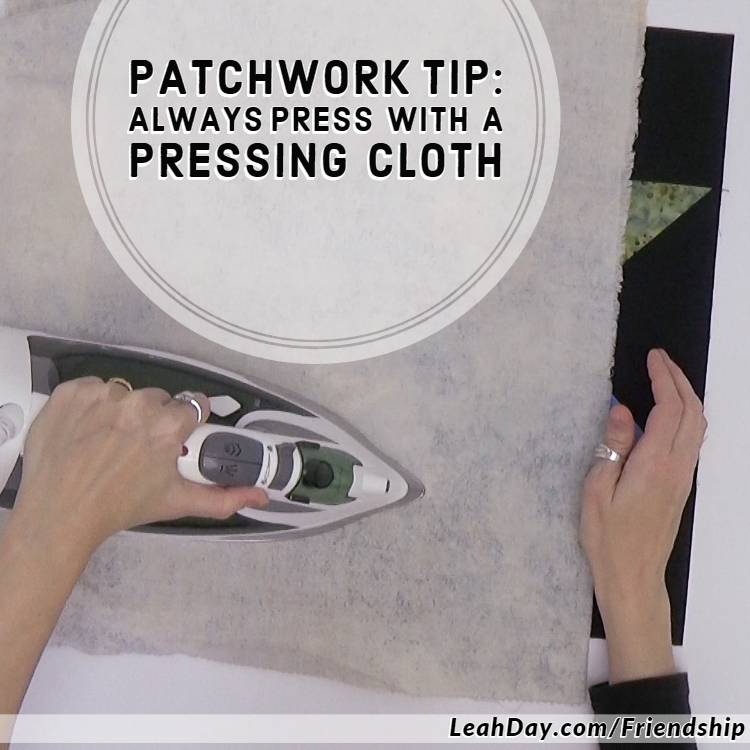
Always use a pressing cloth (just a spare fat quarter of fabric) when pressing the right side of your block
Are you ready to quilt your Scrappy Star block?
But even if the seams don’t match perfectly, don’t worry! The point of this Friendship Sampler Quilt Along is to get lots of practice piecing and machine quilting, not to create an absolutely perfect quilt block.
Also, if your block doesn’t finish at EXACTLY the right size, that’s okay too. As you’ll learn in the Block #1 pattern, all the blocks will be trimmed to a certain size before connecting them together in the finished quilt.
Remember you’re not being graded on this project. Just keep piecing and quilting your blocks and you will improve with every block you make in the Friendship Sampler Quilt Along
Please share a picture of your quilt block! Scroll down and attach an image to your comment to share a picture of your quilt block on the blog.
Note: if you get a 404 error in the comments, please just send me a message here and I’ll post your picture for you.
Share Your Scrappy Star!
Here’s Janet’s beautiful Scrappy Star quilt block:
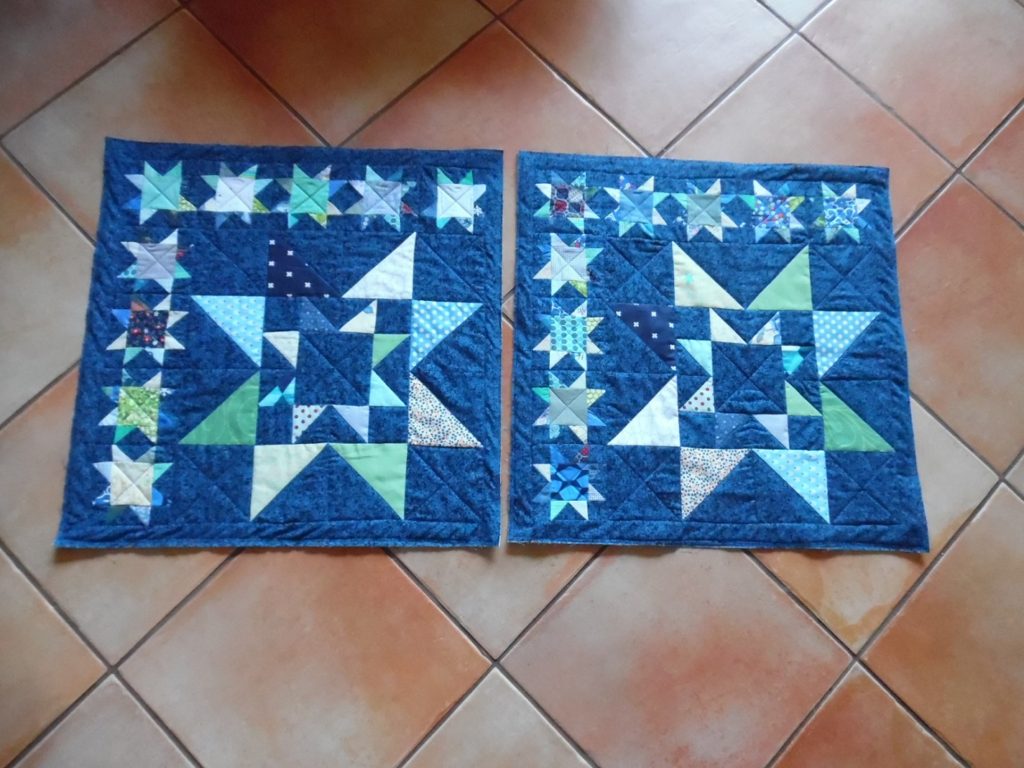
Janet shared: Here are my 2 blocks for my king sized quilt. The directions were super helpful and I am anxious to get started on Block 2.
I just received another picture of Kathy’s Scrappy Star:
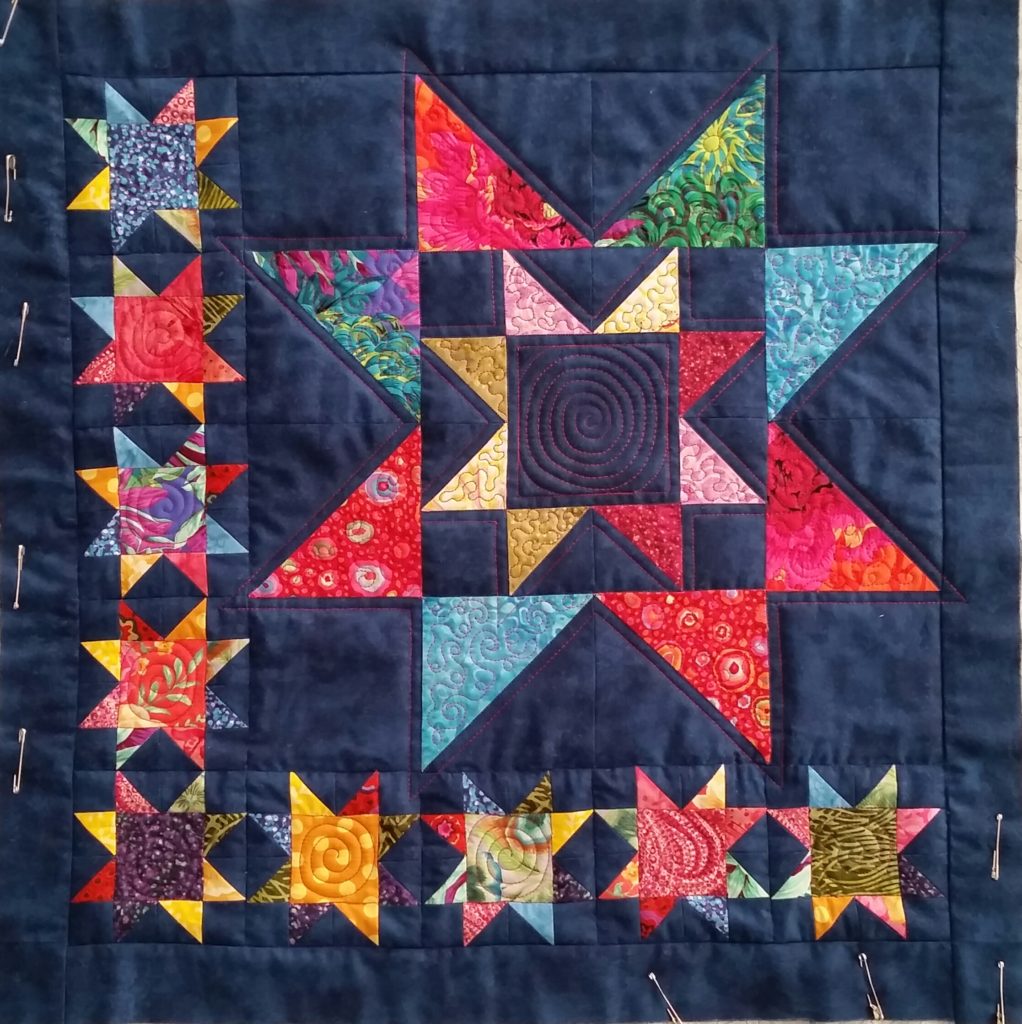
From Kathy – Here’s my Block #1. I might do more quilting, not sure. Having fun! Thank you for doing this!
Please post or email me with your photo so everyone can see your choices of fabrics and learn from your experience!
Let’s go quilt,
Leah Day
P.S. It’s never too late to join the Friendship Sampler Quilt Along! Click Here to find the patterns.
Find more Friendship Quilt Along Tutorials
Check out the other tutorials I shared for this Scrappy Star quilt block:
- How to cut scraps for the Friendship Quilt Along
- Piece two at a time half square triangles
- How to piece the Scrappy Star quilt block
- Baste a block for home machine quilting
- How to quilt a Scrappy Star on your home machine
- How to load a longarm with a single quilt block
- Quilt the Scrappy Star block on your longarm machine
First part of block one done. hst ready for small scrappy stars that will hopefully get finished later this week. I’m proud of work I did…. Scary to get started but so glad I did. @Leah Day – look closely, some fabrics might look familiar as I pulled a few from the Scrap Pack I purchased! Thanks for your inspiration!
That’s great Denise! Can you try to upload the photo again? I can’t wait to see your block!
I completed my 2 blocks for King size quilt. Love my dark blue and black background fabric. Using lots of scraps for the rest. I also tried to not rip out any points that aren’t perfect and know that no one will notice when the entire king size quilt is done.
That’s exactly right! Good job Janet!
Finished the first block and was taking a photo when I noticed one of the tiny stars had a piece that was backwards. Took some time, but was able to fix it. Thank heavens it was on the outside.
That’s great Susan! I know what you mean, it’s super easy to flip around those little pieces. I’m so glad you finished it to look the way you want!
oh my! I am still working on piecing the small stars! There are so many! I have been working on them all day. I find it is easier to finger press the larger block, the smaller ones are definitely harder to press! They look messy on the back! off to continue sewing! I will post my block soon.
Thank you Donna! I’m sorry about all the tiny pieces. I figured it would be good to get that one out of the way first. It is a doozie!
Just joining in on the fun!
Welcome Cathy! I’m so glad you’re here!
I finished block 1… twice! I’m making the king size quilt and am loving doing each block twice. I tried to post a picture but got an error. I’m off to quilt it… wish me luck ?. Thanks Leah for the fun quilt along and awesome tutorials. I’m loving this project.
I’m Sorry about that Angie! Shoot me a message through our Contact area and I’ll post it for you: https://freemotionproject.com/contact-leah
I cannot find anywhere in the downloads what size the completed blocks should be trimmed to before joining them. I don’t know what size the completed block should be trimmed to. Thank You.
Please check the Block 1 pattern and you’ll find complete instructions on pages 45-52 for cutting and connecting your Friendship Quilt Blocks.