Welcome to the Free Motion Quilting Project! My name is Leah Day and I began this blog in 2009 with the goal to create 365 new free motion quilting designs in a year.
Click Here to find all of the quilting designs I’ve shared so far.
In each post, I share a photo of the free motion quilting design and a video quilting tutorial to demonstrate how to quilt it. I’m a visual learner so I’ve always found watching a video more helpful when learning a new technique. I admit, my early videos were a bit rough, but they still do a great job of teaching you how to quilt each design step-by-step!
After reaching my original goal, I compiled all of the designs and shared them in a book, 365 Free Motion Quilting Designs. This is a beautiful picture book and has inspired thousands of quilters from around the world. If you’d want to get serious about free motion quilting, challenge yourself to quilt a new design every day. I promise you will see results in less than two months!
What is the Best Free Motion Quilting Design to Start With?
This is a great question! I honestly think you can start with any design. The key is to quilt one design over and over until you memorize the steps. Free motion quilting is like writing your name in cursive – there are lots of little rules that govern how the letters connect together. Free motion quilting designs can also be broken down into a series of small rules you can easily memorize then quilt without marking.
Learn how this works in this quilting tutorial on how to stitch Stippling, one of the most popular free motion quilting designs!
As you will find in this quilting tutorial, the rule for quilting Stippling is very simple: quilt a wiggly line that doesn’t cross itself. Unfortunately many quilters thought this rule applies to ALL free motion quilting designs and you should never cross your lines of quilting. This is absolutely not true!
Take Your Free Motion Quilting to the Next Level
Most of the designs from the Free Motion Quilting Project involve travel stitching. This is a technique of stitching back over a line of quilting to reach another area or to form a new shape in the design. See how travel stitching works and how you can use this technique to make many beautiful designs in this quilting tutorial:
How Do You Quilt on Your Home Machine?
Free motion quilting is tough, no doubt about it! It’s important to understand that free motion quilting uses your machine in a very unusual way. For all other sewing and quilting techniques, we use the feed dogs on our machine to feed the fabric forward at a steady pace. The feed dogs are the little teeth under your presser foot that grip and pull at your fabric when you’re piecing.
Well, for free motion quilting, we don’t use the feed dogs. You can either drop them, or you can limit their movement by lowering your stitch length to 0. Click Here to learn more about free motion quilting settings.
Get Ready to Make some Ugly Stitches
This means that forming the stitches is now entirely up to you! You make the stitch by pushing the quilt through the machine, and balancing that movement with the speed of your needle bouncing up and down. The good news is quilting this way allows you to move the quilt in all directions and form any design you can dream of.
The bad news is this can get ugly! Your stitches will likely fluctuate in size and shape and you may struggle to quilt smooth lines. If you’ve been sewing or piecing for years, you’re used to letting your sewing machine do all the work and now suddenly you need to move the quilt, and control the speed and form the design all at the same time.
So how do you get the hang of this? Practice!
When I started this blog project, I really wasn’t that good at quilting. Having the goal to quilt a design every day really helped improve my free motion quilting skills in a short space of time. I truly believe if you challenge yourself to quilt every day, you will see improvement in less than a month.
What about special tools and gadgets?
Over the years, I’ve run across many gadgets and gizmos designed to make free motion quilting easier on a home machine. I have found only three tools that I personally can’t quilt without:
Machingers Quilting Gloves – These gloves will give you a great grip of your quilt so you have more control of your movement and quilting stitches. The lightweight nylon won’t make your hands sweat so you can comfortably quilt for hours.
Queen Sized Supreme Slider – This Teflon coated sheet has a slippery surface to make moving your quilt much easier over your home machine. The pink side is grippy and will cling to your sewing machine and table without leaving a sticky residue. Make sure to tape down your slider at least in the beginning because it’s very easy to stitch through it by accident!
Little Genie Magic Bobbin Washers – Small tension issues and thread breaks are no problem when you use bobbin washers in your bobbins! These little Teflon discs help to fill in the extra space found in metal bobbin cases especially. These are mostly helpful for older sewing machines.
Click Here to find all three tools in the Queen Supreme Quilting Kit!
What about other types of quilting?
There are many other types of quilting you can do on your home machine. After focusing on free motion quilting exclusively for several years, I became curious about walking foot quilting. When I first began quilting, I dismissed using the walking foot because it seemed very slow and clunky.
After sharing over a thousand tutorials and teaching in yearly interactive quilt alongs, I had to admit walking foot quilting deserves a second chance. I ended up writing a book, Explore Walking Foot Quilting with Leah Day as I explored this style of quilting and quilted many new quilts.
In 2017, we quilted along together through three walking foot quilted projects and I shared video tutorials on how to quilt the the 30, beginner level walking foot quilting designs from the book. Click Here to learn more about walking foot quilting.
Ruler Foot Quilting
This style of quilting is new for home sewing machines because it’s a technique that’s come from longarm quilting. This is a type of free motion quilting, but you use a ruler foot with a thick base so you can press rulers or templates against the foot.
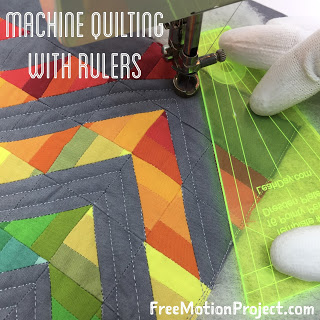
Then you steer both the ruler and quilt through the arm of your machine. Click Here to find a fun video on ruler foot quilting basics.
This is a type of free motion quilting, so you’ll still need to learn how to balance the speed of your hands moving with the speed your machine is running. However, with the ruler in your hand, you may find this just a bit easier because the ruler gives you more control over the design.
I’ve designed a set of three rulers to get you started with ruler foot quilting. These rulers have lots of etched lines on the back to help you line up the rulers and stitch evenly spaced lines anywhere on your quilts!
Longarm Machine Quilting
Back in 2009 when I started this blog, I was happily quilting on my home machine. I quilted all my designs very densely and I used this super intense quilting style on my show quilts.
But a few years ago, I began feeling frustrated. The dense, show quilting style didn’t really appeal to me anymore. I wanted to quilt bigger designs and finish my quilts faster. Neck and back pain had crept up on me slowly. I was starting to wonder if hunching over my sewing machine for hours was good for my body long term.
I began investigating longarm machines. When I first started quilting, longarms were VERY expensive. But after 10 years of innovation, the costs have definitely come down.
I was introduced to Grace Company in 2016 and first used their Grace Qnique 15-inch longarm in a table (this table-mounted version of the machine is now discontinued). After several months of quilting on a sit down longarm, I moved the machine to a quilting frame. I wanted to experience moving the machine over the quilt. I’m now sharing new quilting tutorials on the longarm each week for our Frame Quilting Friday series.
Quilting along, one block at a time
Since the very beginning of the Free Motion Quilting Project, I’ve loved sharing new videos and teaching new techniques. This is why I’ve continued to share new quilting design videos and we just recently reached 500 designs!
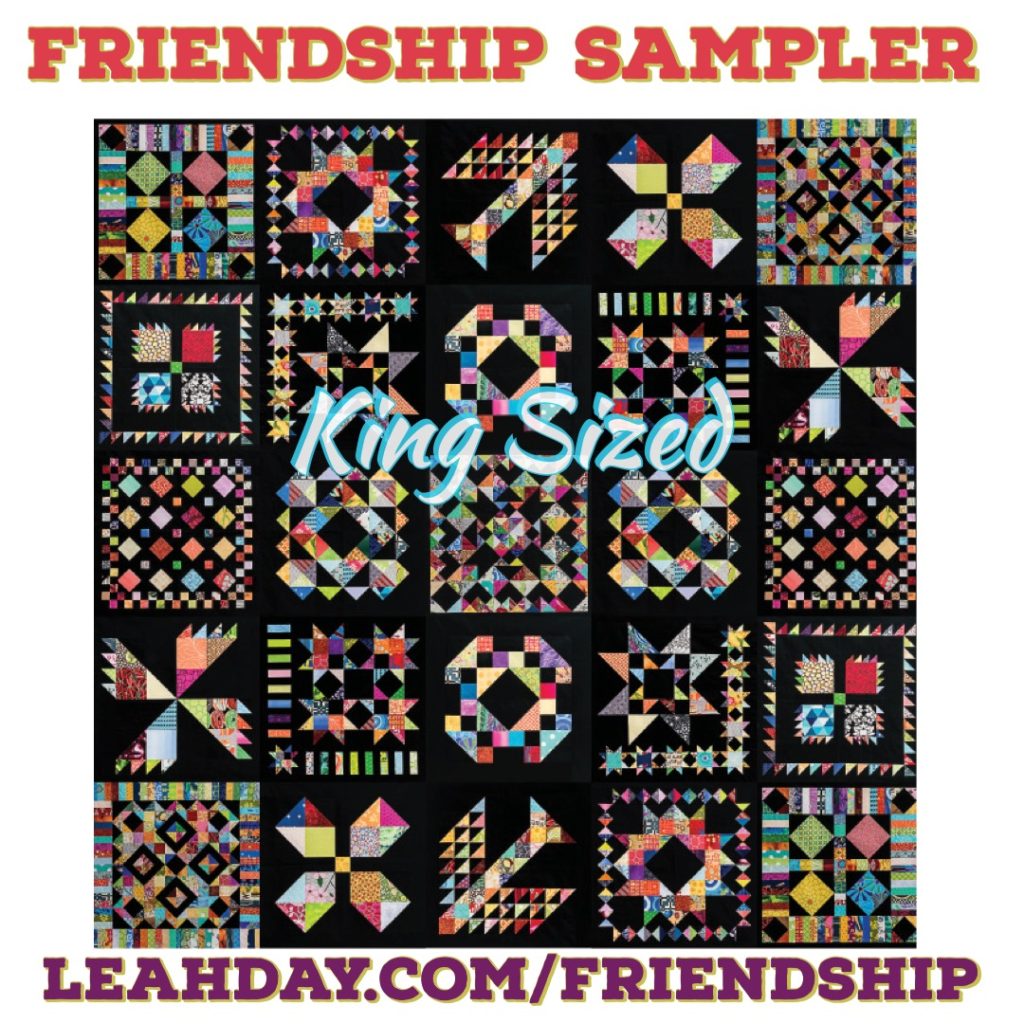
Since 2012, my main focus has been guiding quilters step-by-step through a fun quilt along project. Each year we tackle a new quilt and piece and quilt it one block at a time. This technique is called quilt-as-you-go and it’s perfect for quilters with small home machines. You can piece and quilt your blocks separately, then put them together at the very end to create your quilt.
We’re just beginning a new Friendship Sampler Quilt Along for 2019! Click Here to learn more about it.
The Free Motion Quilting Project Continues
Whew! At nearly 10 years old, it’s hard to know where to start with the Free Motion Quilting Project. I think I’ve covered the basics! If you have any questions, please contact me for help.
Let’s go quilt!
Leah Day
P.S. Check out the first 5 designs from the Free Motion Quilting Project! These range in style, skill level, and design type, but they are all terrific designs to learn how to quilt.
Free Motion Quilting Design Tutorials
Quilting Design #1 – Shadow Waves

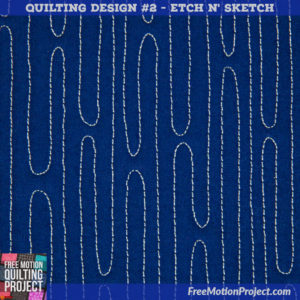
Learn how to quilt Design #2 – Etch n’ Sketch
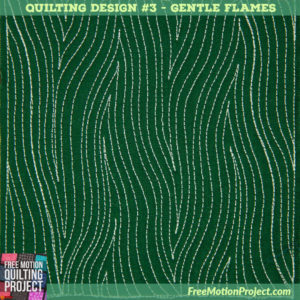
Quilting Design #3 – Gentle Flames
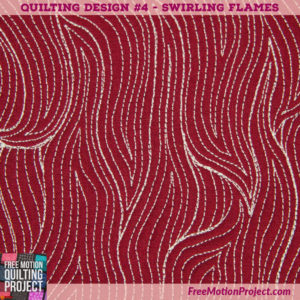
How to Quilt Design #4 – Swirling Flames
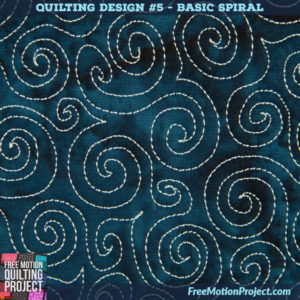
Quilting Design #5 – Basic Spiral