How to Load a Quilt Block on a Longarm
Click Here to find the pattern for Block 1 and join the Friendship Quilt Along! Each month we’ll piece a super scrappy quilt block, then I’m going to quilt the block on my home machine, then on my longarm!
Click Here to learn how to baste your quilt blocks for quilting on your home machine.
Loading Your Longarm with a Single Block
The Friendship Sampler Quilt is a quilt-as-you-go quilt which means we’re going to quilt all the blocks separately, then connect them together to make the finished quilt at the end. This has caused a little confusion for longarm quilters who don’t have the same space constraints as home machine quilters.
But to keep the pattern simple (and my brain not exploding from too many fabric calculations) we’re quilting all the blocks individually. So no matter whether you’re quilting on a home machine or a longarm, we’re only quilting one block at a time.
To load your quilt onto your frame, first follow the instructions in the pattern to prepare your fabric so it’s stiff and stable and ready to quilt. I pinned the backing fabric first to the top bar leader cloth with all the pins pointing towards the right. This helps you not get stuck by the sharp tips!
Then I pinned the opposite side of the backing in place on the leader cloth on the top, front rail. Different quilters like to pin to different rails on the front. Just work with the one you usually use and like the best.
After pinning the backing, I smoothed out my square of batting, which is Quilter’s Dream Midnight. This is basically the same batting as Quilter’s Dream Poly in the select loft (medium weight), but it’s been dyed black.
No, you don’t have to use a batting like this if you’re using a black or dark batting. I’ve just decided to play with it because this is the perfect project to test it out!
Securing the quilt block to the frame
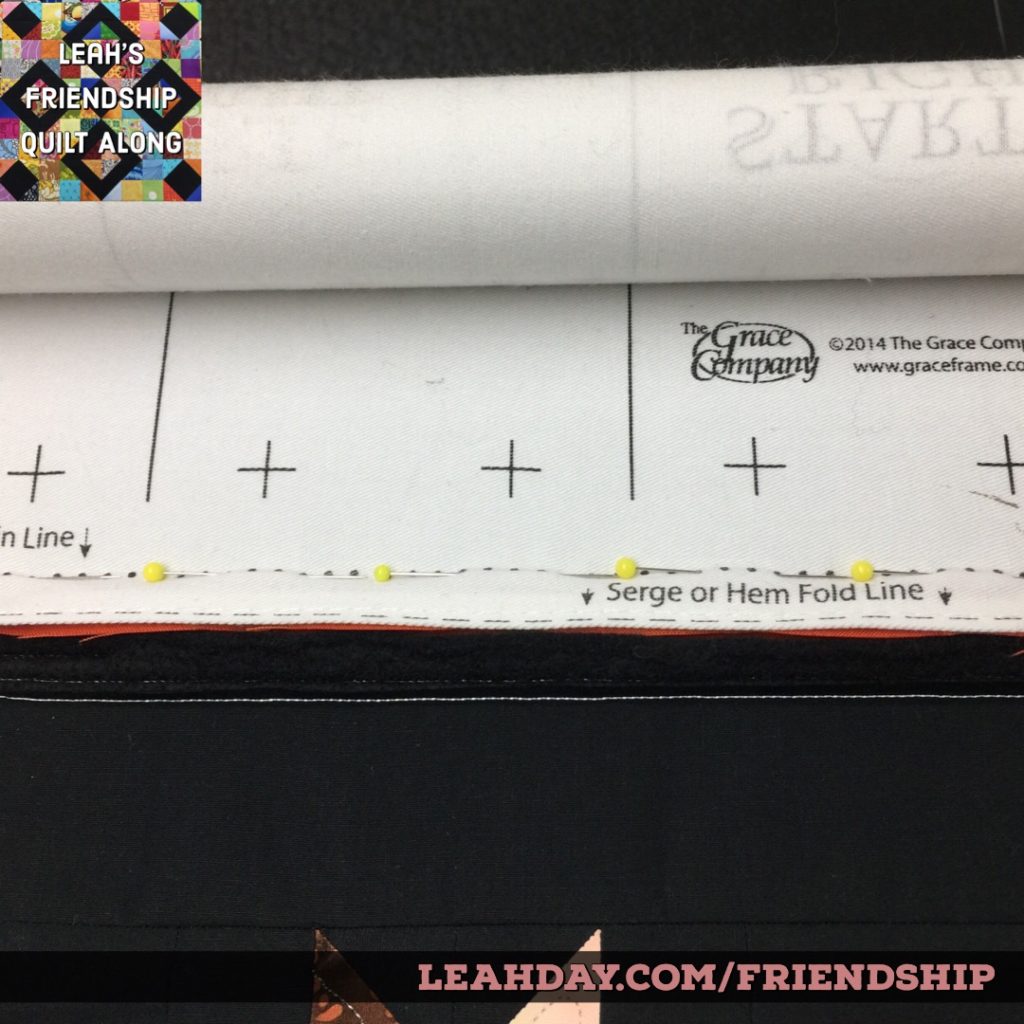
After smoothing out the batting, I ran a straight line across the top edge, as close to the leader cloth as I could get without stitching into it. I used my channel locks which come on the Grace Continuum Frame to lock the machine carriage so it stitches a straight, horizontal line across the quilt block.
This locked the batting in place and provided a perfectly straight line for me to line up the edge of the quilt block.
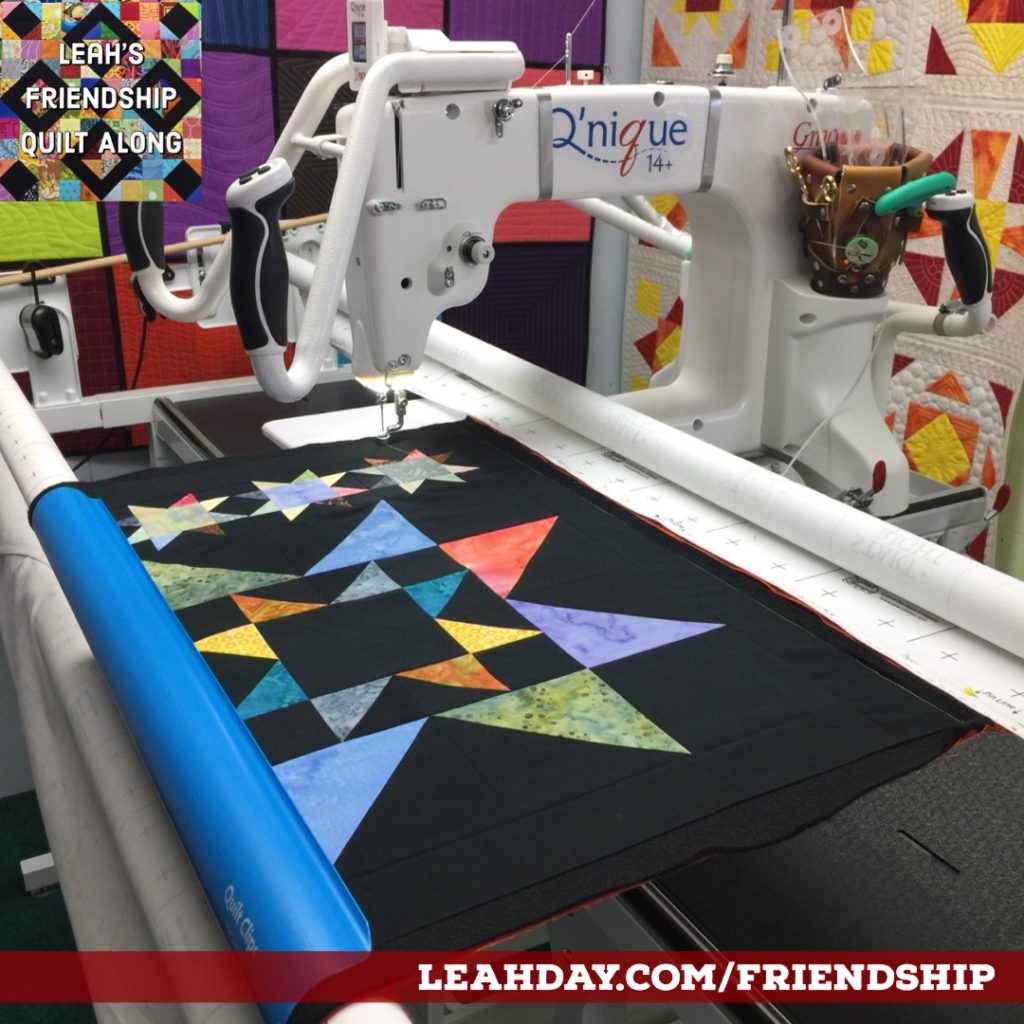
I placed the quilt block on the batting and smoothing it out so the edge of the block lined up with the edge of the straight line. I unlocked the channel locks and shifted the machine down about 1/8-inch. After locking again, and I stitched across the block, smoothing it out as I went.
After I stitched the block in place, then I smoothed it out flat. This Scrappy Star Quilt Block is ready to quilt! Tomorrow I’ll share another longarm quilting video on how I stitched Stippling over this block. I had to advance the quilt block 3 times so make sure to check out this tutorial to see how that works.
Are you excited to try quilting on your longarm frame? I just recently heard from a quilter that has had a machine and frame for months, but hasn’t used it because she was confused about one small step. Please don’t allow one small thing to stop you from using your machine or frame!
Let’s go quilt,
Leah Day
Find more Friendship Quilt Along Tutorials
Check out the other tutorials I shared for this Scrappy Star quilt block:


Im brand new to long arm quilting , been sending my quilt-tops to someone , but hub bought me a BabyLock Cornet at fair in sept , and I live in country & not good internet , and i’m a lit disappointed with the company in Tulsa ok , so I look at everyones site to get help .. Thank u for sharing with us ..
I’m so happy to hear I can help you Dana! The hardest part is learning the basics so just try to challenge yourself to use your machine every single day.