
How to Piece Square-in-a-Square Units
This month’s Friendship Quilt block includes a cute Square-in-a-Square unit. Learn how to piece this unit and carefully trim it down to the right size in this quilting tutorial:
Click here to find the pattern for the Checkerboard Tiles quilt block. This 4th block of the Friendship Quilt Along includes sixteen Square-in-a-Squares and will be a terrific way to practice this unit!
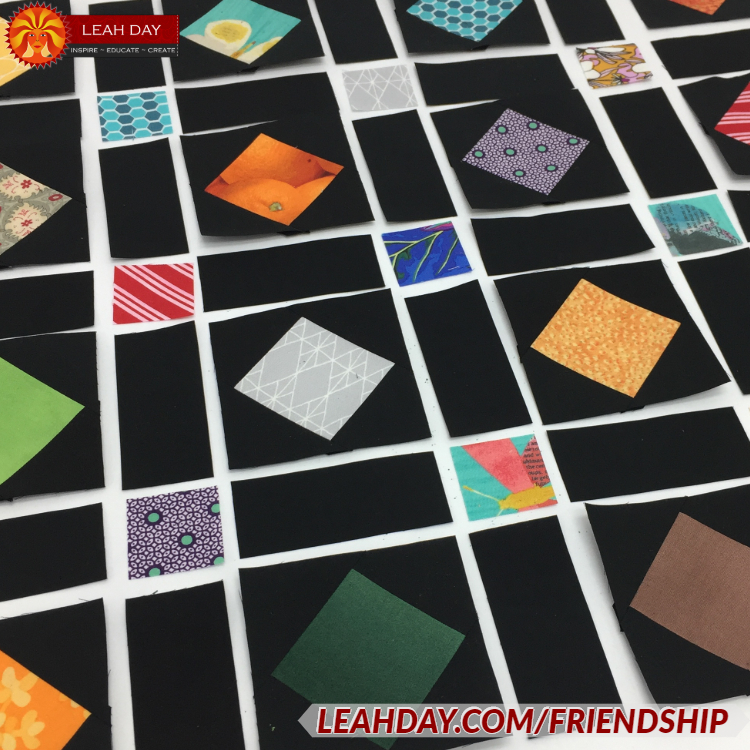
I love the contrast between the angular square in a square units and the little scrappy squares!
Piecing with Triangles
To begin your Square-in-a-Square unit, slice two squares in half diagonally to create two triangles. Fold the triangles in half along their long edge increase them to create a little mark in the middle.
Do the same thing for the center square. Now place the triangle right sides together with the center square so the crease marks nest into one another. Hold the pieces in place with a pin.
Careful Piecing and Trimming
After you stitch the triangles to the top and bottom of the Square-in-a-Square unit, take your time finger pressing the seam allowances open and flat. Watch out for fabric distortion as the edge of the triangles are on the bias in the square is on the straight of grain.
Once the seam allowances are pressed open, trim off the excess fabric along the edges that extend those little flags beyond the edges of the unit.
From here just repeat the same set of steps again to piece the triangles to the two remaining sides.
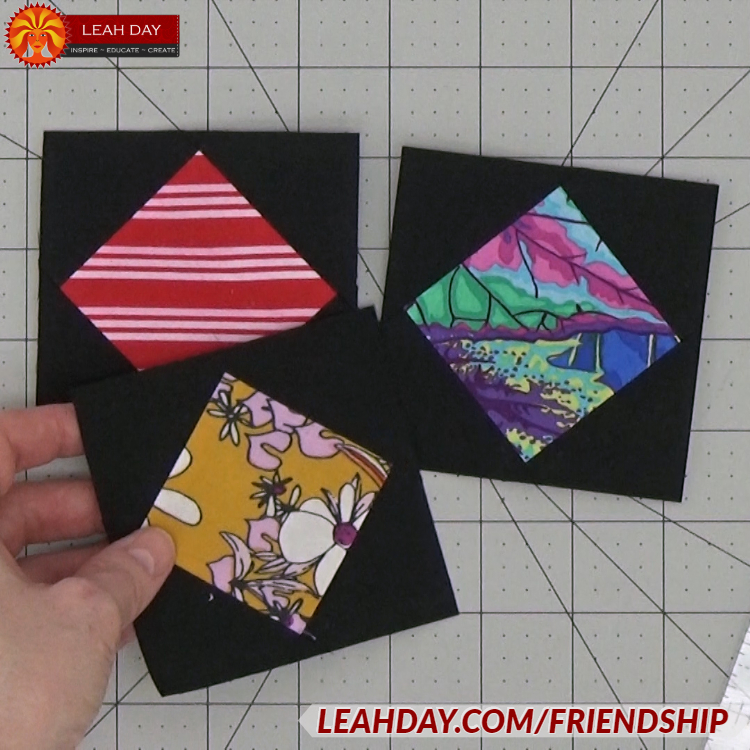
Square-in-a-Square blocks showcase the fabric in the center square beautifully. You could even fussy cut out a specific shape to feature in the center of the unit!
When piecing with triangles like this, place the triangle on top so it doesn’t get stretched out a shape by your machine’s feed dogs.
Once your square in a square unit is pieced, the next part of the process is trimming the unit down accurately.
How to trim a Square-in-a-Square Unit
I intentionally design my Square-in-a-Square units bigger on all sides. I do this so instead of needing the piecing to turn out perfectly, you can trim down the unit to be exactly the correct size for your quilt block.
Begin by aligning a straight line through the middle of your ruler through the middle of the center square. Line up the ¼-inch mark from the edge of the ruler with the point in the center square.
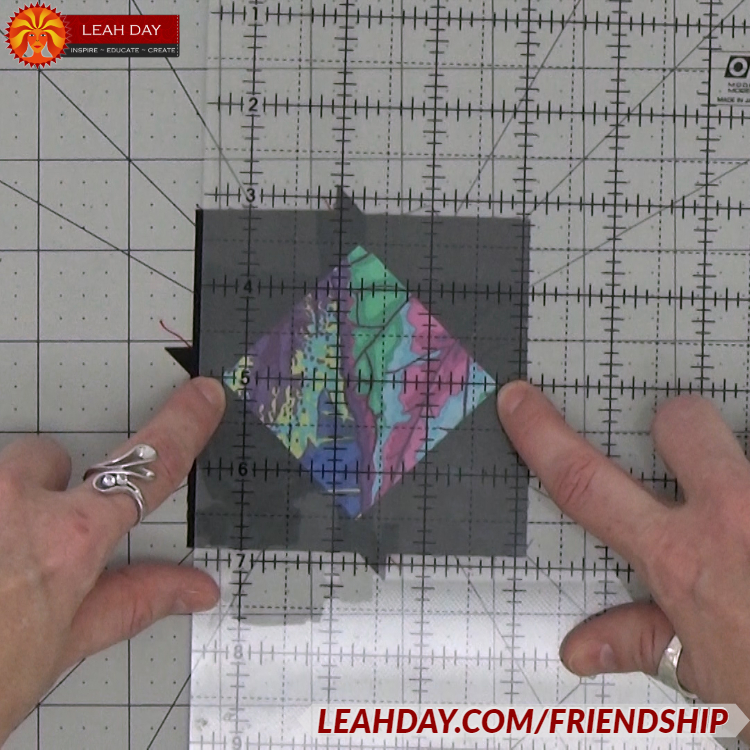
Careful trimming with the square centered in the middle is the key to this quilt block.
Trim off the fabric that extends beyond that point. Rotate the block all the way around and repeat this process lining up the cut size of the unit with the line on the ruler and double checking the ¼-inch mark is lined up with the point on the square.
Trim again. Repeat this step to trim up the two remaining sides to create a Square-in-a-Square unit so the center square perfectly lined up in the center of the triangles.
Would you like to get more practice at piecing Square-in-a-Square units? Click here to find the pattern for the Checkerboard Tiles block and piece 16 Square-in-a-Square units with me!
Let’s go quilt,
Leah Day
Find more Friendship Quilt Along Tutorials
Check out the other tutorials I shared for this Patchwork Mosaic quilt block:
Many thanks, your lesson is so well explained, I’m going to sew this block right now. Have a nice day !
I’m so glad you found this helpful!