
Troubleshooting Pantograph Quilting Issues
Of course, less than a day later I ran into a big issue when an employee accidentally bumped my laser light. Learn how to troubleshoot this issue and how to get your laser light back in position in this quilting tutorial:
Click here to find the Curvy Chevron pantograph quilting design. You can also sign up to receive your free Pantograph Quilting Guidebook.
Troubleshooting Pantograph Issues
I got started quilting my Tree of Life Quilt this week! This quilt is 78-inches square and it’s right at the limit of how big I can quilt on my 8-foot frame. I have to be careful when changing bobbins and when stitching along the edges of this quilt.
The pantograph quilting issue started when our employee ran out of bobbin thread in the middle of a line of quilting. The employee rolled the machine over to the far left side of the frame.
Unfortunately, this was the side my laser light on which was positioned. When our employee rolled the machine over, he accidentally bumped the laser light out of position.
Don’t Move This While Pantograph Quilting
There are two main things you don’t want to move when quilting with pantographs: The laser light and the pantograph design.
Once you tape down your design, it shouldn’t move throughout the quilting process or it will throw off the design and your lines will not be evenly spaced over the quilt.
Likewise, your laser light or stylus is your connection between the machine and the pantograph design. If this gets moved it will also throw off the design and the rows of pretty curving lines will no longer match up nicely.

Our employee didn’t notice he’d run out of thread so there are holes in the quilt where the design SHOULD have been and it was obviously not lining up after the laser got bumped.
Identifying the Problem
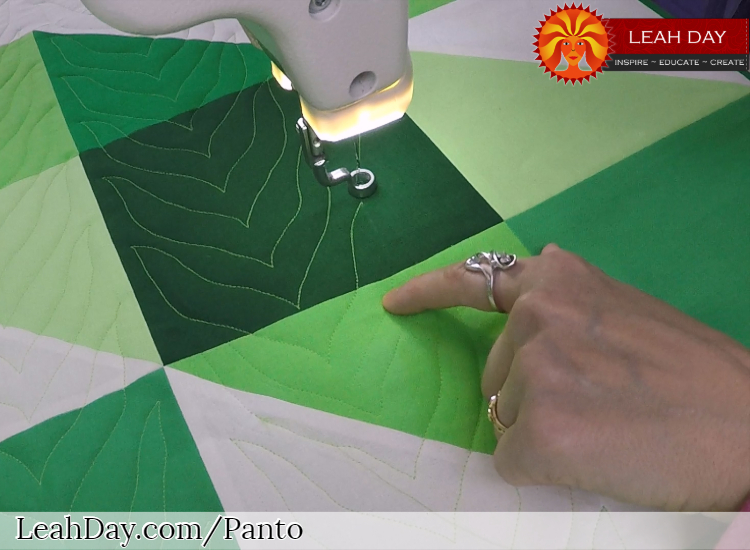
I noticed the problem on the quilt immediately. The design changed dramatically and there was lots of extra space between the Curvy Chevron shapes. The space between the rows had also increased by more than ¼-inch.
The first sign that something was wrong was when our employee rolled the machine back to the spot where he broke his bobbin thread. When he dropped the needle into the down position on that spot, it should have lined up with the corresponding spot on the pantograph pattern.
When our employee began quilting again, he should have known something was wrong immediately when his laser light didn’t line up with this spot on the pattern.
It didn’t line up and we didn’t realize that was the first sign of trouble. Our employee began quilting, trying to adjust and stitched down to reach the next line in the design. This was a mistake because it created noticeable gaps and a wider spacing between the design lines.
If this happens to you just remember that the laser light should be lining up if you’re in the right spot on the quilt.
How to Get the Laser Back in Position
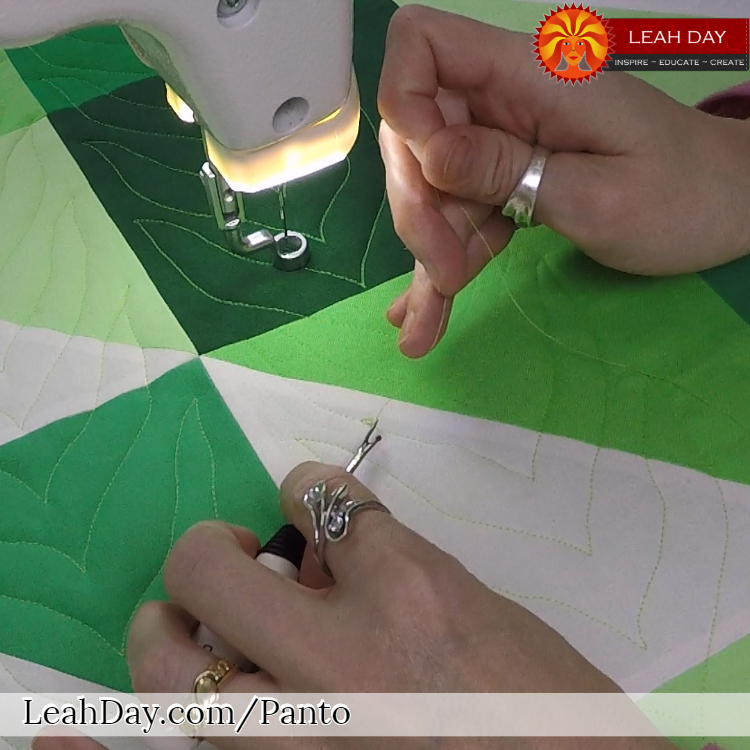
The way to fix this is very simple. I broke thread and began ripping out the bad looking stitches.
Unfortunately, the whole rest of the row that we stitched had to be removed because it didn’t line up properly with the rest of the quilting design. To get the laser light back in position, I rolled the machine over to an identifiable spot on the design.
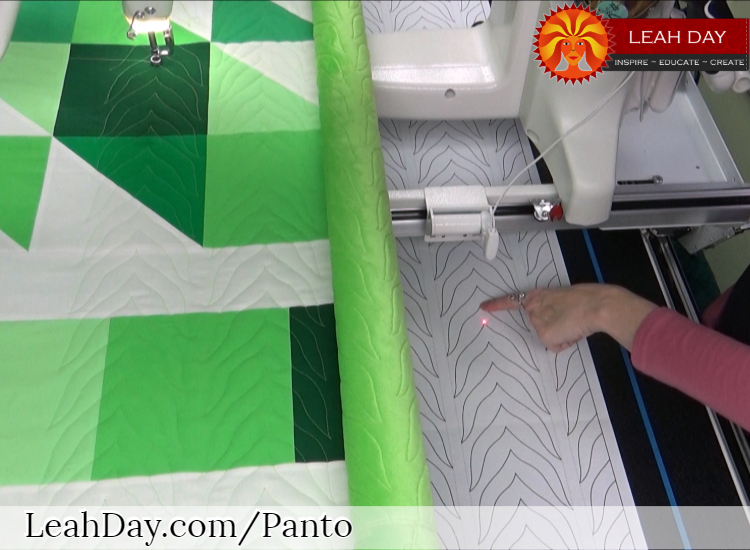
Position the machine first on an identifiable point on the quilt, then shift the laser to the same spot on the pantograph design.
The points in the middle of the Curvy Chevron design were a great choice for this because they are very easy to see and perfect for dropping the needle down exactly on that spot. I then walked to the back of the machine to adjust the laser light so it was exactly in the corresponding spot on the paper pantograph pattern.
I had to double check that I was on the correct point by counting the number of points in the row quilted so far. It’s very easy with a repeating design like Curvy Chevron to accidentally be one or two lines off and that would still throw off the pattern.
Check You’re In the Right Spot
After aligning the laser light once I walked back to the front of the machine and rolled the machine over to another spot on the quilted design. I walked to the back of the machine and adjusted the laser light again.
This is why it’s important to try and follow the design as closely as you can with the laser light. If the design is very far off the mark, realigning the laser after it gets bumped will be nearly impossible.
I quilted a tiny bit of the design to see if the design was matching up nicely. After quilting two curving lines I stopped to check my work. I was still slightly off and went back to the laser light to check a few more spots and readjust.
Before I quilt more of the design, I have to rip out all of this bad stitching because it will never line up properly.
Unfortunately, no matter what I do, this row was off slightly in comparison to the rows before. However, I don’t think this will be noticeable when the entire quilt is finished and washed and being enjoyed
Even though this was a pain to correct, I’m glad our employee made this mistake so I could share the fix with you!
Click here to learn more about pantograph quilting on your frame and download your Pantograph Quilting Guidebook.
Let’s go quilt,
Leah Day
what kind of thread do you use when quilting with a long arm?
I use Isacord polyester embroidery thread! You can find it here: https://leahday.com/products/isacord-thread
Why is my pantograph paper design too wide for my machine to quilt the whole design?