
Walking Foot Quilting: How to Quilt Bright Star
Learn how to quilt this design with easy walking foot quilting in this new quilting tutorial:
Click Here to find the book Explore Walking Foot Quilting where you can find the Marvelous Mosaic Quilt Pattern and quilt along with us this year!
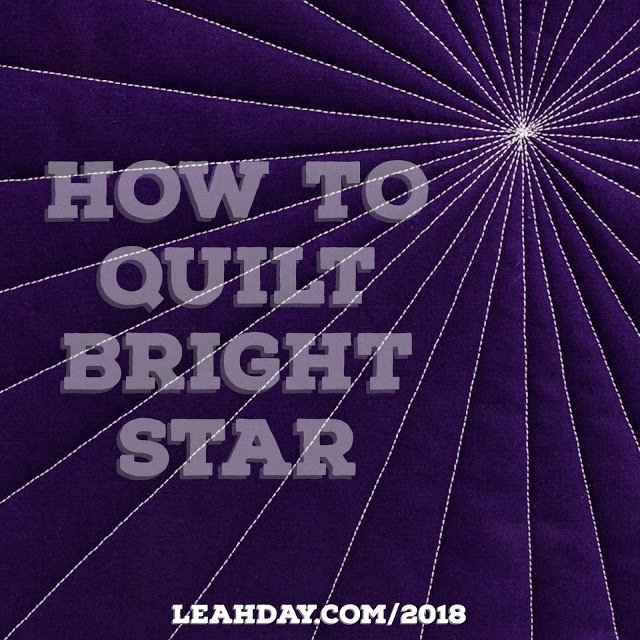
I had a great time quilting this using masking tape as a guide. As I mentioned in the video, I was avoiding putting marks on my blocks for these videos because I was also shooting photos of the squares too. I found it sped up the marking process too because I didn’t have to worry about erasing the marks after I was finished quilting.

But I received a great question today about quilt marking and what pens / pencils I like to use. Click Here to find the fabric marking pens I recommend.
I do NOT recommend using the heat-erase pens because they can ghost (remove pigment from your fabric) and show back up again after the quilt is finished, haunting you like the ghost of Christmas past.
I prefer marking pens and pencils that erase, brush off, or wash out completely so no extra chemicals are left in the quilt. Click Here to find a video on marking quilting designs from last year’s Machine Quilting Block Party.
Quilt Bright Star Two Ways
Bright Star is a super easy quilting design, but I want you to understand that there’s more than one way to quilt all of the designs we’re quilting this year. You can use your walking foot and walking foot quilting, or you can use your darning foot and free motion quilting.
Learn how to quilt Bright Star in a much smaller block in this free motion quilting tutorial:
Yep, this is an oldie goldie design from the first year of this blog project. I shared the original tutorial (in it’s wonderful low res glory) back on Dec 7th, 2009. Click Here to find the original post. Oh, how times have changed!
But I want you to see that quilting this design can change. You can quilt straight from edge to edge across your quilt – provided it’s a small space you’re quilting.
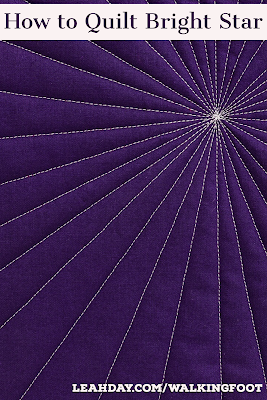
So if you’re looking at your quilt and want to quilt 20 inches across a space with Bright Star, it will be a good idea to start in the center and stitch outwards. It will likely feel a lot easier to quilt this way too, even with all the thread tails you’ll have to tie off and bury inside your quilt.
If you’re quilting a really tiny space – 6 inches or smaller – then it should be find to quilt straight across from edge to edge as I quilted in the second video.
I also want you to know that there is no right or wrong way to quilt any design.
No matter which way you stitch it, it’s still Bright Star and it will still look great on your quilt!
Dealing with Thread Breaks
In the walking foot quilting tutorial I tied off and buried a lot of thread breaks. I don’t like to have too many loose threads on the quilt at any given time, mostly because it’s messy, but it can also get confusing which threads should be tied together when you end up with lots of breaks in one space.
Learn how to tie off and bury your thread tails in this quilting tutorial:
Click Here to find the Hide Your Threads Kit which includes cheater needles and the Pin Place so you can keep a single needle handy at all times.
Important note: Only tie 2 threads together into a knot at a time.
If you have 4 thread tails all in one place it’s really tempting to tie them all together and try to bury it in the quilt. But it’s really not a good idea. 4 threads create a huge knot that rarely pulls into the middle layer cleanly.
If you want your stops and starts to be 100% undetectable from the quilt surface or back, only tie 2 threads together at a time.
Yes, there is an alternative method that I call the Glob of Thread which I don’t teach because it almost always results in the quilting stitches unraveling after the quilt is complete. It’s unsightly and leaves noticeable lumpy knots on the front and back of your quilt so it’s not a method I recommend.
Practice Makes Perfect
I do hope you’ll quilt Bright Star this week because in 2 weeks we’ll be quilting this design on a real quilt! This is the center and corner design we’re quilting on the Rainbow Log Cabin Quilt.
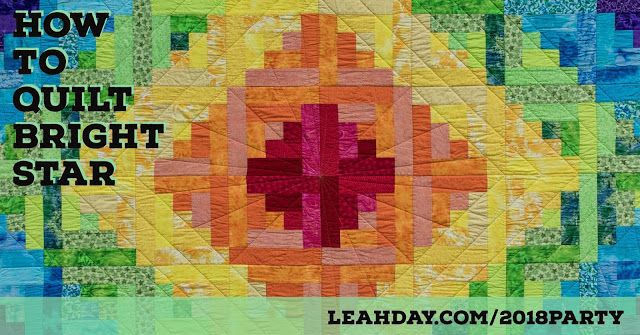
Take some time to practice this design and look forward to seeing how to quilt it on an 80 inch quilt on a small home sewing machine! Yes, it is possible to quilt large quilts on your home machine and I plan to show you how starting next Monday.
Remember, all the quilt patterns for the Machine Quilting Party can be found in the book Explore Walking Foot Quilting with Leah Day. Click Here to check it out!
I hope you’re enjoying these walking foot quilting tutorials and the Machine Quilting Party. Remember you can find all the videos shared so far right here.
We also have a playlist with just the videos right here so you can watch all of the videos in order. It’s a great way to binge watch and listen to the process as you’re piecing and quilting.
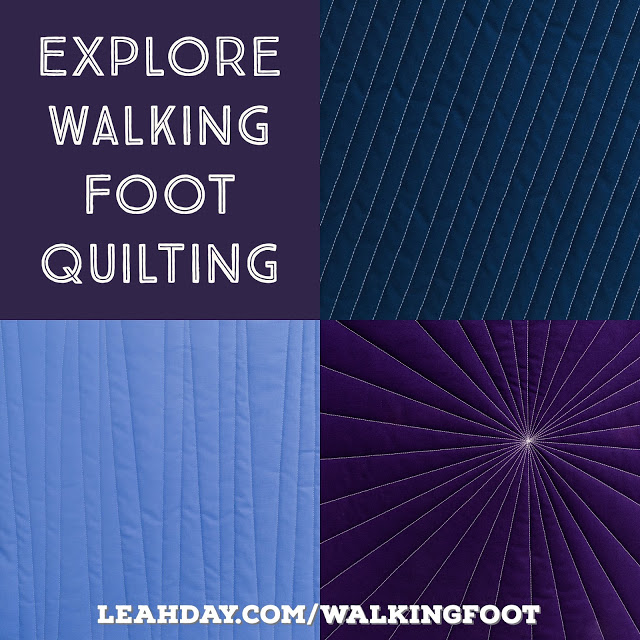
We’ve shared 3 walking foot quilting designs so far so you can learn the basics of this style of quilting, how to quilt Crazy Lines, and how to quilt Bright Star. I love how these simple straight-line designs look together. Yes, the designs are easy and simple, but the textures they can create on your quilt can be spectacular!
Let’s go quilt,
Leah Day
Loved the technique of layering strips of the masking tape!
Everytime I watch the videos I pick up new information. First time I missed that we were to tie a knot but did get to bring the threads inside the quilt at least an inch. Then somehow I thought I was supposed to take the two ends and tie two knots! This time I've got it, just loop both threads, insert the end, and put the needle it to control where the knot ends up. And in this video I could see that the two threads do not come out the same hole. I was using a needle to get the threads out of the same hole figuring I had done something wrong. Anyway, I think I have it now!
But to be real in making my bright star I didn't watch the tying and hiding thread video again until I had done a few rays.
I'm pretty pleased with how mine turned out. For a few of the in-between rays I went from one side to the other carefully checking that the tape was placed in the correct center point. I was slowing down when sewing to be extra careful at that point and now rewatching the bright star video I realize I was also doing what I was supposed to do to cut down on the thread build up.
Since I started outside the marked square and ended also outside the marked square I missed out on some of the tying off practice, but know there will be other opportunities for that!
Thanks so much Leah for these lessons.
I just have to say — I LOVE your website! I’ve been piecing and quilting for over 40 years now and for at least half of that time I’ve been complaining that so-called “quilting” magazines, books, articles, classes, websites, etc. were all about PIECING and patchwork ….
NOT about quilting!! The ubiquitos phrase “quilt as desired” feeds the ‘send it to someone with an expensive big machine’ but only for thise who can afford the fees, a lot more UFOs and unquilted tops sitting around gathering dust for inheritors, AND UNFORTUNATELY, most of those above newbies dropping out of this suddenly-way-more-expensive creative passion!!
I’ve even gotten to where I (semi-) applaud those who simply include a line drawing of how they suggest possibly marking the quilting, with nothing more.
If every “quilting” magazine (at least) made an editorial policy that ALL projects would include a fully “readable” drawing of the quilting, at least one of the pictures showing the quilting clearly (adjust the lighting etc!), that most articles will include paragraphs explaining about the whats, whys & hows of the quilting done on the pieced top, AND each issue would include (multiple, please) stand-alone articles on QUILTING, not just PIECING
——
It would quickly show how easily this would become easy to elicit from their writers and appreciated by their current and future readers. , As you’ve so clearly shown there’s lots possible and lots of appreciation for it.
Editors/magazines, shows, et al, need to make a commitment to quilting (not just piecing) as an ongoing topic, and the informations created and taught IS THERE to be created and published!!
It will also make it more possible and likely for more quilttops to actually get quilted, encourage more actual bedsized quilts made, RETAIN more newbies and experienced who want quilts not just tops, and again make/keep quiltmaking affordable for most, not just those who prefer/can afford longarming.
Yes, I also now & then have written magazines, websites and pattern designers including this reality that piecing alone does NOT equal calling it “Quilting”… And we _need_ more quilting help.
Thank you so much for your spot-on, excellently and awesomely produced and updated-to-today’s needed/available skills, tools, patterns, and instruction modalities!
You’re doing a wonderfully well done and extremely and crucially needed yeowoman’s good job of it.
Now we just (!) need to get this quilting thingie into every single (so-called, ahem) “quilting” magazine and book, and help our community again become Quilters.
Thank you so much for sharing your enthusiasm! I've been lax about sharing magazine articles in the past year and you've certainly inspired me to give it a go again. You're right, unless a quilter gets exposed to this information frequently, it's easy to assume that what everyone else is doing (piecing, sending tops out to be quilted) is the best way to go. I hope you'll share the FMQ Project with your friends and hey – you could always be the one to write those articles! Clearly you're passionate about spreading this information and what better way to start?
Do you ever tie off your ending top and bobbin threads?
Yes, always! You can find a tutorial on this here – https://freemotionproject.com/2017/01/quilting-basics-9-how-to-tie-off-loose.html