
Shifting a Quilt Side to Side on the Q-Zone Hoop Frame
By popular request, I’m tackling a bigger quilt this week and showing you how to shift a quilt from side to side on the Grace Qzone hoop frame. I learned so much while making this video and as you can see, this made me very happy!
Click Here to learn more about the Q-Zone Hoop Frame.
Find the Speed Controller I’m using to control the speed of my machine.
Let’s Quilt a Baby Quilt Together!
The bright and cheery quilt I’m quilting in this video is a 44-inch Stack and Whack baby quilt and is available as a free download pattern. Click Here to download the stack and whack quilt pattern. What’s cool about this pattern is you can make it with fat quarters and it’s easy to put together!
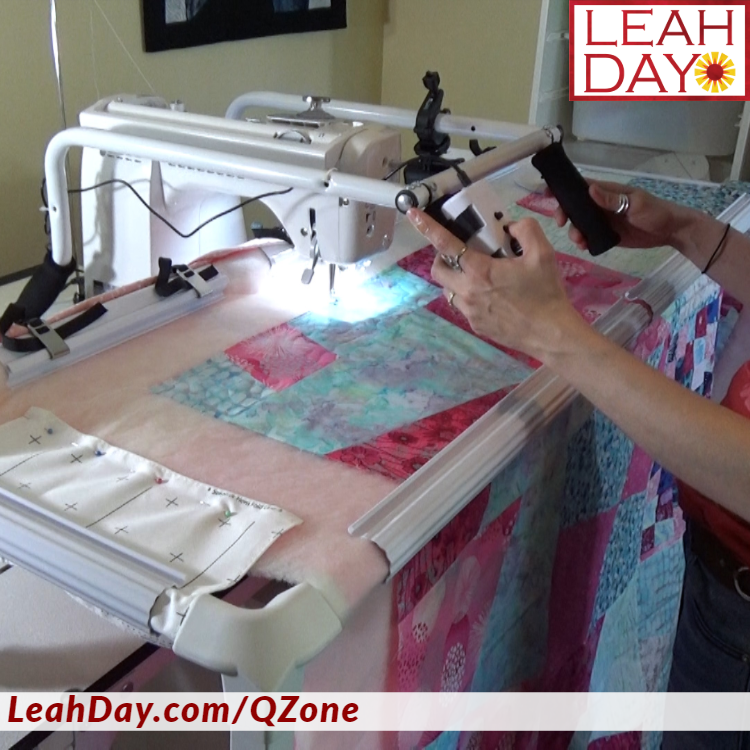
Quilting across this entire quilt required shifting it from side to side in this hoop frame. It worked out great!
This baby quilt pattern is one of dozens of free download patterns from LeahDay.com. Click Here to check out all my other free patterns.
I didn’t use the leader cloth in this video to show how you can quilt without it; however, I didn’t find it nearly as easy to get started. I pieced the backing fabric extra long on the top and bottom edges so it was 10-inches longer to both ends. This is how much extra fabric you’ll have to add to all your quilts if you don’t use the leader cloth.
Click Here to find a tutorial on making a quilt with the leader cloth so you can compare.
Basting the Quilt Top
Instead of basting, I layered the quilt by stretching out the backing on a table, then placed the batting on top and pinning across the top edge. Then I layered on the quilt top and pinned across that top edge as well. You don’t have to pin through the middle of the quilt, but you do have to have the fabric and batting nicely layered together so the quilt loads into the frame smoothly.
When I began quilting, I used blue tape to mark the limit of how far I could quilt across the frame. I used a large scale Sharp Stippling as the design.
Remember I’m learning as I go just as you are if you’re new to hoop frame quilting. There’s definitely some learning curves and hopefully the little errors I discovered will help you too master hoop frame quilting.
Advancing the Quilt Side to Side
The number one question I’ve received about this frame is how to shift the quilt from side to side. In this video, I worked out a method that I think works great and ensures the quilt doesn’t slip downward as you advance it. Here are the steps:
- Quilt as far as you can across the frame.
- Stop with the needle in the down position, and lock your horizontal channel lock which is located on the left side of your machine carriage.
- Double check BOTH things are done! If not, the quilt will slip out of position.
- Unclamp and unstrap the quilt.
- Shimmy it over until you have space to quilt across the remaining area within the hoop. The channel lock being locked will limit the movement of the quilt only to the left or right.
- Reclamp the quilt starting from the back bar.
- Finish quilting your row.
Advancing to the Next Row
You can also use the needle down + channel lock when advancing the quilt vertically through the frame to give you more control over the quilt. Now this won’t work for all quilting designs, but if you’re doing a simple all over quilting pattern, this should work great. Here are the steps:
- Complete the row you are working on and end on the edge of the quilt or in the batting area.
- Quilt down towards yourself until you can’t quilt further.
- Stop with the needle in the down position, and lock your vertical channel lock which is located on the right back side of the frame.
- Double check BOTH things are done! If not, the quilt will slip out of position.
- Shift the quilt and machine back until the needle hits the back bar or the back of the machine hits the book you placed in the carriage (watch the video to see what I’m talking about!).
- Reclamp the quilt starting from the back bar.
- Quilt your next row.
Learning from Quilting Pantographs
A lot of this technique comes from quilting pantographs on my Continuum frame and 15-inch longarm. Click Here to learn more about quilting pantographs.
Of course, I could always switch to a bigger machine! You can use up to a 19 inch longarm machine on this hoop frame. Nearly all home machines will work on this carriage. The only exception is the real big monsters like the 16 inch sit down style longarms and newest titanic embroidery machines.
I hope this video on moving a quilt on a hoop frame has helped you. Be sure to check out our other videos in this Frame quilting series. I’ve quilted on the Continuum frame with the Grace Qnique and soon I’ll be quilting on the Qnique on the Qzone frame so stay tuned!
Let’s go quilt,
Leah Day
More Q-Zone Hoop Frame Videos
How to Set Up the Q-Zone Frame
Just an idea, but what if you leave one clamp on the front and one at the back and slide the quilt over?
I’ve done this a few times and yep, that does make it a bit faster. The only downside is if the quilt gets caught by the metal clips on the back bar.
Leah, that video was so helpful. I have done maybe three or four quilts on my q-zone and not been thrilled with results. I did do needle down and channel locks which do not keep quilt from moving. That said seeing how you went back up into your pattern helped me. I have been getting rows which do not look nice. Thanks Leah
Stick with it and keep quilting! The key is practice with any style of quilting. The first and second quilts you make might not be perfect, but you will definitely be getting the hang of it by 4 or 5 quilts!