
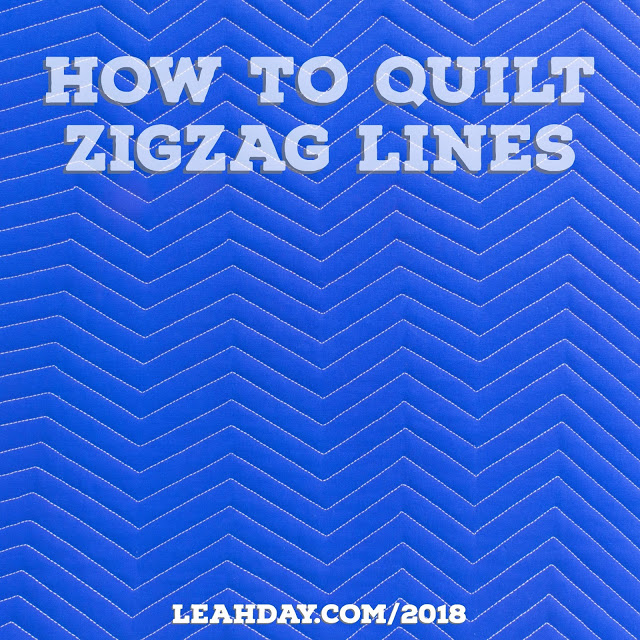
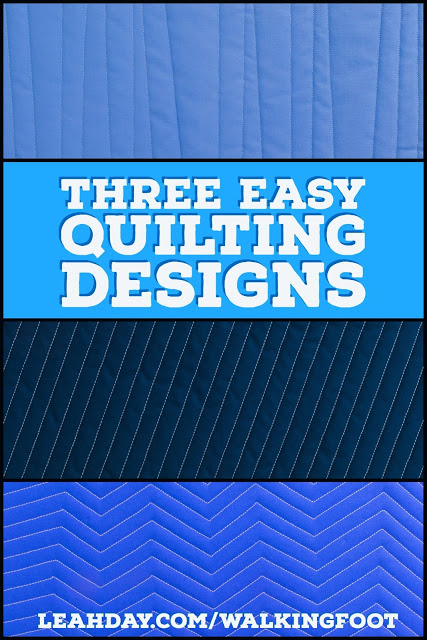
Walking Foot Quilting: How to Quilt Zigzag Lines
Click Here to find the pattern and tons of info about walking foot quilting in book Explore Walking Foot Quilting with Leah Day.
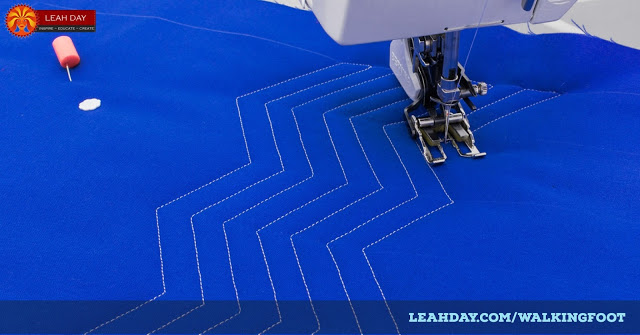
Quilting Zigzag Lines is pretty simple and it will hopefully feel easy for you because we’re getting back to straight line quilting.
The one tricky thing about this design is the direction changes. It’s really helpful to have some horizontal lines marked on your quilt to mark where the lines are changing direction so you don’t have to guess and stop and rotate your quilt a lot.
I mark my lines with a ceramic marking pencil you can find here. I love this pencil because it shows up great on medium to dark fabrics, but brushes off the fabric easily after you quilt over it.
For lighter fabrics, I use a water soluble pen which makes really nice fine lines too that are also easy to follow. Make sure to follow the instructions and fully submerge your quilt when marking with a water soluble pen. Just spritzing the surface with water doesn’t cut it and won’t wash out the blue color completely.
Guiding with the Edge
As you’ve probably picked up by now, I quilt most designs using the edge of my quilting foot as a guide which spaces the lines 1/2 inch apart.
The main reason for this is laziness, yeah, I admit it, I’m pretty lazy and I don’t like fiddling with a guide bar if I don’t have to. The edge of the walking foot is right there and easy to see and line things up with so it saves time to use that as a guide.
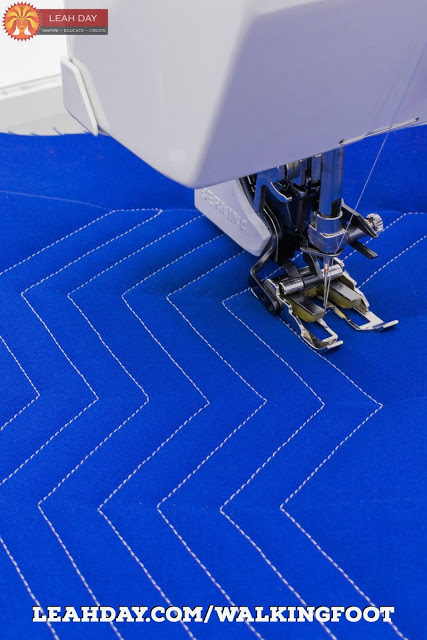
But my laziness has a double edged sword because 1/2 inch spaced lines are pretty close. That is a LOT of quilting to put into a big quilt and if you combine it with a really dense batting your quilt may end up feeling stiff on this scale.
If you want it to feel softer and get the quilting done faster, either mark the lines or use a guide bar and you’ll be long finished with your quilt while I’m chugging away with 1/2 inch spaced lines.
Stopping, Starting, and Pivoting
I’ve gotten a lot of questions lately about accidentally stitching over the masking tape we use to mark a lot of the designs we’ve quilted both on Marvelous Mosaic and the Rainbow Log Cabin.
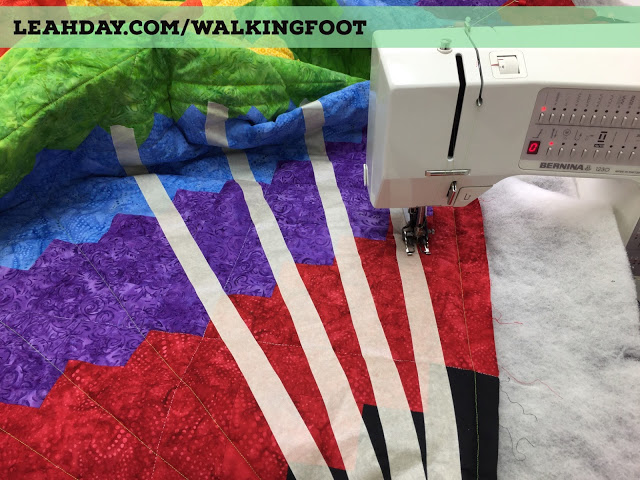
I’ve never accidentally stitched over my tape so I think the main issue is speed control. Walking foot quilting is slower and it pays to slow down, sometimes taking one stitch at a time.
When you’re stitching up to a direction change that’s exactly how slow you should go so you don’t overshoot the direction change. It’s when you line up those zigzags just right that you get a really cool effect over the quilt.
So slow down! Take your time and maintain your focus as you quilt these designs. It actually saves time to slow down because then you don’t have to stop and rip out mistakes or pick out tape from your stitches!
Design Families
I hope you’re starting to see similarities between these walking foot quilting designs and how they’re quilted. With Zigzag Lines, we’ve learned three Edge to Edge Designs.
Click Here to find the quilting tutorial on Straight Lines, which includes Walking Foot Quilting Basics.
Click Here to find the tutorial on Crazy Lines.
These designs are all super easy to understand because they’re just lines stitched from edge to edge across your quilting space. What are the edges of your quilt? This could be the edge of a block, seamline, a line you mark, the edge of another design or motif, etc.
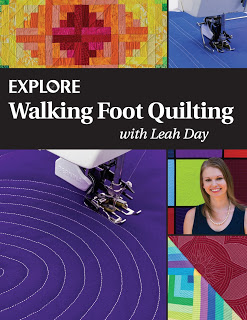
If you’d like to learn more about the different families of walking foot quilting designs, be sure to pick up a copy of Explore Walking Foot Quilting with Leah Day. You’ll learn how to quilt 30 fun designs and learn multiple techniques for using those designs in your quilts.
Click Here to find the book in print format.
Click Here to find the book in PDF ebook format.
Click Here to find this book on the Kindle!
Looking for more walking foot quilting designs to quilt with me? Click Here to find all the videos we’ve shared so far this year!
Let’s go quilt,
Leah Day
Thanks for sharing your expertise and tips Leah! Always a pleasure to read/watch/listen to.
You're my favourite quilting teacher! You're full of creativity and dedication with a sweet demeanour. I have two of your books and love to receive your posts.
Thank you so much Karen! I really appreciate your kindness!