Ultimate Quilt Binding Tutorial
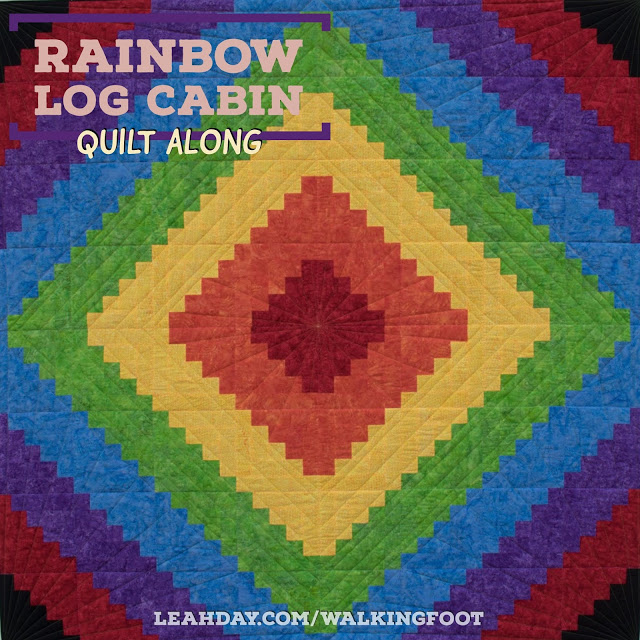
We’re officially finished with our first quilt for the Machine Quilting Party this year! The Rainbow Log Cabin was such a beautiful quilt to create together and I’m so happy to see all the different variations you’ve made.
Today is all about quilt binding and I have three videos to guide you through this process. Yes, three!
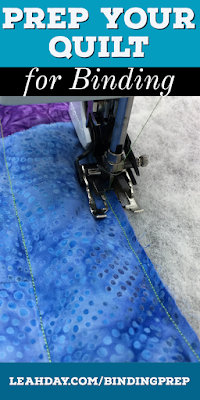
The first step is to prepare your quilt for binding by stitching a victory lap and trimming the edges straight and square. Click Here to find this quilting tutorial.
The next step is to prepare your binding fabric and stitch it to one side of your quilt. Yes, the side you stitch it on does matter! Learn why in this quilting tutorial.
Finally the last step is to wrap the binding fabric around the edge of your quilt and stitch it in place. You have to fold the corners at this stage to create a perfect miter in each corner. Click Here to find this quilting tutorial.
Quilt binding is the last step of the quilting process and it secures the outermost edges of your quilt so the quilt can be washed, drug around the house, and cuddled with on your bed.
Binding is also the part of the process that I just want DONE. I want this job finished and done in a day.
This is why I machine bind my quilts. I attach the binding strip to the edge and I stitch it closed all on the machine so the job gets done quickly and easily.
Yes, I do hand bind some quilts that are particularly special or when I plan to compete with the quilt in a quilt show. You can learn how to hand bind a quilt in the Heart & Feather Wholecloth Workshop.
So that’s it for the Rainbow Log Cabin Quilt!
I do hope you’ve enjoyed this quilting project and you’ve learned a lot about walking foot quilting. Remember you can always find this quilt pattern in the book Explore Walking Foot Quilting with Leah Day.
Click Here to find all the videos we’ve shared for the Rainbow Log Cabin Quilt.
I’ve had a great time sharing this beautiful quilt with you and I can’t wait to see your cheerful versions of this quilt! Make sure to contact us to share a picture if you make a Rainbow Log Cabin quilt too.
Let’s go quilt,
Leah Day


Thank you for this information-packed post! Timing was perfect as I was about to bind a quilt that is a wedding gift and it is my first time using wool batting. I was dreading some of the wiggle that happens with higher loft batting. I had never heard of the victory lap (although I once zigzagged the raw edge with ok results). It was a game-changer! In this case, I was hand sewing the binding down but the two rows of stitching made it so consistent and repeatable. I wasn't fighting with the loft at all. My corner miters look perfect too and I didn't have to try to squeeze three pins in the corner to hold it flat. I'll definitely use this technique in the future and I'm looking forward to trying it with my next all-by-machine binding. Thank you!