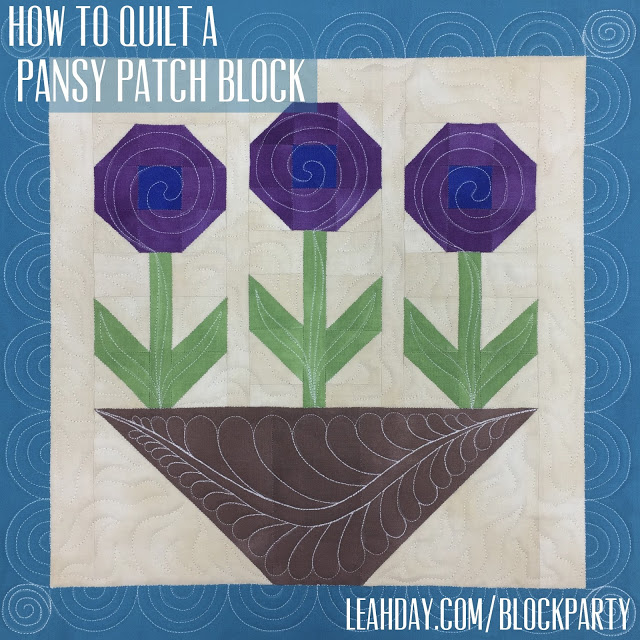
Machine Quilting Pansy Patch Quilt Block

Did you have trouble piecing your Pansy Patch quilt block? Click Here to find the piecing tutorial to review how it was pieced.
Many quilters have shared photos and stories from piecing this block on the Block Party Facebook Group. It was more challenging than our previous blocks and does require you to piece with an accurate 1/4-inch seam allowance. The key is to enjoy the learning process and accept your block however it finishes. Please resist the urge to rip out stitches as ripping is not quilting – it will not make you any better at this craft!
Now let’s check out the video and learn how to quilt this beautiful flower block together:
Click Here to find the pattern for Block 5.
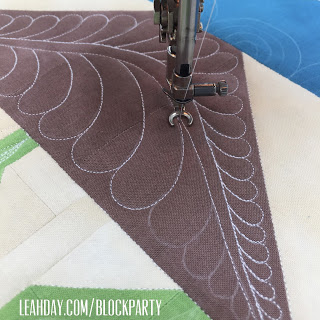
One thing for sure – this block has a lot of ditches! Make sure to watch the video to see how I stitched in the ditch with my walking foot to secure the layers together before switching to free motion quilting.
I made a bad choice of quilting the background design Sharp Stippling with white thread. It ended up blending in quite a bit with the background color so it wasn’t as visible as I would like. Click Here to watch an extra quilting tutorial so you can see how to quilt Sharp Stippling in another project.
 Also remember that you can always mark the design using the quilting diagram from the quilt pattern. This will save you time having to guess how to quilt the design and speed up the quilting process.
What did you think of piecing and quilting this Pansy Patch quilt block? Was it just a bit too much? Or would you like more blocks like this? Share your thoughts in the comments below!
Let’s go quilt,
Leah Day

I just got all the pieces for my block cut today. Can't wait to quilt it. My sashing fabric is so dark I'm using Golden threads quilting paper. Working good. Wish my quilting would look as good as yours.
That's excellent! Just keep quilting and try to find to do this every day and you will see great improvement in your skills.