How to Quilt Impossible Maze – #471

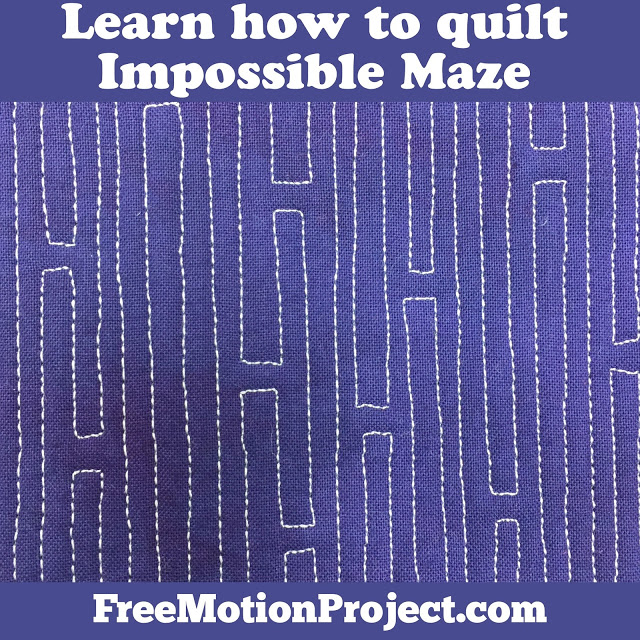
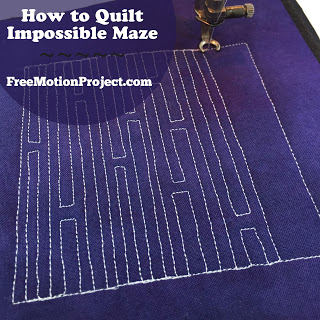
I really like the texture of this Impossible Maze quilting design. It’s a bit like Monster Teeth and Hardwood Floors, but I think it will be even easier to quilt than other of those. Notice how my straight lines aren’t really all that straight? You can also get away with that because it’s not supposed to be exactly perfect. See what I mean in this new quilting tutorial:
Do you enjoy these tutorials each week? Make sure to subscribe to my YouTube Channel so you don’t miss any new videos!
Now let’s learn a bit more about this Impossible Maze quilting design.

Difficulty Level: Beginner – Yes, this design involves a lot of straight line quilting, but it’s perfectly fine if it’s not perfect.
Look closely at my block above – see how the lines are a bit wobbly and sometimes closer together and sometimes further apart? It’s quite forgiving and still looks great inspite of these imperfections.
Now if you want it to be perfect with nice straight lines the best bet would be to mark the design. Don’t worry, it’s not cheating. I do it all the time!
Design Family: Edge to Edge – Impossible Maze is quilted by stitching from one edge to another. This could be from one ditch to another across a narrow bit of sashing. It could also be across a border. It could also mean quilting across an entire quilt. All are fair game.
Suggestions for Quilting – As for the easiest space to put this design I would suggest 4-6 inch sashing and borders. This is enough space for the quilting design to stand out and show off, but not so much space you’re having to stop and reposition your hands several times while quilting the straight lines.
Of course, the best way to know where any design will work best is to quilt it! Experiment and play with Impossible Maze in your next quilt and be sure to snap a picture to show us what you did with it. You can post your pictures ot the Leah Day Quilting Facebook Group or tag me on Instagram or Facebook @LeahDayQuilting.
Let’s go Quilt,
Leah Day
