
Tunic Challenge – Part 3
 |
| Photo from The Tunic Bible |
It’s our third week of the Tunic Challenge and I’m on the home stretch! Amy Johnson and I have been sewing along together for the past three weeks to push each other to make something for ourselves. We both bought a copy of The Tunic Bible and this week we’re cutting out the pieces of our tunics to sew next week.
I’ve had a lot of fun picking out my fabrics and deciding how to stitch my tunic up a notch. In the book, we have 12 necklines and 6 sleeves and 4 hems to choose from (not to mention 2 ways to fit and 3 different lengths), and if I extrapolate the different combinations, you could potentially create more than 288 different garments from this one pattern!
My favorite by far was the tunic with an elongated placket and ribbon trim. It looks a bit retro to me, and obviously comfortable to wear around the house, but is also easily dressy enough for a nice occasion.
Now for a guilty admission – I’ve been hoarding ribbon trims.
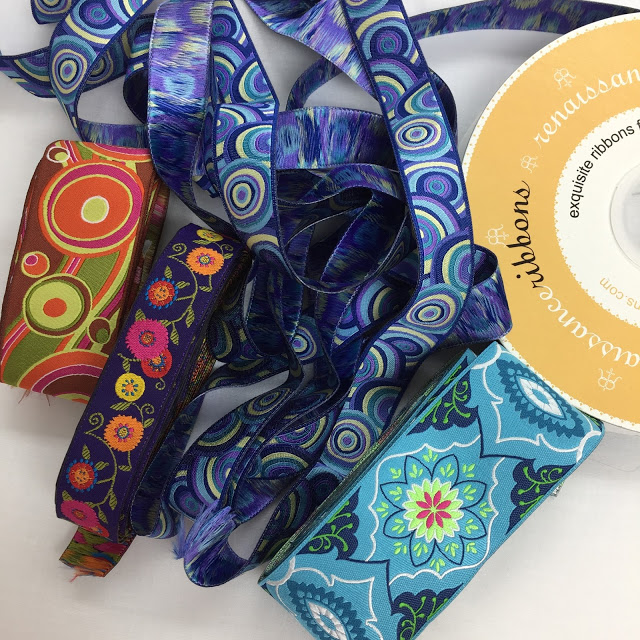
This started more than a year ago when I first stumbled across the seriously addictive, absolutely wonderful delight that is Reniassance Ribbons. Ribbon isn’t even a good word for it. This is DIVINE!
I began my collection with the 2 inch wide gorgeous trim on the right, but then…how do I use it? I must get more so I can play. But then what if I mess that up?
Yeah, most of my horded collections of supplies start this way. And then get promptly stuck in the this-is-too-pretty-to-cut / I-just-want-to-pet-it-and-love-it-from-afar state that doesn’t actually yield to using it.
But I really, really love this stuff! Wouldn’t it make me more happy to use it and see it and get to show it off in a fancy garment?
Absolutely! I’m determined to use a significant amount of this to trim my tunic. Just as soon as I figure out how to make my hand cut into it. I can’t seem to force my fingers to close around the scissors and make…them…cut….
*Sigh* I will just have to make myself do it!
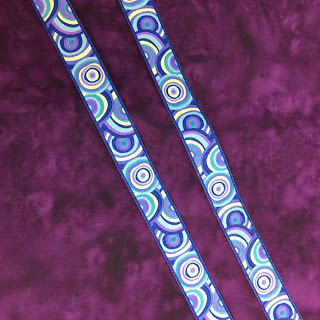
So this beautiful bubble blue and purple trim was my starting point and then came the search for fabrics. I decided to go with a darker color to make the ribbon stand out that much better and my eyes fell on a big piece of dark purple batik.
I’m sure this was a big piece of backing fabric set aside for something important. So important I absolutely can’t remember it now. No problem – it will now be my tunic.
Cutting out of course went easy as pie because I already had the pattern pieces prepared. I also added an extra layer of white cotton voile which is very thin fabric that I will use to back the purple batik.
This will be an interlining that will strengthen the tunic and reduce wrinkles. It did double the time to cut out the whole thing, but as with all of this – it will be worth it!
 So that’s what I did this week on the Tunic Challenge. Let’s see how Amy Johnson got on with it.
We just have one more week to go – sewing and showing off our finished tunics! You can join in the fun too – pick up a copy of the Tunic Bible and follow along. It’s a very fun pattern with so many variations. I know I will definitely be making many sleeveless tunics for next summer.
Let’s go quilt,
Leah Day
Those trims are fantastic – it is no wonder you fell in love with them!
How did you attach the white cotton voile?
That's the time consuming part – I hand basted it in place. Once it's together along the edges it sews with the main fabric very easily.