Quilting a Tree of Life Block on a Longarm Frame
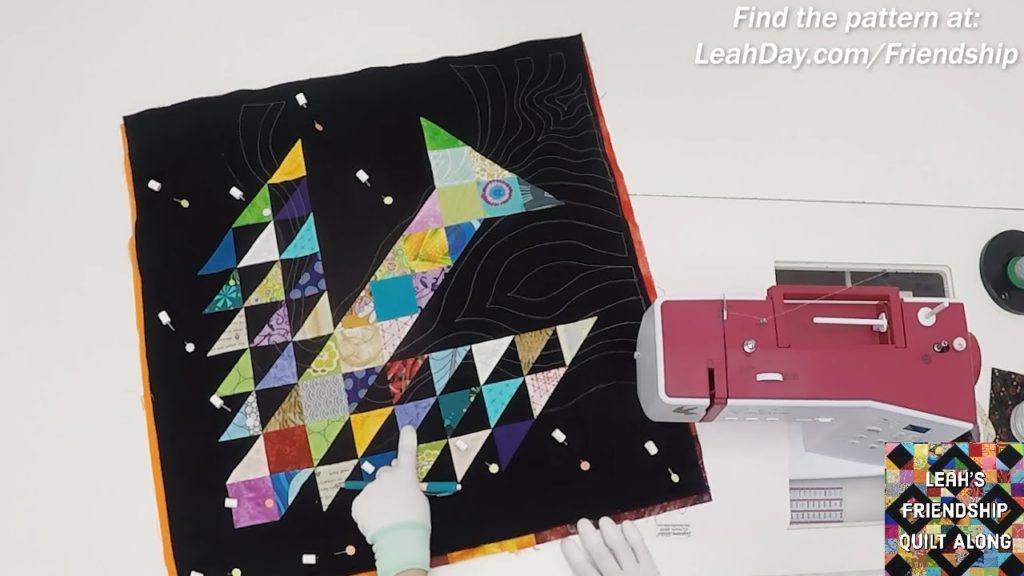
It’s time to quilt our second Tree of Life block, this time on a longarm! I admit, I didn’t like my design when I first began quilting. I was VERY tempted to rip out the stitches and start all over again. Learn why and how I muscled through it in this new longarm quilting tutorial:
Click here to find the Tree of Life block pattern. This pattern includes a bonus Tree of Life Quilt pattern so you can make a huge throw sized quilt too!
Quilting Corner to Corner Curves
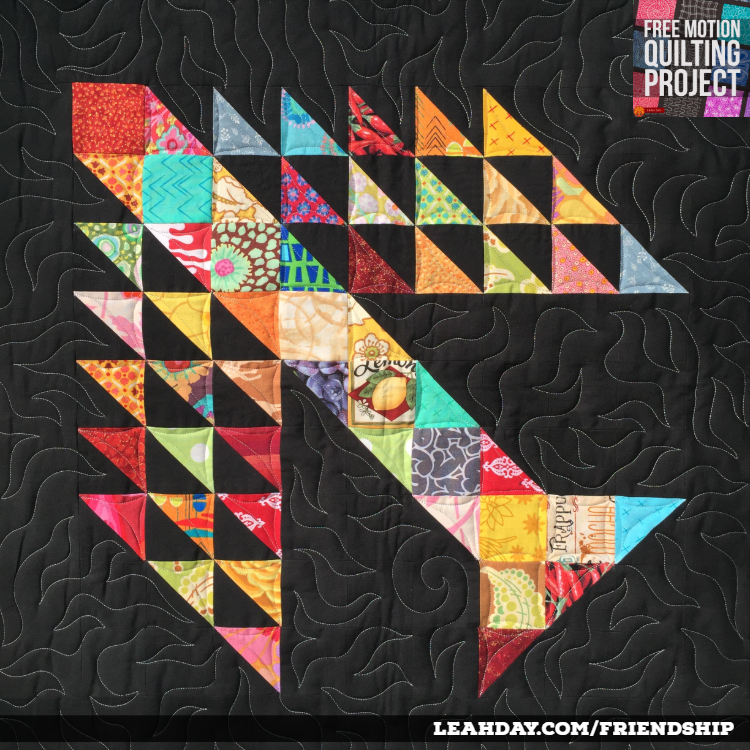
Last week I quilted Undulation over my first Tree of Life block and I LOVED the effect! This was All-Over style quilting and I thought it really nicely accented the tree shape and added beautiful texture too:
But I know All-Over Quilting isn’t for everyone or every quilt. Did you think it was a shame to quilt over all 45 half square triangles as if they weren’t there?
So I wanted to quilt my second block and pay more attention to the piecing design. I decided to try corner to corner curves – basically bouncing from one corner to the next corner with a gentle curving line.
Uggh! I HATE THAT QUILTING DESIGN!
Unfortunately I quilted only 6 triangles before this thought popped into my head. Yes, I can be very critical of my quilting ideas and very mean to myself when I make a mistake.
To say it straight – berating yourself is never useful or productive!
I’m working on this habit and my tendency to rip out any even slightly bad looking stitch. Instead of ripping it out, I forced myself to keep quilting. Nope, we’re not changing the design. You’ve quilted it that far, you have to keep going. Don’t stop. Don’t pass GO and collect $200. Just keep quilting.
Wait… that’s not so bad!
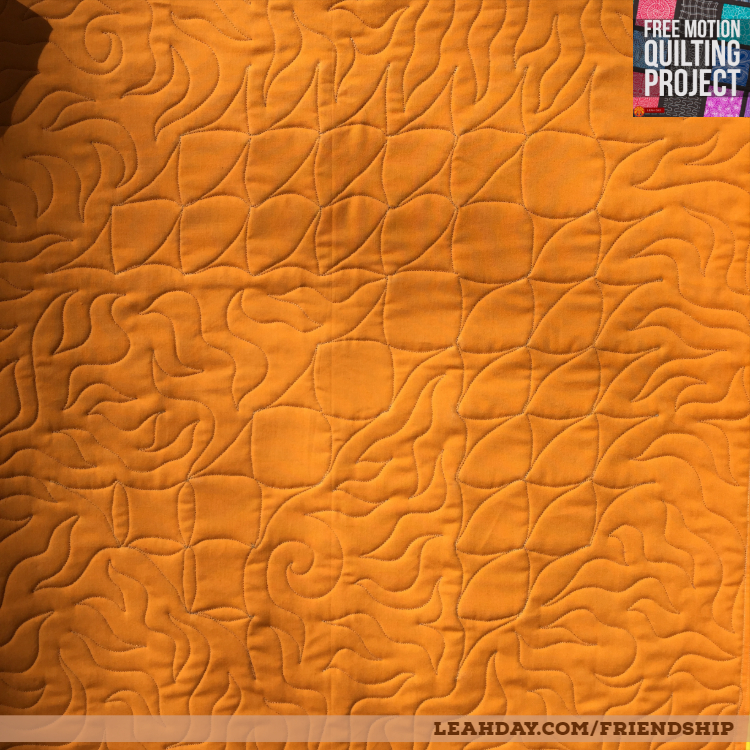
The good news is by the time I finished quilting the entire block, I didn’t think it looked bad. In fact, I really like the design now. You can see it best from the back side of the block:

Once I finished quilting, I suddenly liked the design. Sometimes you just have to muscle through it to the end!
It doesn’t matter that some of the gentle curves are deeper than others. When they all group together over the tree, you just see the pretty curving texture. You can’t see the slightly wobbly, demented curves in comparison to the others.
So when you feel extra critical about your quilting, just remember to KEEP QUILTING! Don’t stop just because the critical voice in your head is barking at you. Keep quilting and I promise the more thread you get on the quilt, the better it will look.
And besides that, ripping out stitches is a huge waste of time! If nothing else, I learned something from this experience that I can apply to future blocks. That is the whole point!
Click Here to pick up your patterns for the Friendship Sampler Quilt Along. It’s never too late to join in the fun! You can begin making your blocks and quilting along with us anytime because the videos and tutorials will remain online for you to follow forever.
Let’s go quilt,
Leah Day
Check out the other tutorials I shared for this Tree of Life quilt block:
- How to cut scraps for the Friendship Quilt Along
- Piece two at a time half square triangles
- How to piece the Tree of Life Block
- Quilt the Tree of Life Block with Undulation
- Longarm Quilting on the Tree of Life Block


Leah,
I also have the Qnique 15r, and just did a quilt of a puppy. I decided to use the same stitch as you did for his furry parts. I also didn’t like how my stitches were going, but kept quilting. About 2/3 the way down, I happened to look at the back and noticed that my tension changed when I changed bobbins. So, I ended up ripping out everything back to when I did the change. So, I got plenty of practice on that design. Still critical of the stitches, but I wouldn’t rip unless I have to.
Very good Linda! I know tension issues are no fun and yes, that’s something I would likely rip out too. Try to remember to pull the machine to the side and run a tension test before diving back in. I’m sure you won’t forget after this quilt, but it takes time for this to build as a habit. I hope you love the finished quilt!