
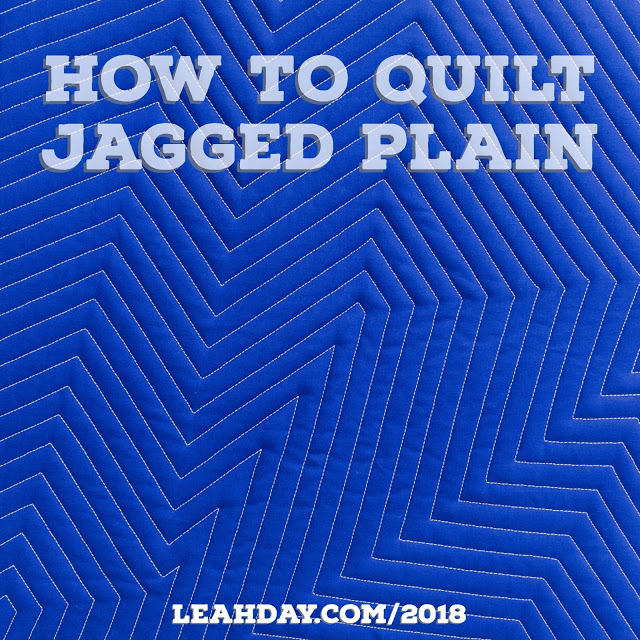
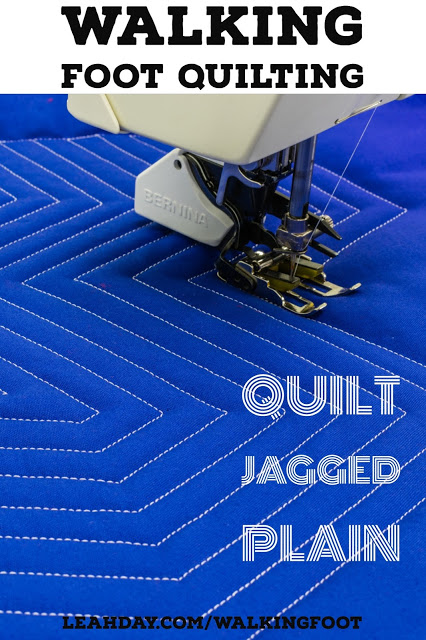
Walking Foot Quilting: How to Quilt Jagged Plain
Explore Walking Foot Quilting with Leah Day – This is the book we’re using as a guide to our quilt along! If you’d like to learn more about walking foot quilting and find the patterns for the quilts we’re making together, you’ll need to pick up a copy.
Click Here to find this book in print format.
Click Here to find the ebook version.
Click Here to find the kindle version of this book.
Now you might be looking at Jagged Plain and thinking – isn’t this just Zigzag Lines, but with a bit more punch?
In an way, you’re right. Both designs are created with straight lines that zigzag in different directions. The difference is in how you plan and think about the design.
With Jagged Plain, I begin by marking the foundation – the starting line that guides the design. Yes, this could just zigzag evenly across your quilt, but I encourage you to make this more interesting. Jagged Plain can double back and twist, so long as the lines remain straight and angles sharp, and create a much more interesting texture for your quilts.
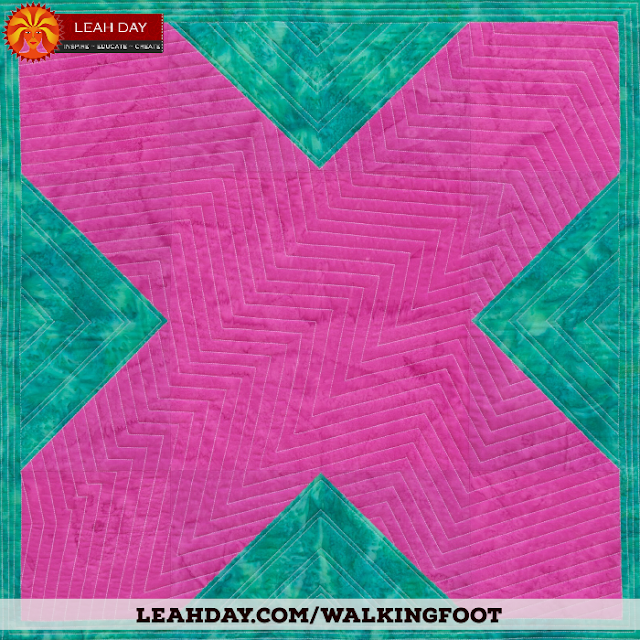
I used Jagged Plain in one of the “X” blocks for the Hugs & Kisses Quilt. This is far more interesting and free form than if I’d quilted Zigzag Lines into the same area. This is another beautiful quilt from the book and a great way to dive deeper into the quilting designs and get to know them better.
Helpful Quilting Tools
Yes, is absolutely possible to quilt your quilts with just a quilt, thread, and a sewing machine. But if you find yourself having issues keeping the quilt moving smoothly or controlling where it’s going, it’s good to know what tools can be helpful for the job.
To keep a good grip on the quilt, I always wear quilting gloves. I love Machingers best because they’re lightweight, but super grippy and my hands don’t sweat when I wear them.
I also baste my quilts and blocks using Pinmoors and Flower Head Pins. The Pinmoors are anchors that cap the sharp end of the pin so I don’t get stuck. They are much easier to insert and remove than safety pins and easier on my hands.
I also always have Queen Supreme Slider on my sewing machine because it helps the quilt slide easily over the surface. I don’t want to think what it would feel like to quilt with grippy Minky material on the back without a slider to help it move. Click Here to learn how I set up my machine for walking foot quilting specifically.
So that’s it for this week! I hope you enjoy learning how to quilt Jagged Plain. Remember, we have a lot of walking foot quilting tutorials available so make sure to check them all out right here.

And if you’re ready to go on a quilting adventure with me, be sure to pick up the book Explore Walking Foot Quilting with Leah Day.
Let’s go quilt,
Leah Day
It would be helpful to show the expanded lines where you have squared off the point. This would have helped with Super Star also, it took me a bit to figure out what to do once I got to the end of a section.
Jagged plain is a useful design to fill in large spaces. Thanks Leah.