Walking Foot Quilting: How to Quilt Curving Lines
Would you like to learn more about walking foot quilting? Join me for a machine quilting adventure and explore all the things you can do with this beautiful style of quilting. You’ll learn how to quilt 30 designs, plus how to use them in quilts of all shapes, sizes and styles, including a wholecloth quilt!
Click Here to find the book Explore Walking Foot Quilting.
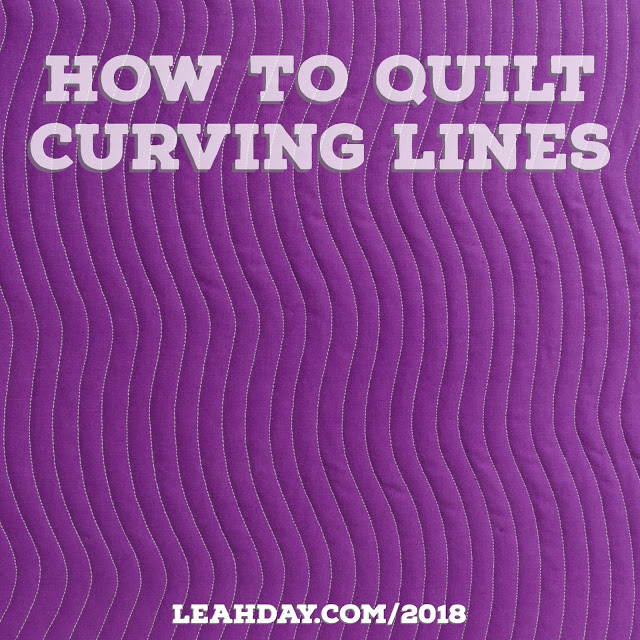
There are three designs I consider the baseline for walking foot quilting: Straight Lines, Zigzag Lines, and Curving Lines. These are the basic three shapes you can form easily with a walking foot and pretty much all other designs are just a variation of one of these.
Of the three, Curving Lines can be the trickiest because it’s…well…curvy.
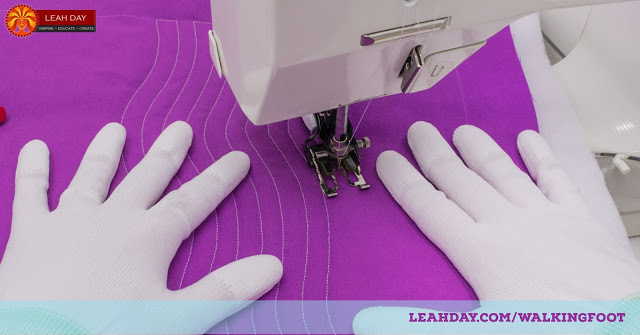
It’s not that curves are hard, it’s just that they require a bit more time and attention to quilt with a walking foot. To create the curves, you’ll need to pivot your quilt and push it gently to form the curve as the walking foot feeds the quilt forward.
It’s better to quilt shallow curves so you don’t have to shift the quilt dramatically. As you stitch a small curve you can angle the quilt very slightly with every stitch so the walking foot manages the direction changes.
Watch Out for Whiskers!
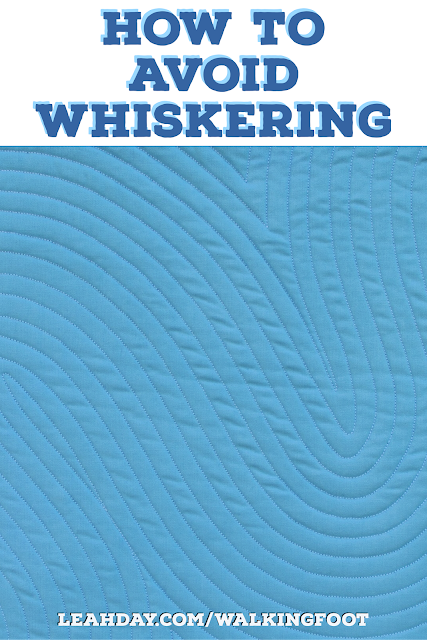
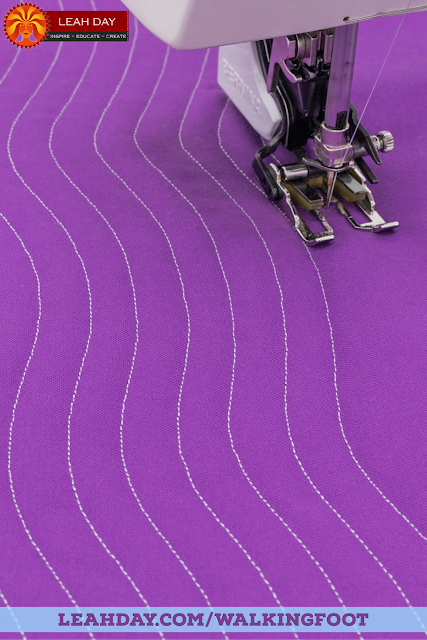
But there is a weird thing that can show up with curves, even shallow ones. Quilting at an angle to your fabric can create ripples and this is especially prone to happening when you’re shifting the quilt into a curve and quilting at the same time.
See those ripples that stared between the curves in the photo above? This is called whiskering. It’s just a gentle ripple forming on the quilt surface and it’s really not so bad. I wouldn’t rip out stitches if this shows up.
But whiskers can lead to pleats. If the quilt is particularly big and the whiskers become deeper and more fabric shifts, it can create enough distortion that the fabric forms pleats when one design overlaps another or you run up against some sort of outline, like stitching in the ditch.
To avoid whiskering, lift up on your foot often to reduce the tension on the quilt and pressure of the walking foot on the fabric.
Wear quilting gloves and flatten out the quilt with your hands as you stitch the curves. If the curve becomes deep, stop, lift the foot, and rotate the quilt slightly to follow the angle rather than trying to stitch and twist the quilt to follow the path.
That’s a lot of curves!
I love quilting on a 1/2 inch scale with my walking foot because that’s the automatic spacing I get when I use the edge of the foot as a guide. But you could increase this scale and have less lines to quilt and less time on your project by using a guide bar.
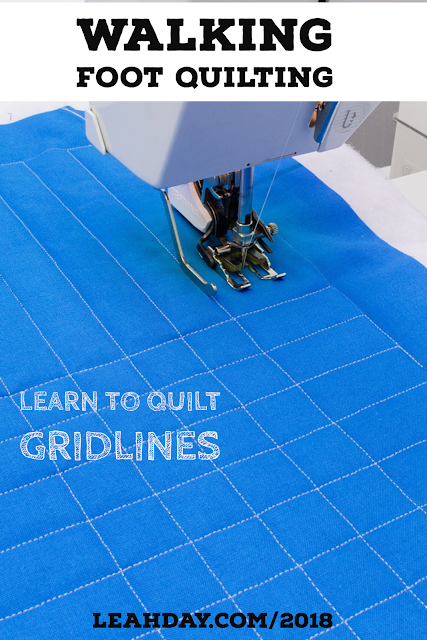
Click Here to see how I used a guide bar when quilting Gridlines.
You can also mark the design on your quilt too. This is especially helpful when you want flowing curves that don’t perfectly echo one another or you want a much wider spacing of 4 inches or more between the lines.
Click Here to find my favorite marking pencils for fabric marking. No, it’s not cheating to mark a design on your quilt! You have to mark designs when you want the lines to fill a space symmetrically or in an exact way.
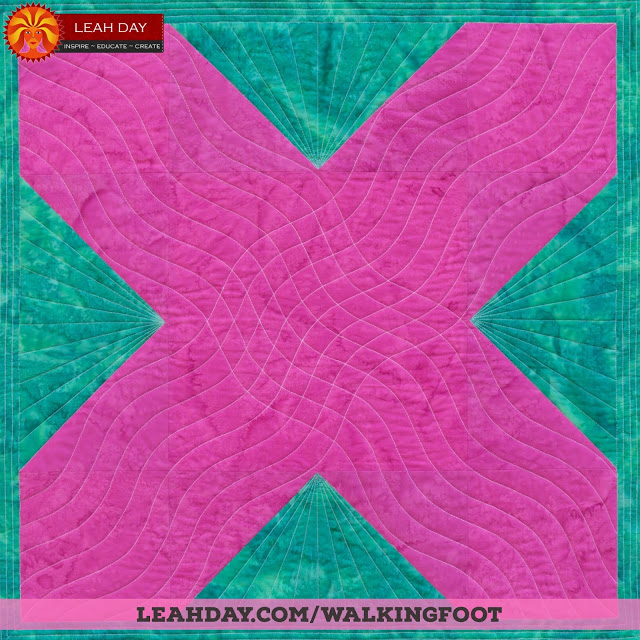
I definitely marked the curves in this “X” block from the Hugs and Kisses quilt so it formed evenly spaced curves that crossed in the center. When you overlap curves like this, I call this Matrix. That will be another design we’ll learn how to quilt together soon!
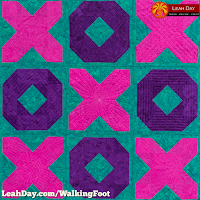
If you’d like to get more practice with walking foot quilting on blocks so big they feel like baby quilts, consider making the Hugs and Kisses Quilt. This is a Quilt-As-You-Go project with nine supersized blocks and lots of space to quilt many walking foot designs.
You can find this quilt pattern along with Marvelous Mosaic and five other skill-building projects in the book Explore Walking Foot Quilting with Leah Day.
Don’t forget to check out our other videos on walking foot quilting! Click Here to find them all.
Let’s go quilt,
Leah Day

I love how that Matrix looks in the kisses block.
Thank you! I'm so glad you like it!
I finally understand what whiskering is! Thank you for the tips to avoid. In looking back, I think I have whiskering on all my sample quilt blocks so far. http://quiltquest.blogspot.com/search/label/leah2018 I thought I just needed to iron/starch it more before I started the block.
I love the look of curved lines across a quilt. I was surprised to learn I was done with a walking foot. Can this symmetrical design also be done with your wavy ruler? Thanks for the illuminating tutorial.
Yes, most definitely!