
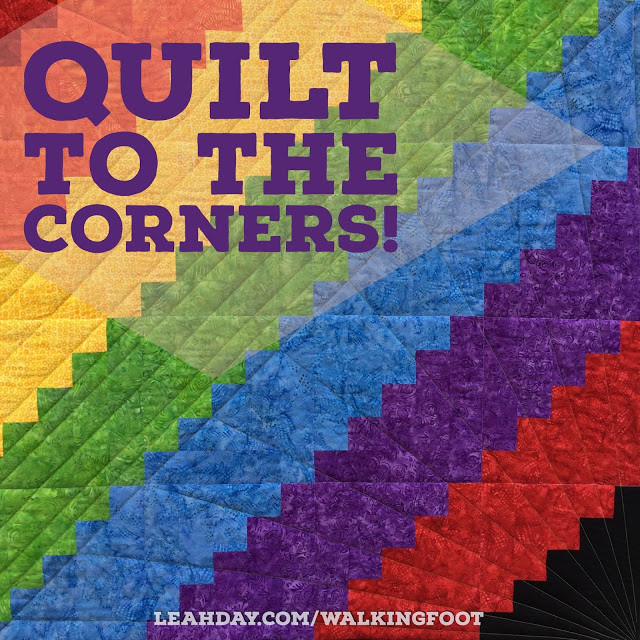
Quilting to the Corners on the Rainbow Log Cabin Quilt
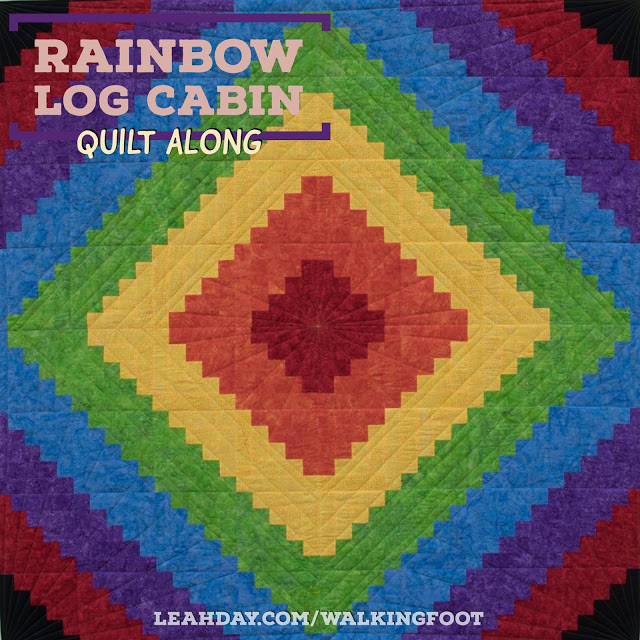
Today we’re quilting through the corners with more Bright Star. This simple straight-line design will fill in these spaces beautifully and best of all, the quilting will feel so much easier because you’ll only have a corner of the quilt in the arm of the machine.
Learn how to quilt through the corners of a big quilt in this new quilting tutorial:
Click Here to find the quilt pattern in the book Explore Walking Foot Quilting with Leah Day.
We’ve shared many tutorials on this quilt pattern that you might have missed! Click here to find all the videos shared so far.
Mark Bright Star Quick and Easy
Just like quilting the center of our Rainbow Log Cabin quilt, we’re marking the straight lines in the corners using masking tape. I found it worked best to mark half the lines in a corner, quilt along them, then mark the second half of the lines.
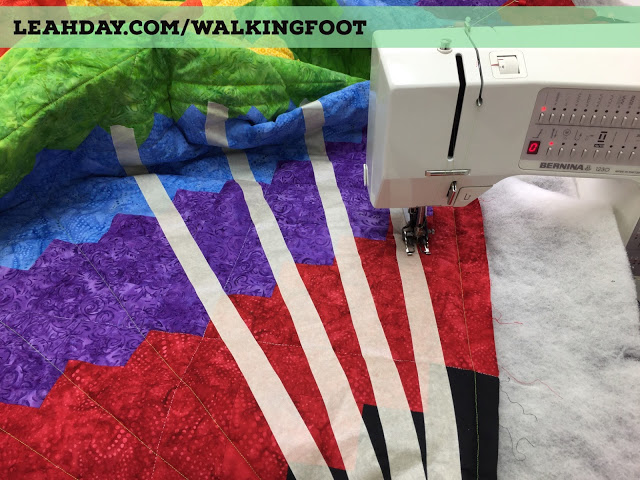
That seemed to work best, but as you saw in the video, I sometimes fought with the tape a bit in the corners because it would easily cover up the area I needed to see to quilt through.
You could also mark the lines using a yard stick and a marking pencil too. There’s no right or wrong way to do it so please experiment with different marking methods to see what works best for you.
Quilting with Contrast
The most frequent questions I’m asked about quilting is about about thread: what color, what to use in the bobbin, and how much to contrast.
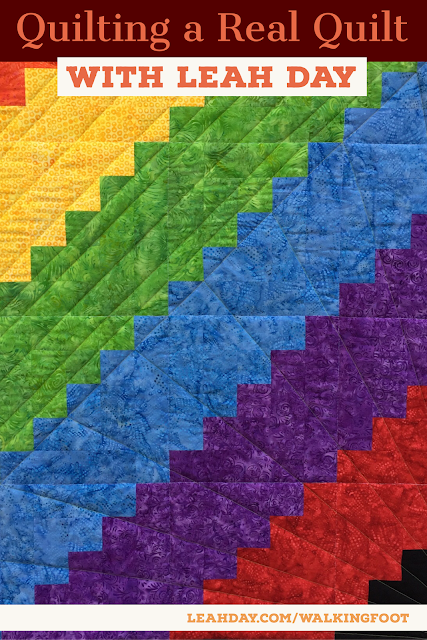
For this section I used Isacord Apple Green in both the top and bobbin of my machine. I always, 99.9% of the time match the same color thread in the bobbin and the top. I do this because no machine has perfect tension all the time and there is nothing more frustrating than seeing little pops of color pulling up to the front or down to the back.
I hate that and struggled with it and yelled at my machines for years before I finally gave up and realized I was acting nuts. Why struggle and fight and give myself headaches when I could instead match thread colors and hide those little tension fluctuations instead?
When I made that decision my life became so much simpler. Instead of worrying and fretting about what was going in the bobbin of the machine and how to adjust the tension to match it, I just wound a bobbin off the top thread spool and I was ready to quilt.
Now for contrasting thread, this is a big one. Apple Green is a strong contrast to the blue, purple, red, and black sections I quilted over in the corners of the Rainbow Log Cabin.
I’m just going to say it straight: I like contrasting thread.
I like being able to see where I’m stitching and I like the quilting to be an element you can see in the quilt. I bothered to stitch it on, I should get some credit for it!
But I understand the fear of contrasting thread on a quilt. What if I mess up? What if my ugly stitches show? What if someone sees my ugly stitches and judges me for it?
I struggled with this myself at the beginning of this blog project back in 2009. I wasn’t a very good quilter and still struggled to travel stitch and echo cleanly. But I wanted to be a good teacher and I wanted everyone to see what I was doing so I started quilting with white thread – super high contrast against the darker fabrics I was quilting over.
And what would you know – my skill shot through the roof in just a few months! Being able to SEE your stitching is essential. If you can’t see it, you’re quilting in the dark and not likely to improve in a hurry.
So moving forward, as you quilt other quilts on your home machine please continue contrasting thread. It doesn’t have to be as bold a contrast as on the Rainbow Log Cabin Quilt, but at least a little contrast so you can see your stitching and improve with each design you quilt.
Now that we’re done quilting the Rainbow Log Cabin quilt, how are you feeling? Did you enjoy this process? Please share your thoughts in the comments below!
And just in case you’ve found this later, please know you can join in the fun anytime. The videos will remain online forever and you can find this quilt pattern in the book Explore Walking Foot Quilting with Leah Day.
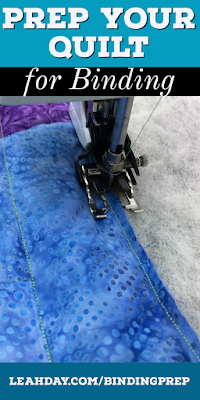
Next week we will wrap up this project with a huge tutorial on quilt binding and then be ready to begin working on our second quilt of the year!
Update – What about the back?!
I received a lot of questions about what the BACK of my Rainbow Log Cabin Quilt looked like. I used a very dark backing fabric so the thread and quilting designs stand out quite a lot.
You can see what the back of the quilt looks like in the two last tutorials for this quilt: How to Bind a Quilt and How to Finish the Binding.
Make sure to watch these videos to see what the back of my quilt looked like. I might not contrast quite as drastically next time, but it’s really nice to see what my quilting looked like on both sides!
Let’s go quilt,
Leah Day