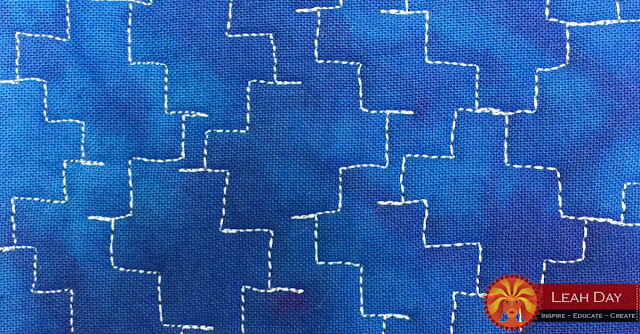
How to Machine Quilt Under the Stairs, Design #479
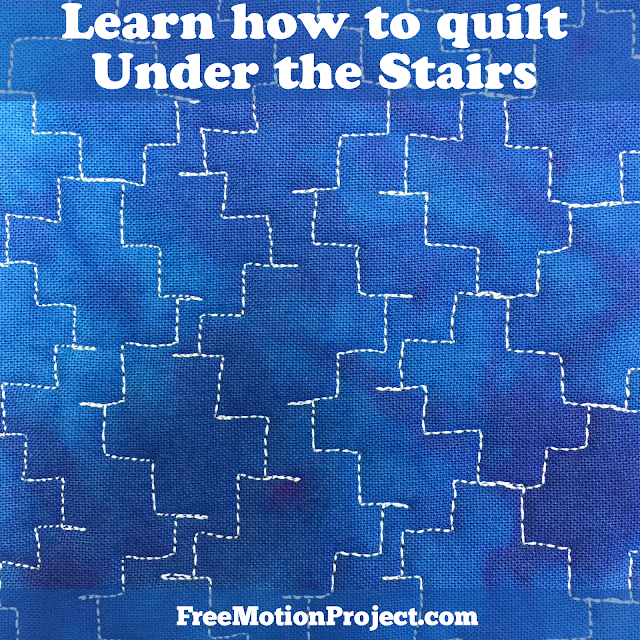
I actually have a little Harry Potter style closet under the stairs in my house. It’s a cute little space and I think I could cram a sewing machine inside if Josh didn’t use it for all of his fish tank equipment. Instead of trying to quilt under the stairs, let’s learn how to quilt the new design Under the Stairs.
Are you needing even more quilting inspiration today? Find an entire year’s worth of quilting designs in my book 365 Free Motion Quilting Designs.
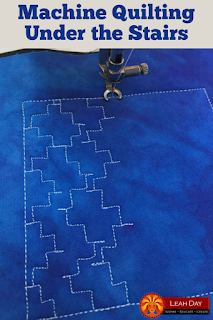
Now let’s learn more about this new machine quilting design:
Difficulty Level – Beginner. This design is very easy because you’re just quilting zigzaggy lines. However, a few times I caught myself going in the wrong direction. Partly that’s from trying to talk and quilt at the same time, but sometimes I’d just forget what I was doing.
So as you’re quilting just repeat the steps of the design – up, over, up, over, travel back, and if you make it a chant as you quilt, you won’t forget what you’re doing.
Design Family – Edge to Edge. Under the Stairs is based on the same idea as Left Turn Right Turn, Curvy Turns, and Angle Turns. Basically you stitch a shape in one direction, then stitch it in the other direction, back and forth to form a column of the design from one edge of your quilting space to the other.
The cool effects are created when the columns of the design interact together. If you aim for a completely random arrangement and don’t pay attention to the shapes at all, you’ll get something like my design in the video.
But if you do pay attention to what you’re doing and intentionally quilt a repeating pattern of lines, here’s what will happen:
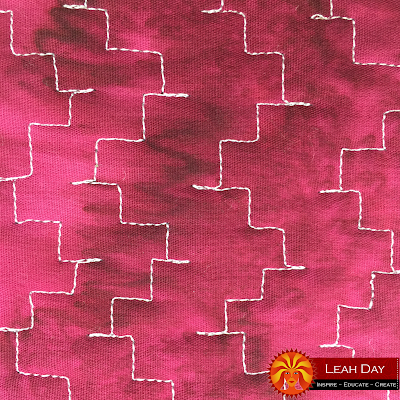
Under the Stairs will form a chevron effect across your quilt when quilted very evenly in each column. This is challenging and I found myself breaking the rules of the design a few times in order to quilt this so evenly.
Now when you force the lines to mesh together from one column to the other, here’s what you get:
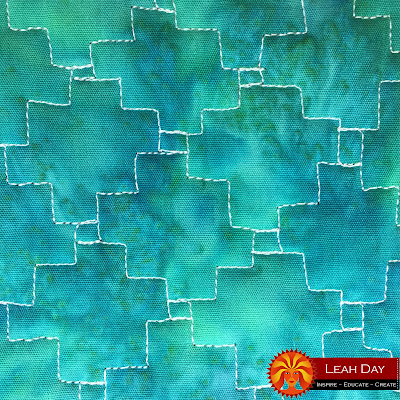
See the cool grid effect? When quilting this version I focused on stitching the stair steps into one another and created the little boxes within the design as the lines came together.
The only thing that is changing between these different effects is what you focus on as you quilt the design. Does this sound complicated? It’s actually really easy. Jump on your machine and see what works best for you!
Where Do We Quilt It? – Edge to Edge Designs are great for quilting in blocks, sashing, and borders because they easily fill from ditch to ditch.
They’re also a great choice as an All Over Quilting design. The straight lines and sharp angles always makes a design feel more masculine to me so I think this would be a great choice if you’re making a quilt for a guy.
Where would you like to quilt this design? Do you like angular designs like this or prefer curves better? Share your thoughts in the comments below!
Let’s go quilt,
Leah Day
