But then I saw
Amy Johnson had also bought this book in an Instagram pic and I was like “YAY! I can ask Amy to make this with me and that will FORCE me to make it!” I seriously would not have started this project had Amy and I not turned it into a challenge and set goals to make progress each week.
This is just my nature. I work well on a deadline set by someone else, but I can’t work on deadlines I set for myself. It’s just how my brain works and how I respond to an outside expectation. If you’re interested in learning more, definitely read Gretchen Rubin’s new book
Better Than Before. (I’m an Obliger, by the way. Just in case you couldn’t already tell).
So we’ve turned this fun project into The Tunic Challenge and it’s a very laid back challenge to push us to sew a beautiful tunic shirt over the next four weeks. The fun thing about the book is all the different variations of the simple, classic tunic design. There are so many ways to change up the neck, the sleeves, the hem, and the fit that you could easily make a whole closet of new garments from this pattern and have them all look totally different!
Now I’ve set these goals pretty low so we won’t feel overwhelmed, but at the same time we’ll make steady progress on this project. For this first week we needed to figure out our size, cut out the pattern, and maybe make a muslin of the garment if we were feeling ambitious.

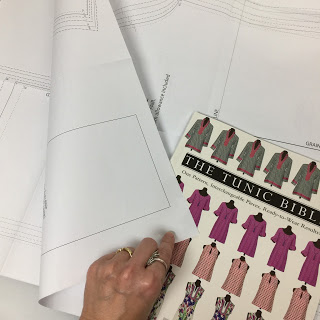
I immediately hit a big ole’ whiny wall when I realized the pattern was printed double sided so I would HAVE to trace it onto tracing paper or fabric in order to cut it out.
Do I have to?Honestly if Amy wasn’t making this with me, I’d have stopped right here!
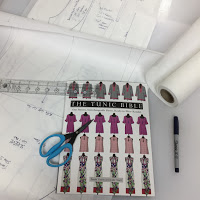
But I pulled myself together and pushed forward. I received a lot of great suggestions for materials to transfer the pattern to. Swedish Tracing Paper is a super popular option, but a lot of quilters also liked Doctor exam table paper which comes in huge rolls, but is easy to see through.
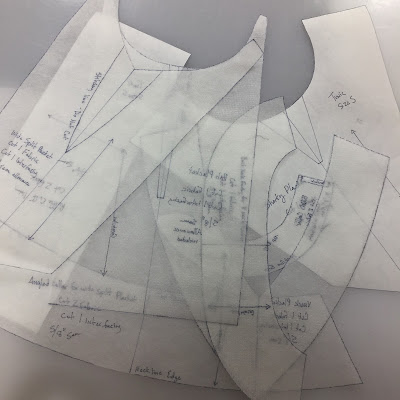
Some quilters also mentioned freezer paper and stabilizer. I choose cut-away embroidery stabilizer because I have TONS of it and it’s thick enough to hold together nicely, but not so thick it’s hard to see through to trace the pattern.
I should be fair – tracing the pattern only took an hour or two and wasn’t so bad. Sometimes the idea of something is far worse than the actual thing. I turned on an audiobook and started tracing.
Then I cut it out. Plackets! Plackets! and More Plackets!
These are used to create the many different necklines from the book. I choose a Elongated Placket which created my favorite tunic in the book. I’m also planning to embellish mine with Reniassance Ribbon too!
The next step is the muslin, or the test garment that will make sure the shirt fits and doesn’t either A – make me look pregnant by stretching too tight across my belly or B – make me look like a sack of potatoes because it’s not fitted at all from shoulder to hip.
Yes, I have received my fair share of well wishing for the new baby when I WAS NOT PREGNANT. Nope, I’m not planning on having more kids. You see a bump? That’s my cookie addiction and it doesn’t need well wishing.
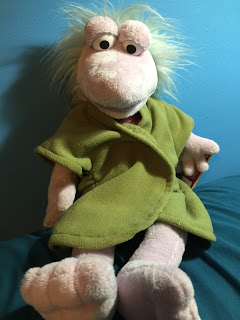
On the flip side, Josh has always made fun of my Frumpy Fraggle tendency – unfitted garments I used to wear that were usually three sizes too big. The name comes from
Mokey, a Fraggle Rock character. Her cozy gray shrug was exactly my beat!
These days I like things to fit a bit better, but at the same time not too fitted. There’s a balance there somewhere that I’m hoping to find while sewing this tunic. I want it to fit nicely, accent and enhance my figure, without feeling too tight and constricting.
But it was around this time that both Amy and I realized we had bitten off more than we could chew in the first week of our Tunic Challenge! After a few posts back and forth on Instagram we decided to hold off on the test garment and fitting until week #2.
Here’s the schedule for the rest of the Tunic Challenge:
Week 2 – Cut and sew a test muslin and adjust the fit as needed.
Week 3 – Select fabrics and any special features or trims and cut out the pieces
Week 4 – Finish sewing the tunic and show it off!
Would you like to join in the fun? Grab a copy of
The Tunic Bible and jump in! We’re posting frequent updates on Instagram so use the hashtag #tunicchallenge so we can see what you make!
Let’s go sew a tunic,
Leah Day
 I immediately hit a big ole’ whiny wall when I realized the pattern was printed double sided so I would HAVE to trace it onto tracing paper or fabric in order to cut it out. Do I have to?


LOL! Leah, we ladies are so funny when it comes to our figures. I've been thinking of how trim and svelte you are and how huge I am. Here's to creating tunics that fit and flatter, no matter the size. I am so glad we're doing this together.
I completely agree! No matter the size and shape there are going to be clothes accent every great curve and clothes that highlight the bad ones. I've just started fitting my tunic and it's looking awesome so far!
A tip for you Leah. Take the pattern to a blueprint place and they will print it for you and you won't have to trace anything. You can keep the original pattern with the book and use the blueprint pattern that you have cut out! Did this with patterns from a Bag book and it was so quick and easy.
What is a blue print place? I'm interested in this.. Thanks for the tip… Great job ladies.. Im going to buy the book! You gals are awesome! Mona Triplett
That would be a local printer that's capable of printing large format. Blue prints, house plans – they will list that kind of thing as what they specialize in.