Building a Terrace Pathway

My word for this year is Grow and starting today I’ve decided to start sharing a weekly update on my gardens and landscaping projects. My goal this year is to spend more time outside digging in the garden and landscaping the yard.
This is quite a challenge for me because I’m kind of a wuss when it comes to outside work. I really hate getting hot and sweaty, I don’t like dirt getting under my nails, and mosquito bites drive me crazy!
No, I’m not afraid of pulling out a drill and saw and going to town on a home renovation project, but generally if it’s outside work, I’m usually not interested.
Until this year. There are a lot of things in my yard that have been annoying me for a very long time, and this year I have the desire and energy to tackle them. I also have set a big goal for growing more vegetable this summer and maybe even adding meat rabbits to our mini farm of chickens and ducks.
But none of these goals will come to fruition if I don’t start building a habit for working outside every day.
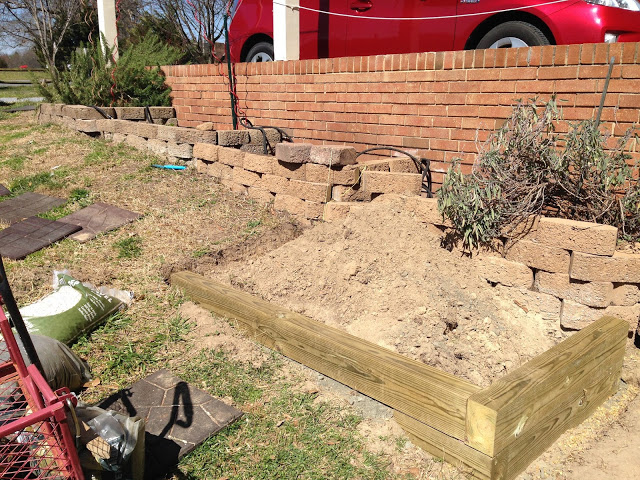
The project this week: building a terraced pathway.

Josh and I put in this series of small terraced gardens the first few years we moved to this house. We put one garden in a year to mark the time we lived here…until we ran out of wall and lost count of the years!
For the last two years at least, I’ve wanted to level this slope and create a terraced pathway in front of the gardens so they’re easier to work in. I always planned to build this path out of similar stone, but after considering the cost and, I decided to use 4 x 6 treated lumber.
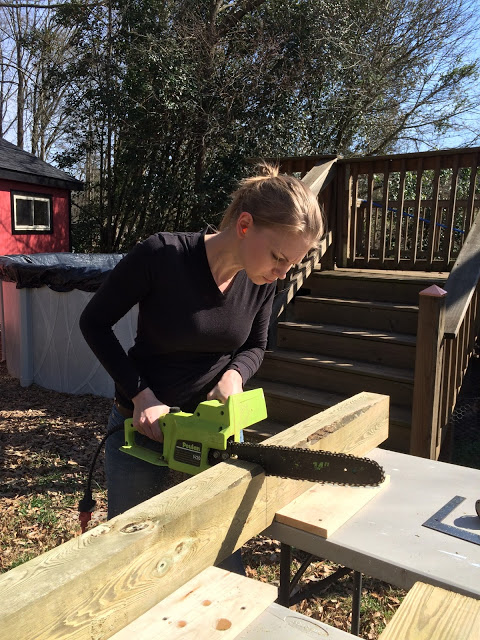
Cutting this lumber has been an adventure! I tried both a hand saw and electric saw, but it took more than 20 minutes to cut one board. Today I elected to use the chainsaw instead. Now we’re cooking with fusion power!

I’ve been pleasantly surprised at how easy this path has been to build. I cut the boards to the right size, then dig out the ground and level the board. To secure everything in place, I’ve been drilling a 1/2 inch hole and pounding 3/8 inch rebar through the wood and deep into the ground.
While it would be better if I was using 1/2 inch rebar, remember I said I was a wuss? I’m not strong enough to hammer the thicker rebar without totally messing up my nicely leveled and squared boards.
Getting outside, enjoying the sunshine, and working on a project I’ve wanted to do for years feels really great. Yeah, I got hot and sweaty, but it was totally worth it because I feel great and I’m really proud of this project.
Let’s go garden!
Leah Day

Please wear safety glasses! And keep the lasscapinf updates coming, your projects are so inspiring!
Exactly what I was going to say. Safety first!
Heather beat me to it! LOL You should also wear ear protection. My hubs has hearing loss due to not using ear protection and now even with hearing aids, the loss is a struggle for him. Please protect yourself. Hugs…
Looks like a great project to give you something different to try out – have fun! I look forward to seeing the final results!
If you look closely, you'll see my bright orange earbuds! I always protect my ears for exactly the same reason.
Wear gloves!
Like! I made the picture bigger and could see them!
So great to see a woman donning power tools and getting jobs done! I do, too. But what Heather and Juanita said. Please wear eye protection, even when you're pounding the rebar. Thanks for sharing about your gardening projects.