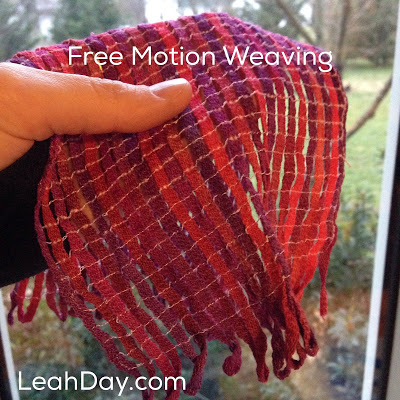
A Series of Experiments

To keep the experiment results easy to judge, I’ve been using one type of yarn with each experiment, arranging it as evenly spaced as possible over a piece of stabilizer, then topping with another piece of stabilizer. I’ve also been quilting over the yarn with simple straight lines spaced 1/4-inch apart for one half and 1/2-inch apart on the other half.

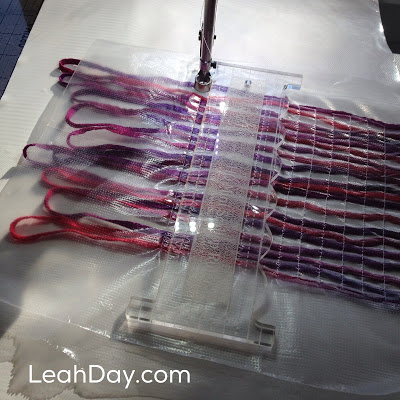
I posted this picture to Instagram with the comment that I was trying to combine as many obscure techniques as I could at once: heat dissolving stabilizer, free motion weaving, and ruler work quilting on my table mounted longarm. This really is a pretty esoteric technique to play with!
The problem is I have several different stabilizers and it’s hard to know what will work best. So far I’ve tried Floriani Stick Wash Away stabilizer and Iron off Stabilizer. Both worked…sort of…but didn’t seem the best choice when I’m considering making a large sweater with this technique.
I’ve also tried water soluble stabilizers which have worked much better, but I wonder how great they will work with the more chunky, knobbly art yarn I’m planning to use next? More experiments are required! Mwahahahah!
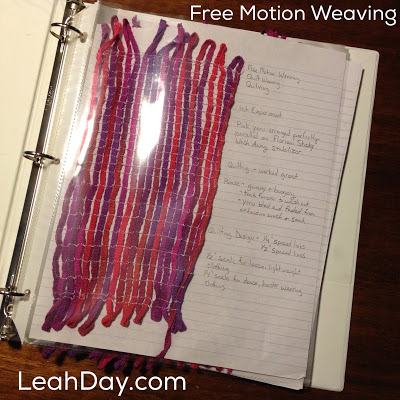
Working on something like this is fun, but it can also be frustrating if you seem to get the same bad results over and over. That’s why I only do one experiment a day, and I’ve been recording the results in a notebook so I don’t forget the materials and methods I’ve tried so far.

This type of experimental stitching and recording your results can be super helpful for all forms of quilting. If you’re challenging yourself to get better at piecing, try different ways of creating a 1/4-inch seam allowance. You’re going to get different results depending on the foot you use, seam guide, stitch length, thread, and whether you move your needle or not.
Regular free motion quilting downright requires experimenting to know what exactly will work with your machine. I can’t count the number of times I’ve heard from frustrated quilters saying they’ve “Changed everything and nothing works!” Instead of changing everything, change only one thing at a time, and stitch out a small sample so you can see what effect each change has on your machine.
So give yourself permission to pull on a lab coat and play Mad Scientist this week! You never know what you’ll discover, and you may just find the exact combination of things that works perfectly for you!
Let’s go quilt EXPERIMENT! Mwahahahahah!
Leah Day

Your Free Motion Weaving sounds interesting – I'm staying tuned! And I definitely agree about the FMQ – once I figured out what works on my machine, life is good! ~Jeanne
What fun. I must play the mad scientist more often myself, at I will have a good laugh. Sometime life is too serious. I look forward to seeing where you go with this. Enjoy.
You can do this technique without using dissolvable fabric. Wrap thread over a frame and stitch across. A frame with little depth is ideal, which you can make out of a wire coathanger.
I love your laugh!! I can hear it!! I feel this way too sometimes when experimenting with my stash. What a life we live!