Dancing Butterfly Design #6 – Zigzag Path
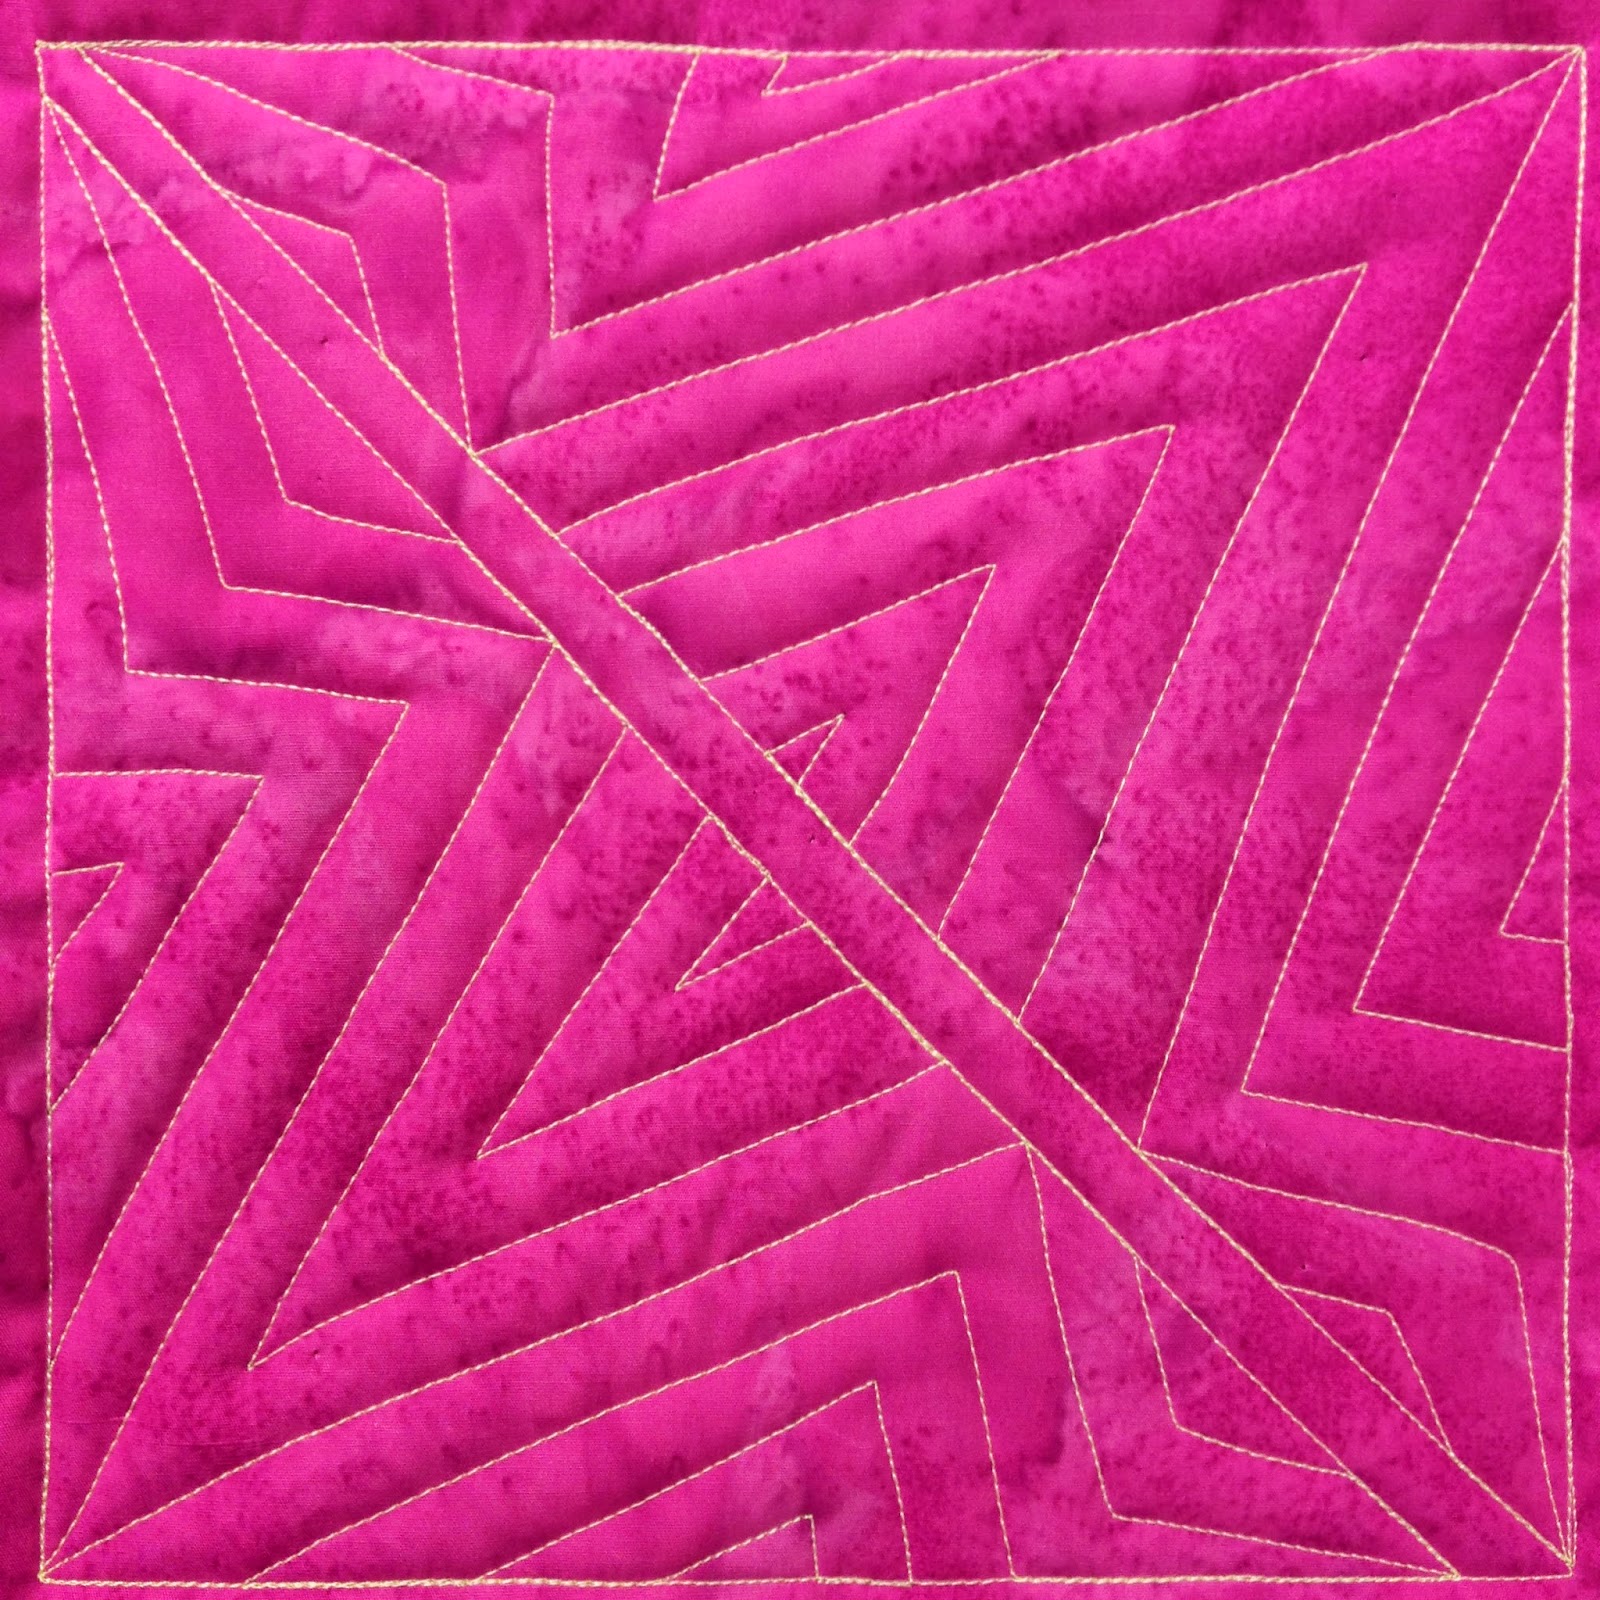
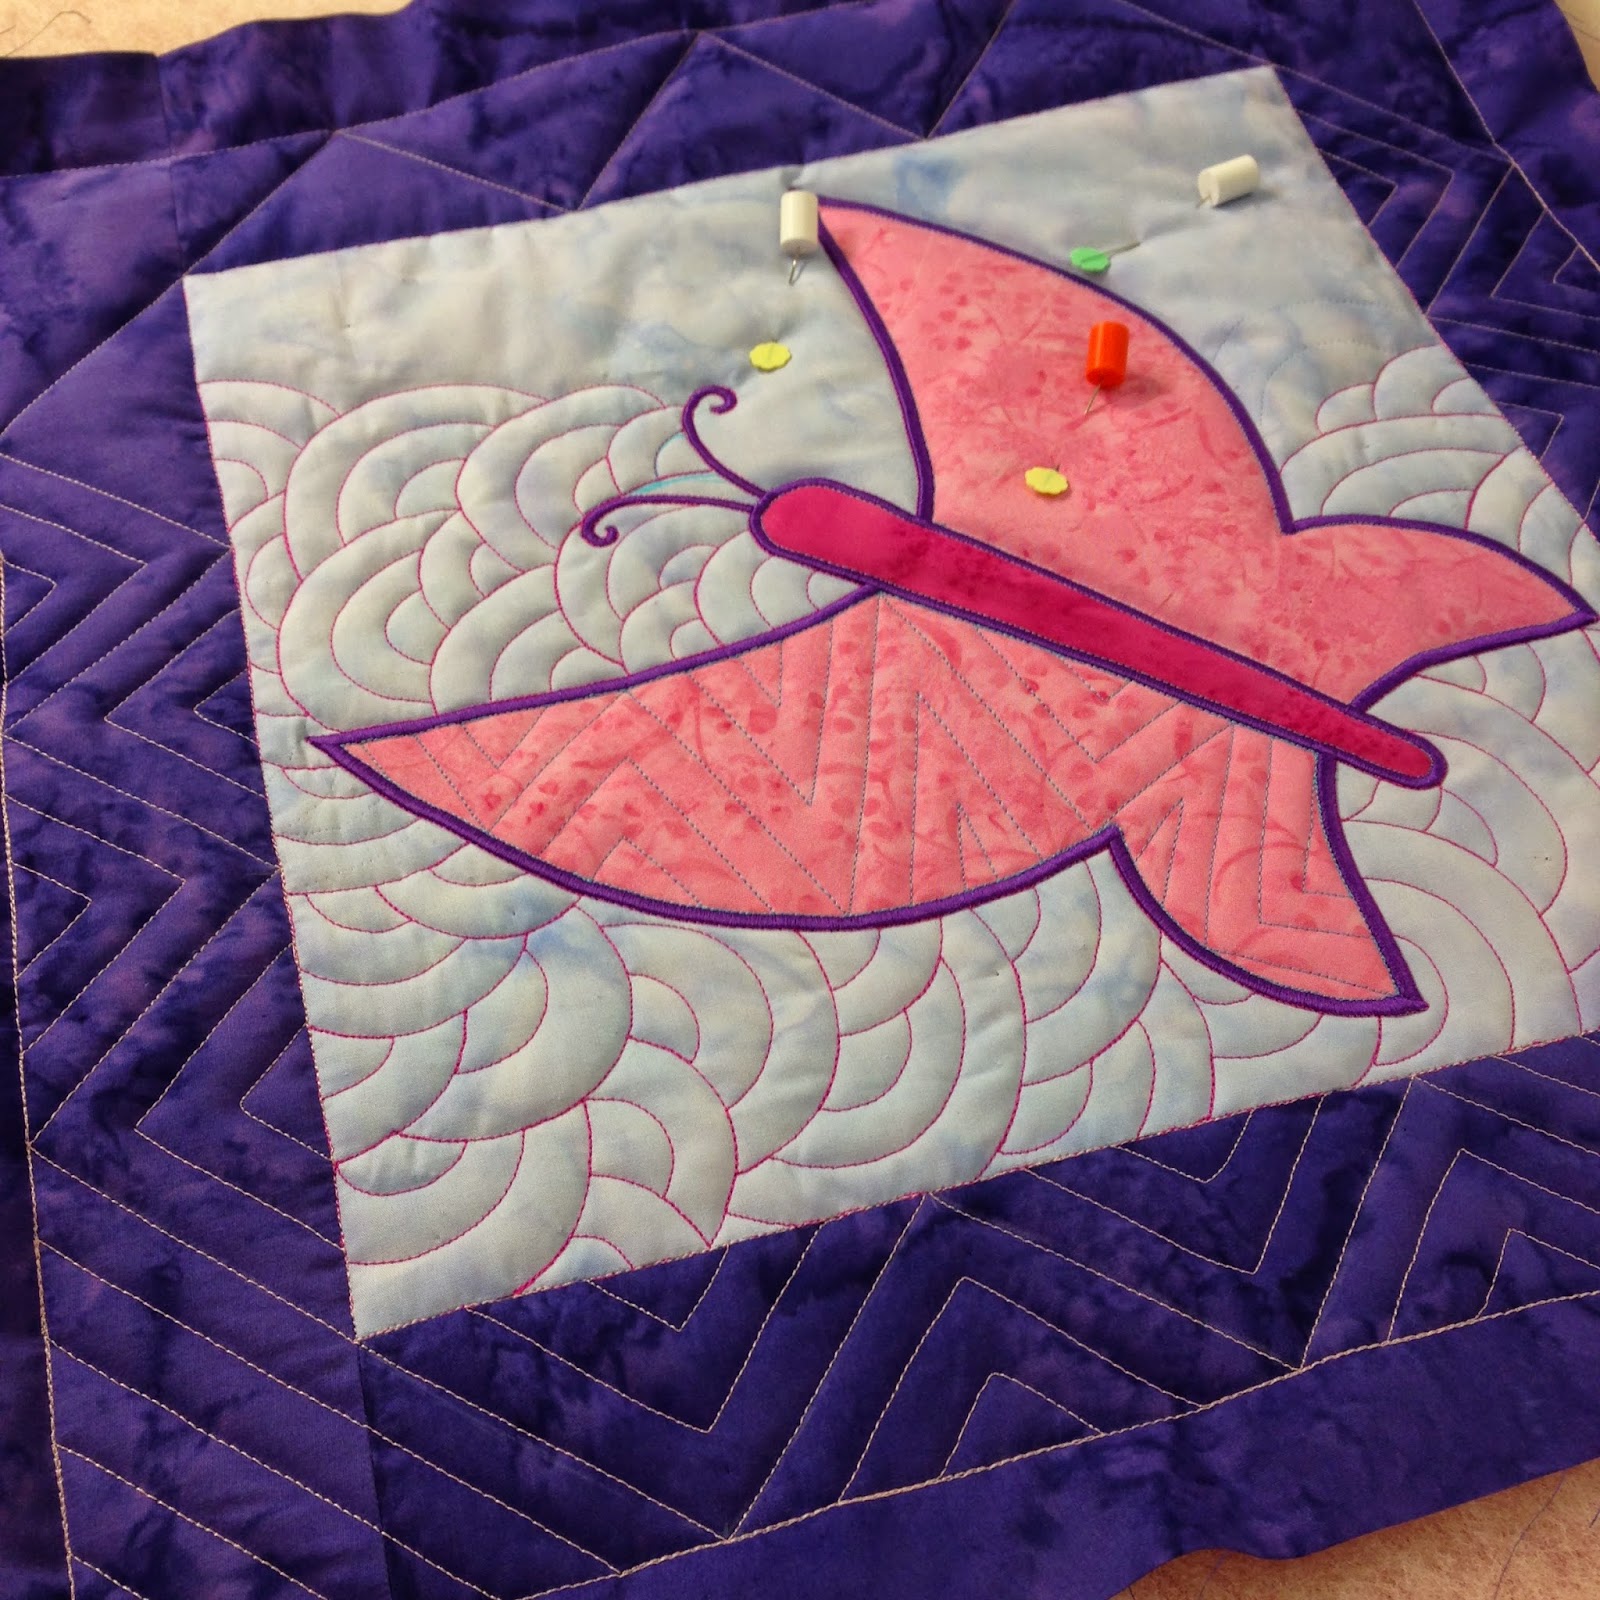
I divided my square in half diagonally and free motion quilted Zigzag Path into both triangles. This design will also work great in sashing and borders and I used it to stitch the border of butterfly block #3:
The neat thing about this design is you can quilt it both with free motion quilting and walking foot machine quilting. First let’s watch the video on free motion quilting this design from the Dancing Butterfly Quilt Pattern:
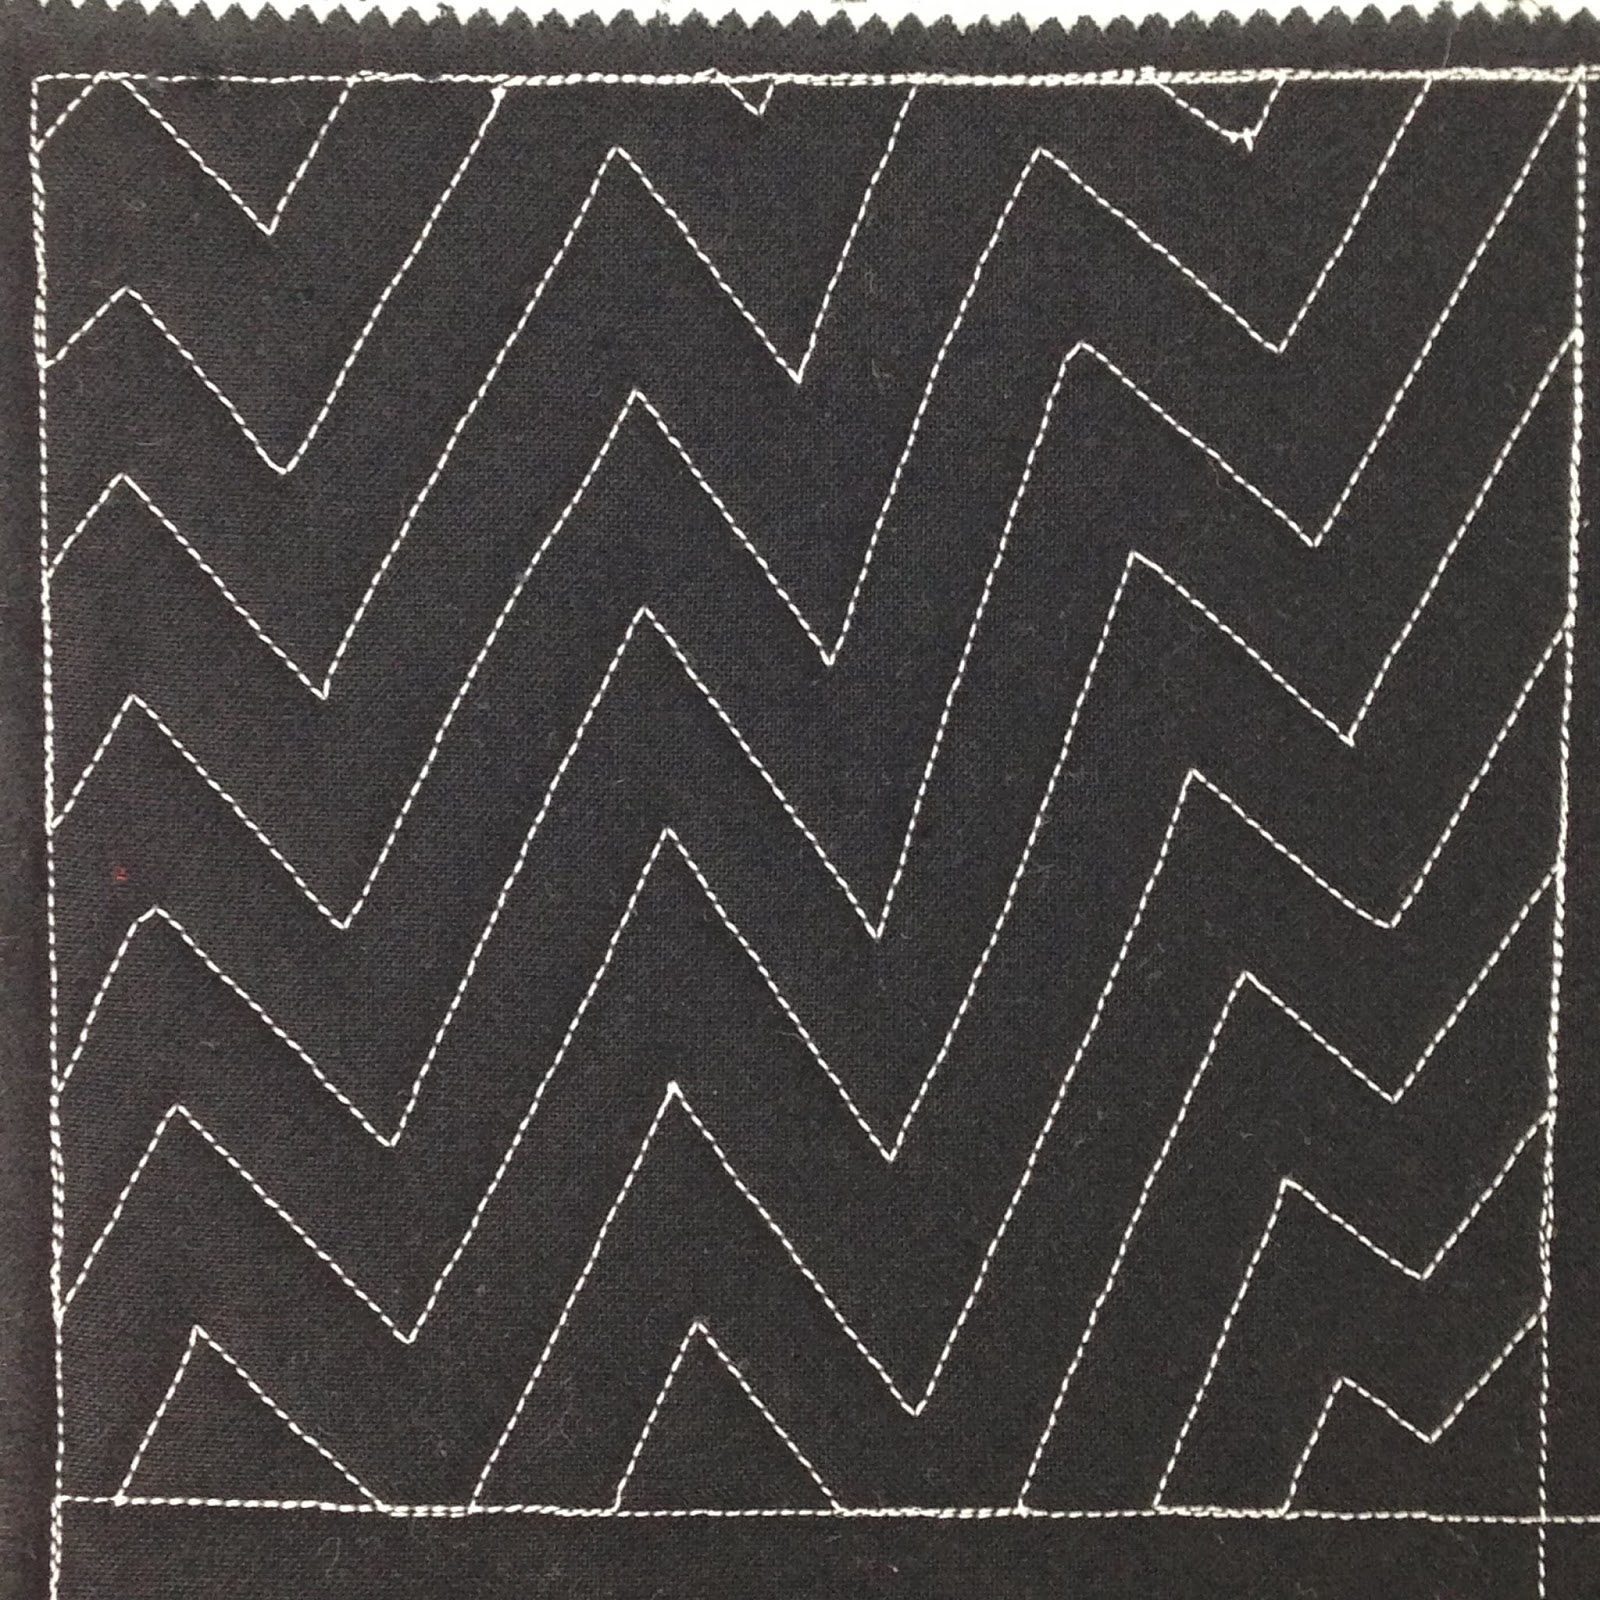
Now for the walking foot version! I shot this video a few weeks ago and just wanted to see if everyone was interested in more info about walking foot quilting. We’re already working on a new project to play with this quilting style!
The Zigzag Path stitched with my walking foot was a bit slower because I had to change directions for every angle. Also walking foot quilting is WALKING – you really can’t go very fast with this style of quilting.
However, the stitch length throughout the block was absolutely consistent, which is much harder to achieve when free motion quilting. Looking at my lines though…they weren’t any straighter! It looks like I’m going to have to practice straight line walking foot quilting a bit to get back in the practice of this style.
I’d love to see how you stitch Zigzag Path! Share your photos in the Dancing Butterfly Facebook Group so we can see your progress!
Let’s go quilt,
Leah Day


Love your blog! I'm making a similar butterfly quilt, but using my grandmother's old hankies for the butterfly appliques. This is my first quilt and I'm kind of nervous about starting the quilting process. Would you mind posting a picture of one of the backs of your squares. I want to try to have a different quilting pattern on the butterfly applique and another on the background, but I'm not quite sure what to do when I get to the background. Do you trace around the butterfly? Thanks so much! Can't wait to see how yours turns out!