
Let there be Light!
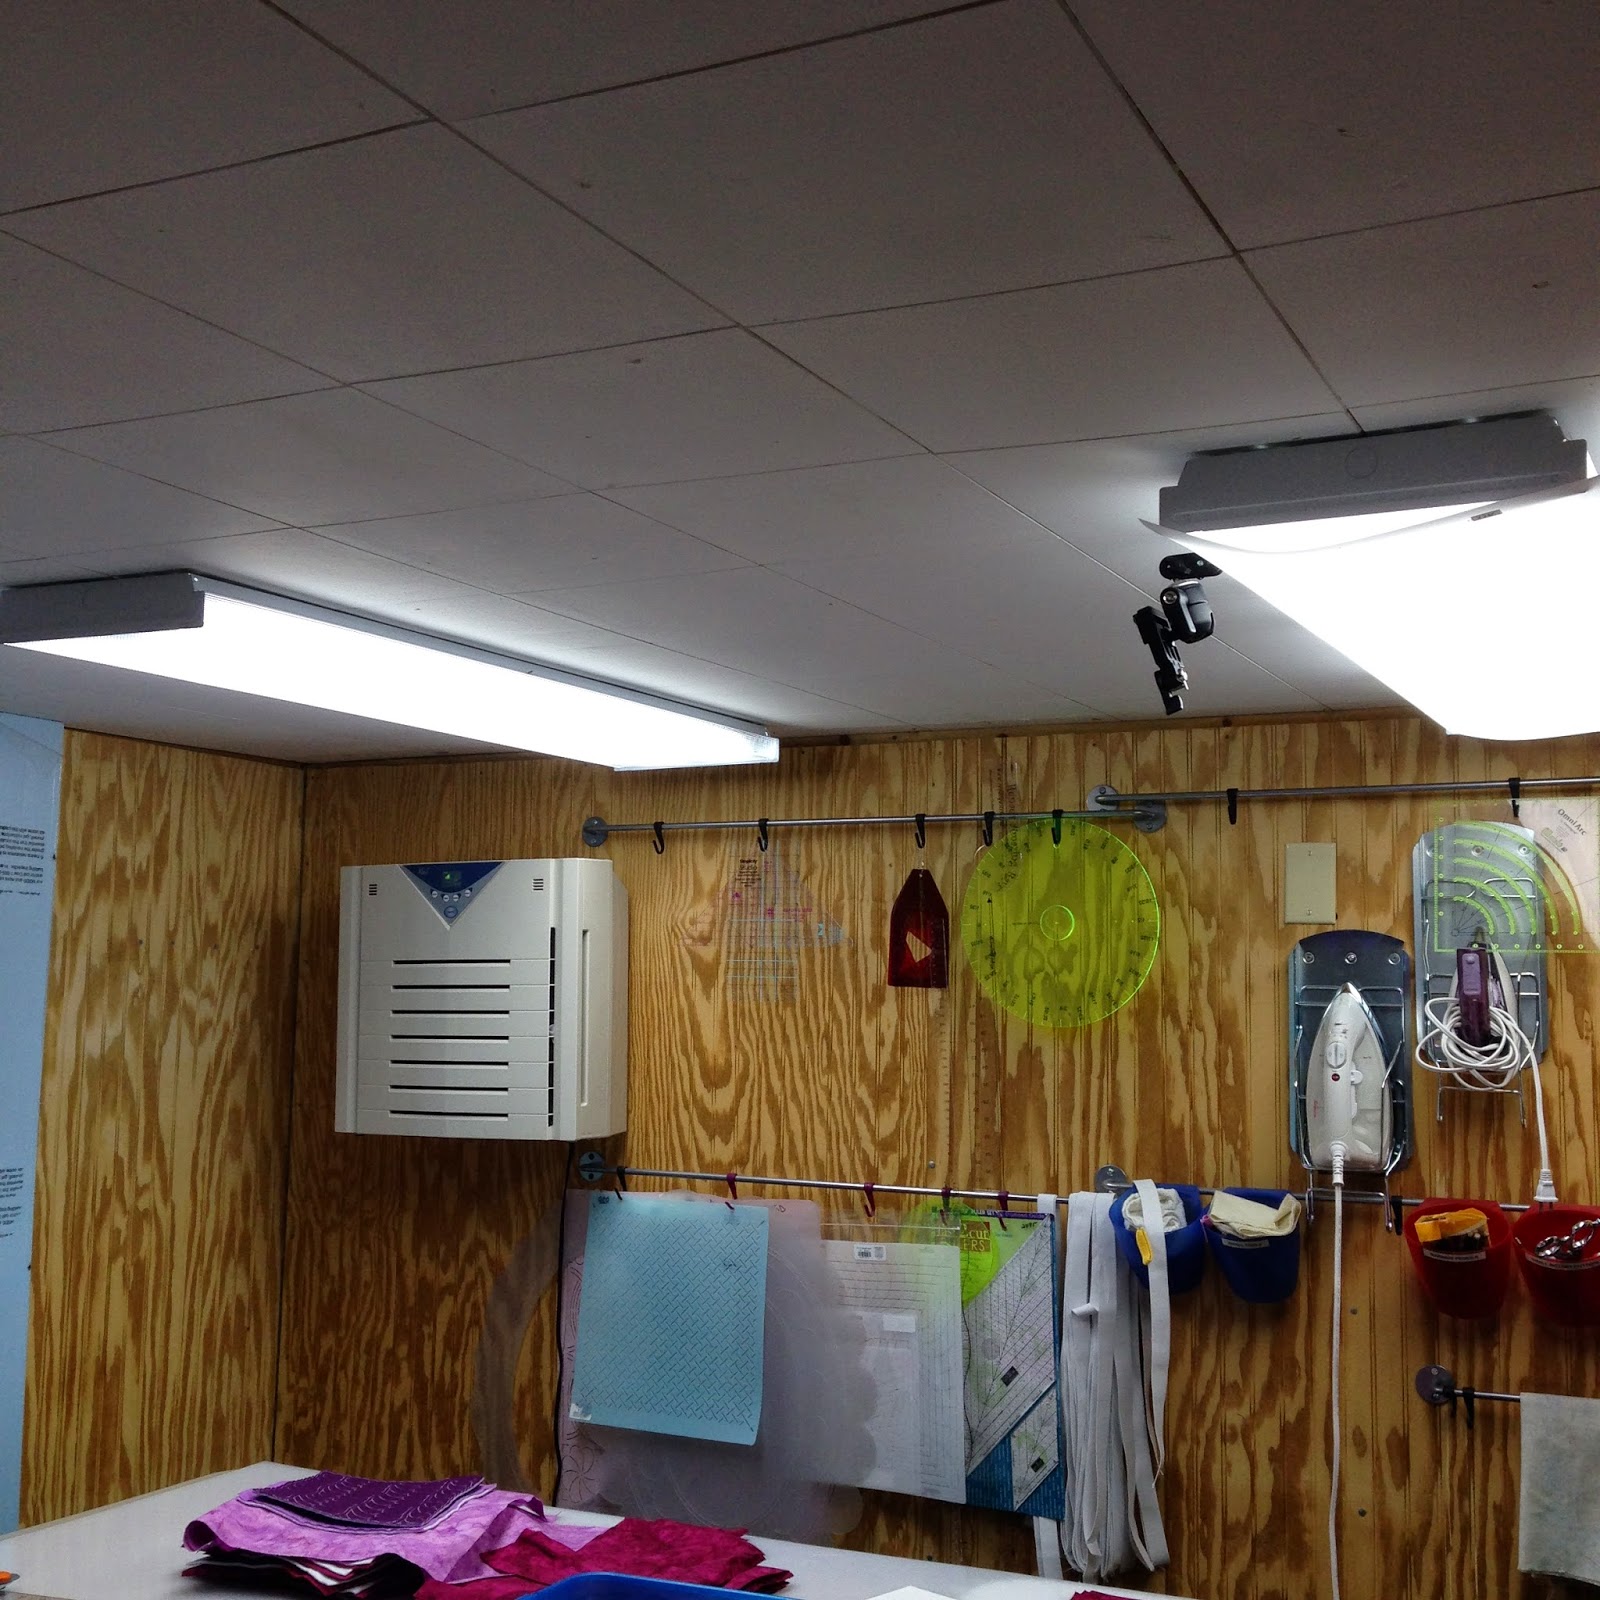
You can compare the light output of this new light with the older one on the left. It was a hot halogen fixture I installed back in 2008, but the bulbs have either shorted out or burnt out and they were so ridiculously expensive, that fixture was always a problem.
The new light is 4 ft long and filled with 4 fluorescent lamps! Thanks to Josh’s knowledge of lighting for his fish tanks he made sure to select “daylight” lamps which seriously pack a bright punch. Here’s the immediate difference in my photographs:
 |
| Old lights |
 |
| New light |
When it comes to installing a new fixture like this, yes, it might be a good idea to contact an electrician if you absolutely don’t know what you’re doing. OR you can go to your library and look for a book on basic wiring where you can learn the simple steps of changing a light fixture or replacing an old switch or socket.
What I like the most about electrical work is how logical it all is. Everything is color coded: black wires, white wires and bare or green grounding wires. So long as you don’t go mixing up the colors, you’re going to be okay.
While this isn’t for everyone, I’m always looking for any way we can save a the money and time waiting on an electrician to come over because they never exactly show up on cue! All told the light and new lamps cost less than $75.00, which is totally worth it in the amount of light they’re now generating for this room.
When I posted the photo above on facebook, it generated a lot of questions about where this room is and what I use it for.
This room is our basement kitchen, which you’ve seen the other half in my dyeing photo:
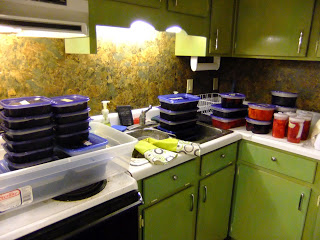
It is a pretty big room, but it’s very awkward. The ceiling is very low in one section for the heating and cooling vents, the way the hall connects into the room doesn’t make much sense, and the floors are original horrible brown tile, and….well I can obviously go on and on!
It’s not a perfect looking space with high ceilings and gorgeous windows, but it is functional and big, which is far more important.
Over the years I’ve fiddled around with it quite a bit to find a good setup for working here. In truth, we’ve never been able to budget for me to have a full 100% remodel of this room, so I’ve always made do with small $50-$100 changes at a time.
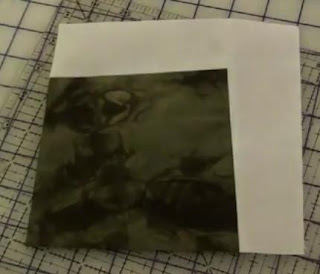
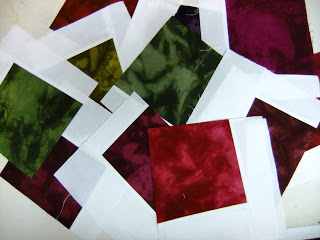
So what do I use this room for? It’s primarily a studio for preparing and cutting fabric. I have a large cutting mat that stretches over part of the tables, and large pressing surfaces that can be also laid over the tables.
The tables themselves are also useful for laying out large quilt patterns, marking using the light boxes, and basting and sometimes blocking.
Up until now the biggest issue in this room has been light. Low ceilings are the bane of good lighting as they cause some really weird shadows. Now with the new florescent fixture in place, I can actually SEE and it’s making an enormous difference when using the room.
When it comes to any sewing or quilting space, my best advice is to make do with what you have, but always have an eye for what will make it better. I keep a little file in my computer of different ideas that I see at places like IKEA, Lowes, and Walmart. IKEA is probably the most dangerous as that store seems to be designed with quilters in mind!
I play a game with myself when I find something interesting and useful. I budget out the whole project: if it’s new tables, how much do they cost? Will I need new screws or other hardware? How much do the legs cost? I break it all down very carefully because it’s easy to overlook expenses in the rush and excitement to change something.
Why spend so much time and energy thinking about this kind of thing? Because a space can always be better, more functional, more useful. Things don’t have to stay the way you find them!
When I was a kid, the family sewing machine was kept in a horrible old cabinet that never felt “right” and was always awkward to use. This entire piece of furniture was huge and bulky and there never seemed to be a good place for it in the house. It always ended up shut up in a corner with no light and no electricity so it couldn’t even be used.
Finally when I was in high school, I removed that machine from the cabinet and suddenly, it became the most useful tool in the house! I could put it on the kitchen table where there was light and electricity and sew through a project and put it away. It would be years before I set up a machine in a table again, or had a dedicated sewing space, but that experience taught me that change is not just good, it’s essential.
If something is not working in your sewing area – CHANGE IT!
Think about what needs to happen to make it better, budget for the change, then make it happen. I promise, you will be a much happier quilter and your sewing ability will likely improve as well!
Let’s go quilt,
Leah Day
I love that you can do your own electrical projects, Leah. DH has worked construction and built most of our home and even he prefers to leave that to the professionals. You go, girl!
Excuse me, ROOM-'S'? Plural? Makes my sitting at the kitchen dining table for long enough to get the sewing machine lightbulb warm once every three months a bit laughable doesn't it! Wonderful space Leah. Thanks for sharing. x
In Australia doing your own electrical work is illegal. Be sure to check your local laws. Love your new light, must make things so much easier.
Thanks! My daughter is going to college and she suggested that I convert her bedroom into a sewing space for me.These tips are helpful and inspirational as I am on a tight budget!
Congratulations Leah! But, have you been looking over my shoulder this week? Your timing is amazing. This week, the insurance finished repairing the carpet downstairs (from a flood-long story) and the next day I started moving in to my quilting "studio." The first thing I did was change the light fixtures to — flourexcent, 4 ft, daylight bulbs!! It's too funny :). Today I was out shopping to cost out putting in a work surface. Hmm. Maybe we were sisters in another life?
Enjoy your space!!
I bought the tables you blogged about from IKEA and I love them. My sewing space is in my very large bedroom, and light mostly is not a problem. Keep sharing your hints.
My husband did most of our electrical work which was perfectly legal in the states we lived in. We had a friend who was an electrician who taught him the easy stuff. Lighting fixtures, switches and such. We called in a pro for the harder stuff.
I have been wanting a table that will go up and down electrically so that I can lower it to sew and raise it so it won't kill my back when I cutout. I would like a cutout that fits for my machine which I can cover when I want to cut fabric. One table to save space but will do 2 jobs.
The only thing I have been able to find costs $3000. Unfortunately we have no power tools or abilities to even try to make something. I keep my eyes open to find options. You are lucky you and Josh are so handy.
One thing I have learned is…if you really want to accomplish something, it can be done regardless of the surroundings/circumstances. You just have to be a bit more creative and patient. There are very few of us with unlimited funds for our craft. Spaces, such as sewing coffee tables, can be made to work just as a dedicated table can. I didn't have a sewing area 'til the kids moved out and, now, it's lovely. The kitchen table worked for me for many years. We are a resourceful bunch which makes us who we are….QUILTERS!
What a huge difference that light made!
I hear you about the piecemeal way of setting up your studio. While I'd love to have one of those "perfect" studios that you see in magazines, I really don't want to spend thousands for that result. Thank goodness for Ikea. I have an Ikea table with my Juki on it and 2 Antonius carts – one for fabric scraps and specialty fabrics and the other with ongoing projects in it. I was also fortunate enough to purchase a second hand Sylvia Designs table for my Bernina. I too have the cool daylight fluorescent bulbs in my ceiling fixtures – now the colours of my fabrics look different and photography is certainly better. Just a little bit at a time and you'll soon have the "perfect for you" studio 🙂
When I was a kid we could wire a plug on an an electical cord and a lamp and simple stuff like that. Now it all has to be done by a registered electrician which makes even the simplest job really expensive, here in New Zealand. Which is why my light box is still not working! Lucky you.
Hahaha – I like your attitude "OR go to the library and find a book…" LOL* That would be my option…I have three kids and stay home so we are on a BUDGET!
I bought the $12 floresents lights that hold 2 bulbs from Home Depot that you just plug in. They call them shop lights. Ran extention cords along the ceiling beams in my basement and have 8 of them lighting my workspace and tables very well. Very cheap and works well. Light is very important.
I recently created a studio in my cellar by buying and entire kitchen of used upper and lower cabinets at the recycle center for $600. I found a 36"wide x 24'long counter top without a back splash($60) and for a cutting table, I found a big conference table with a formica surface($40) that we took the legs off of and laid over the top of a couple of the cabinets and voila! A complete studio 12' x 19'. I too have that 4' daylight fluorescent light over the cutting table. One thing…I made the height of the cutting table about the same height as my elbows and it really saves my back.I painted what was left of wall surface tomato red and am happy as a clam down there. I do have a sliding glass door and the natural light is immensely important in this north country! This is my 3rd and last (hopefully) attempt at a real working studio and it is worth all the careful thought.
I am taking a great online course called organizing your creative space by Aby Garvey of simplify 101. It has given me great questions and help to make my work, quilt space better;, lighting is one thing I want to work on, I love the idea of daylight lamps
Thanks Leah
Take a look at the Stella Light
http://stellalighting.com/
The light really displays true color.
Good luck
So glad you explained about the kitchen. I kept wondering why you would set the kitchen up with all the sewing stuff. LOL. It really looks organized and I know you are glad you did it. You are going to love camping with your family. We camped many times when my kids were young. Enjoyed every trip and it is an inexpensive way to spend quality time with the family! Enjoy your summer.