What Are Pantographs, and Why Quilt with Them?
Click here to find the Curvy Chevron pantograph design. This is one of my favorites because the sharp points give you a nice place to stop in the design. It has a beautiful flowing texture that results in a soft bed quilt feel.
Also check out my other tutorial on quilting with pantographs I shared last week.
What is a Pantograph?
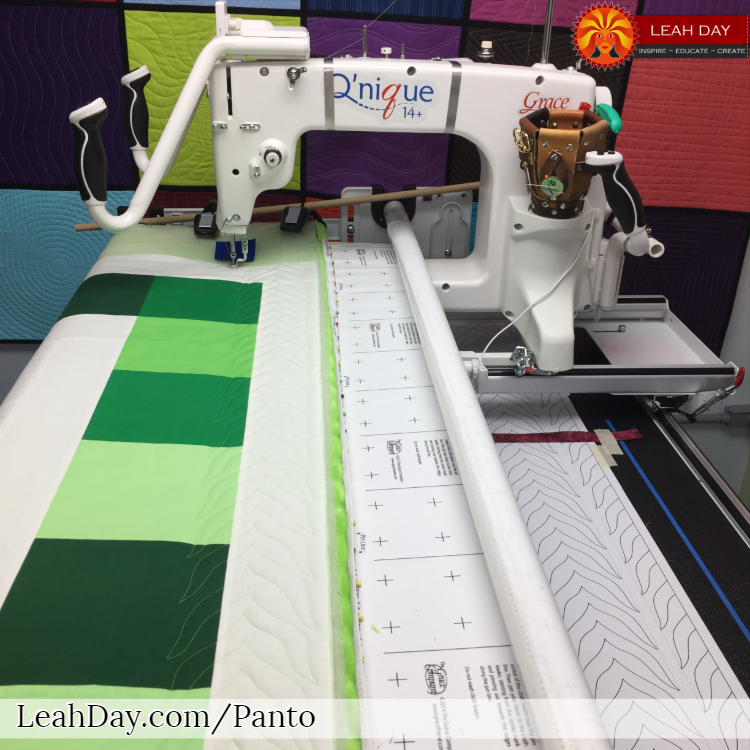
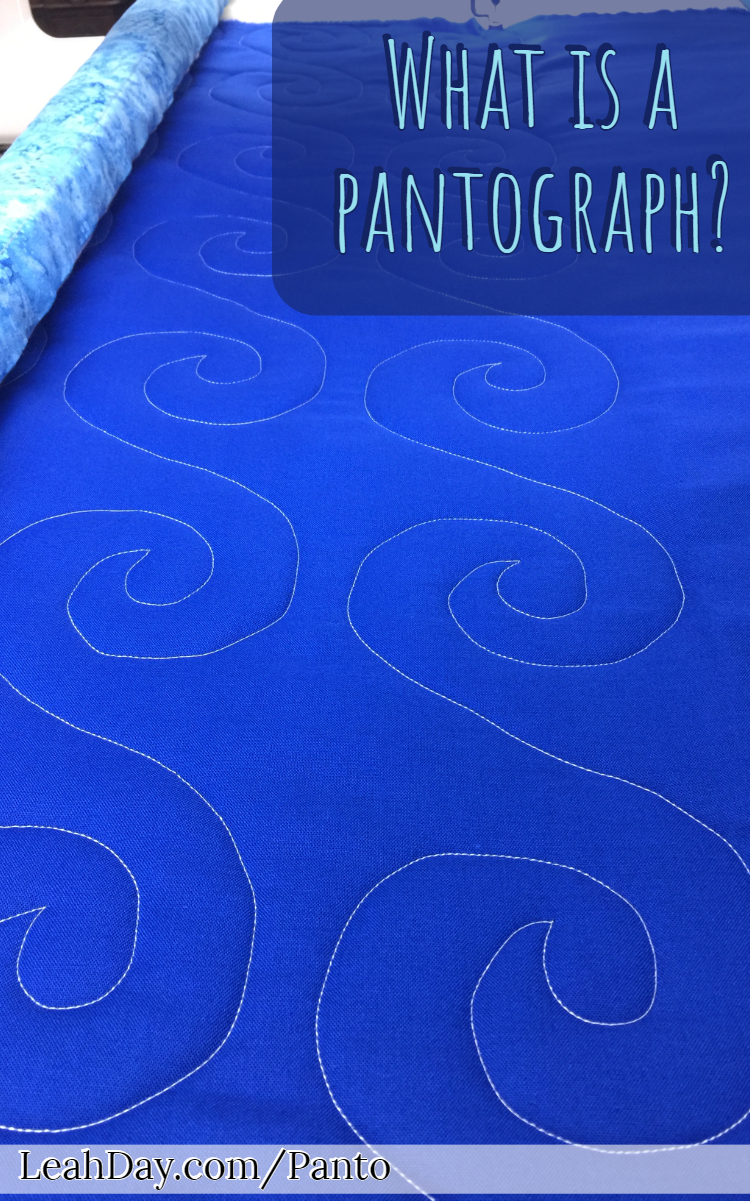
Pantograph designs are a continuous line design printed on a very long piece of paper. You never know how long of a longarm frame you may have one day so don’t cut the pantograph design to a smaller shape. Leave it full-size and simply fold the excess out of your way on your longarm table.

A pantograph design covers your quilt with a single, repeating design quilted in rows.
Pantograph designs repeat and fill a specific width of your quilt. All the pantograph designs I’ve shared so far are 4-inches wide. This means you need at least 5 to 6 inches of quilting will space in order to quilt the design on your quilt.
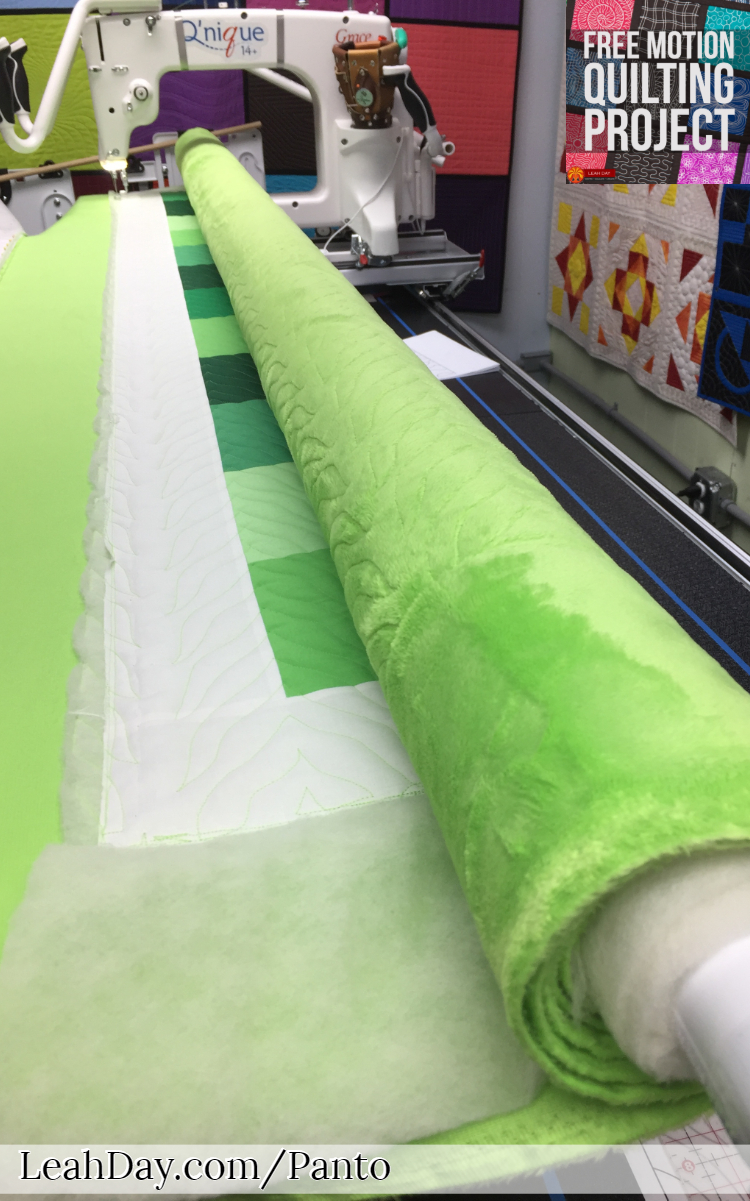
You need a bit more quiltable space than the width of the pantograph design so you have room for the quilt as it rolls up on the back rail of your frame.

You do need to be careful about the size of pantograph you use. As you can see, when the quilt rolls up on the back bar, it takes up more space and will limit the amount of space you have to work in.
The Difference Between Pantograph Quilting and Freehand Quilting
The main advantage of quilting with a pantograph is being able to see the design. You can focus completely on moving the machine, moving your body, and advancing the quilt.
Pantographs take the guesswork out of the design. Another advantage of pantograph quilting is it ensures your quilt will be secured, evenly quilted, and very durable.
It can be hard at first to be able to control your quilting scale. This is the distance between the lines of quilting.
You may find at the beginning you quilt with your lines very close together and then as you warm up, your lines become gradually further and further apart.

Controlling the distance between your lines of quilting is challenging. Having the pantograph to follow helps you quilt the shapes evenly across your quilt.
That’s where a pantograph can be very helpful. By using a laser light or stylus and quilting from the back of the machine you are guaranteeing the design will be quilted consistentlywith no giant gaps left open or extremely dense spots either.
Things to Consider when Picking your Pantograph Design
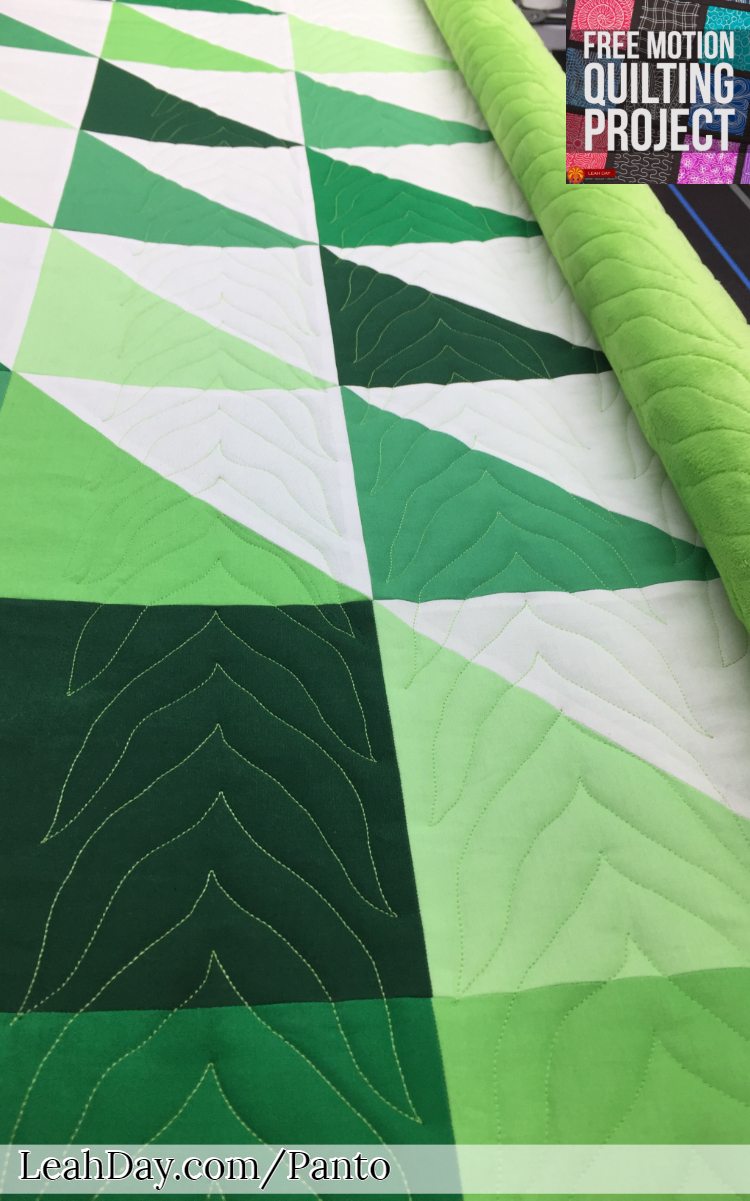
I like designs that accent the piecing and add a nice texture at the same time. I love the effect of Curvy Chevron over my Tree of Life quilt. It added exactly the right subtle texture I needed for this quilt.

I love the effect of this Curvy Chevron design on the Tree of Life quilt!
Easier designs will have more places for you to stop such as points or spots that overlap. You can stop here with your needle in the down position and take a break. Then when you begin quilting again, your start / stop is less noticeable because of the point.
Harder designs will have straight lines, circles and fewer places to pause while quilting.
My three favorites for getting started pantograph quilting all are Loopy Line, Curvy Chevron and Daisy Flow.
Do you have more questions about pantograph quilting? Please leave them in the comments below!
Let’s go quilt,
Leah Day

I am interested in learning how to do pantograph quilting. I have a Unique 15R and want to know what I need to add to my machine in order to do pantograph. It looks like I need rear handles and a laser light. Can I order this through LeahDay.com?
Yes, if you live in the US (lower 48 states)! You’ll need rear handlebars and a Qnique Laser Light. You can find both at https://leahday.com/Grace