
How to Attach an Idler Rail to Your Continuum Frame
Click Here to find an Idler Rail for your Continuum Frame! – It’s never too late to add extra rails and make quilting easier and faster. The Idler Rail is a very easy upgrade and will speed up the process of advancing your quilts.
Click Here to learn more about the Continuum Quilting Frame – This is my favorite frame because it will continually grow with you (hence the name!) You can expand this frame to become bigger if you move and have more space. You can also add a batting rail too to keep your batting off the floor as you’re quilting.
I have found this to be the best frame for quilters who are looking for a long term solution. The main reason why the Continuum Frame wouldn’t be a good fit is if you just don’t have the space to set it up. No problem – in that case, check out the Q-Zone Hoop Frame instead.
If you’re interested in a longarm or frame, don’t forget to use the discount code hellomyquiltingfriends when you check out from LeahDay.com!
Learn more about the Idler Rail
As you can tell from this video, installing the Idler Rail was very simple and relatively quick. Having this new rail on my frame, will fundamentally change the way I advance my quilts from now on.
How the Continuum Frame Works WITHOUT the Idler Rail – As you quilt your quilt it builds up on the back rail on the frame. This puts pressure on the machine bed and will make the machine feel stuck. To fix this, you have to go to both sides of the frame and adjust the back rail to lift it higher.
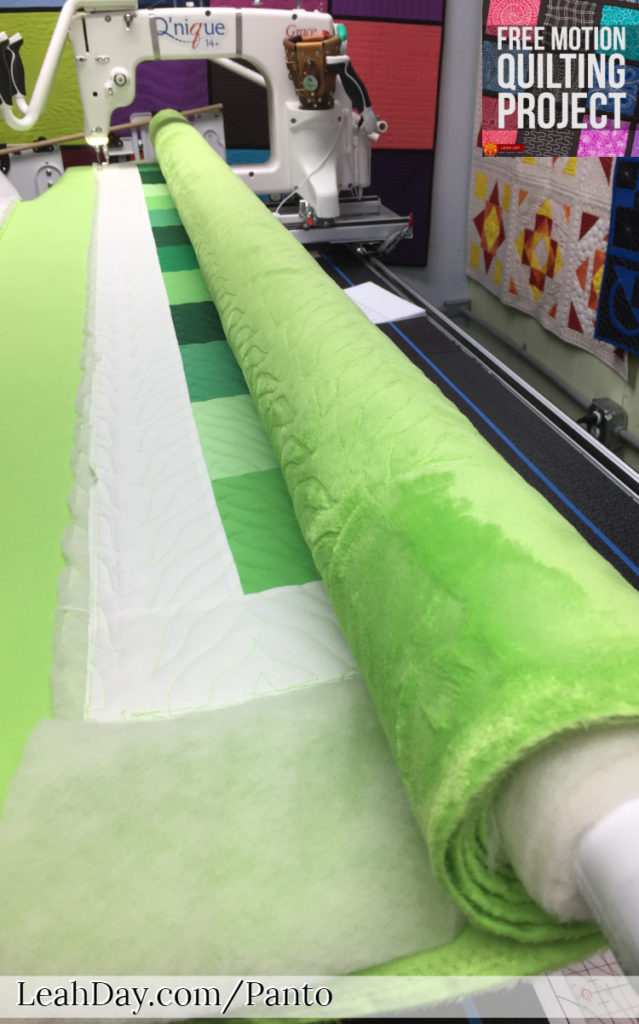
See how much quilt ends up on that back rail? That’s a lot of adjusting that back rail!
It’s not a big deal. It takes a minute or so to adjust both sides of the back rail. But then you have to remember to drop the back rail down after you’ve finished your quilt because it will be way too high for a new quilt. It’s just a bit fiddly and sometimes a pain when you’re in a big hurry.
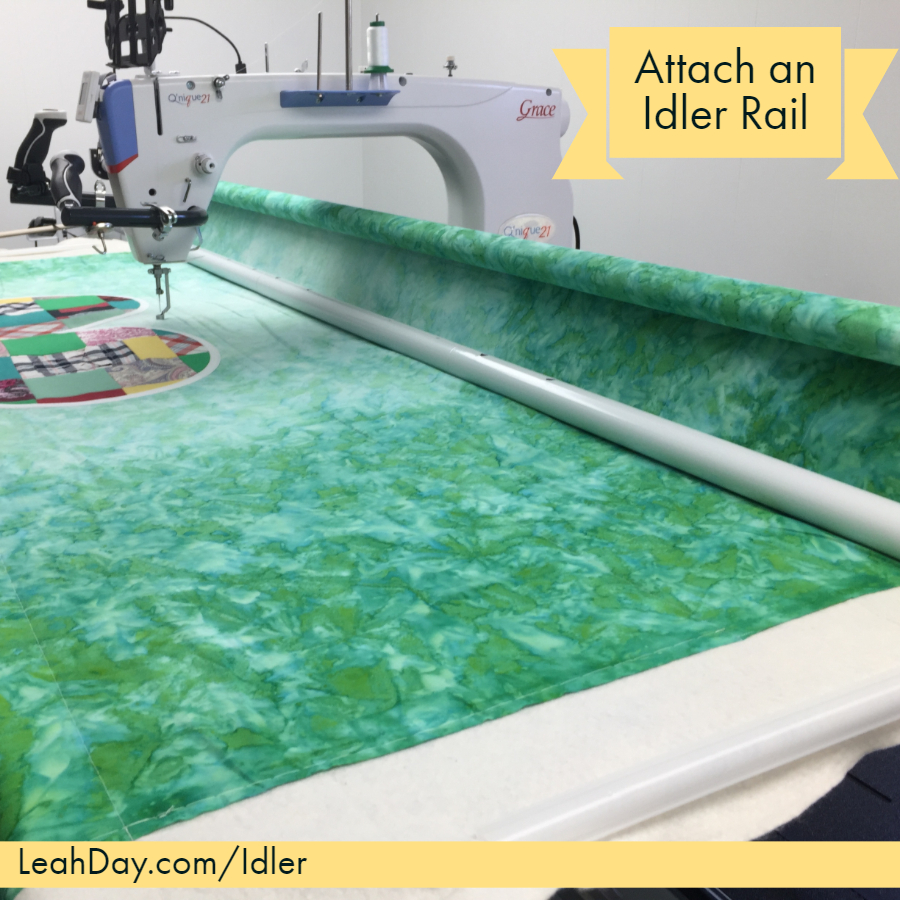
How the Continuum Frame Works WITH the Idler Rail – The Idler Rail goes in the spot previously filled by your back rail. It sits in the same position, about 1/4-inch above your longarm machine bed. The new brackets we installed on both sides of the frame create a new spot for your back rail to go.
Now the quilt builds up in this higher location, no longer putting pressure on your longarm. And you no longer have to stop and adjust the height of the back rail. No more fiddling!
Now the quilt will build up on the upper back rail and I’ll no longer have to adjust it.
Downside of the Idler Rail
There is one downside of the Idler Rail – it will shrink the amount of space you have to quilt by 1-2 inches. The location of the new back rail is slightly further back on the frame, so it will hit your longarm back sooner than it would before. This will reduce your quilting space.
So if you already have only 10 inches to work in with the Grace Qnique 15, that will be a lot of space to lose. I have the Qnique 21 set up on this frame and I’m willing to loose a little space in order to speed up the advancing process.
Is this rail a necessity? It depends. I lived without it for 3 years and was very happy with my frame. But I did get tired of having to constantly fiddle with the sides of my frame.
This is yet another reason why I love the Continuum Quilting Frame! You can change it anytime to make it work better for you and faster at quilting your quilts. Check out the other modifications I’ve made to my frame in the last year:
How to Expand the Continuum Frame
Installing Quilt Motion – Quilter’s Creative Touch 5 Automation
How to Attach Your Leader Cloth
Let’s go quilt,
Leah Day