
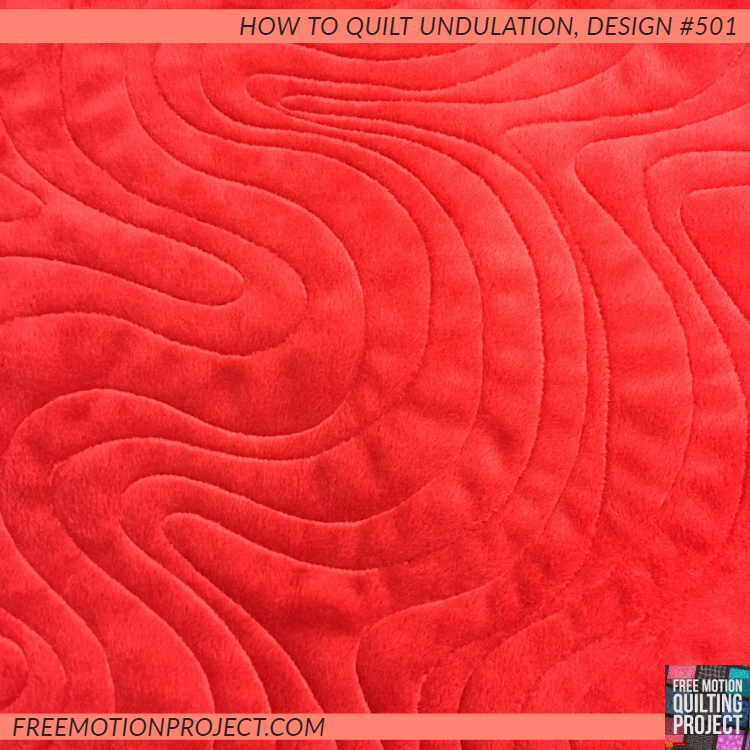
How to Quilt Undulation, Design #501
This is Design #501 on the Free Motion Quilting Project! Click Here to find all the other designs I’ve shared since 2009.
Click Here to find the book 365 Free Motion Quilting Designs. This is a beautiful picture book filled with hundreds of quilting designs of every shape and texture you can imagine. This is the perfect book to keep next to your machine. If you can’t figure out what design to quilt next, I’m sure you can find an idea inside!
Quick points:
- Undulation is a beginner quilting design created with irregularly spaced lines of echoing.
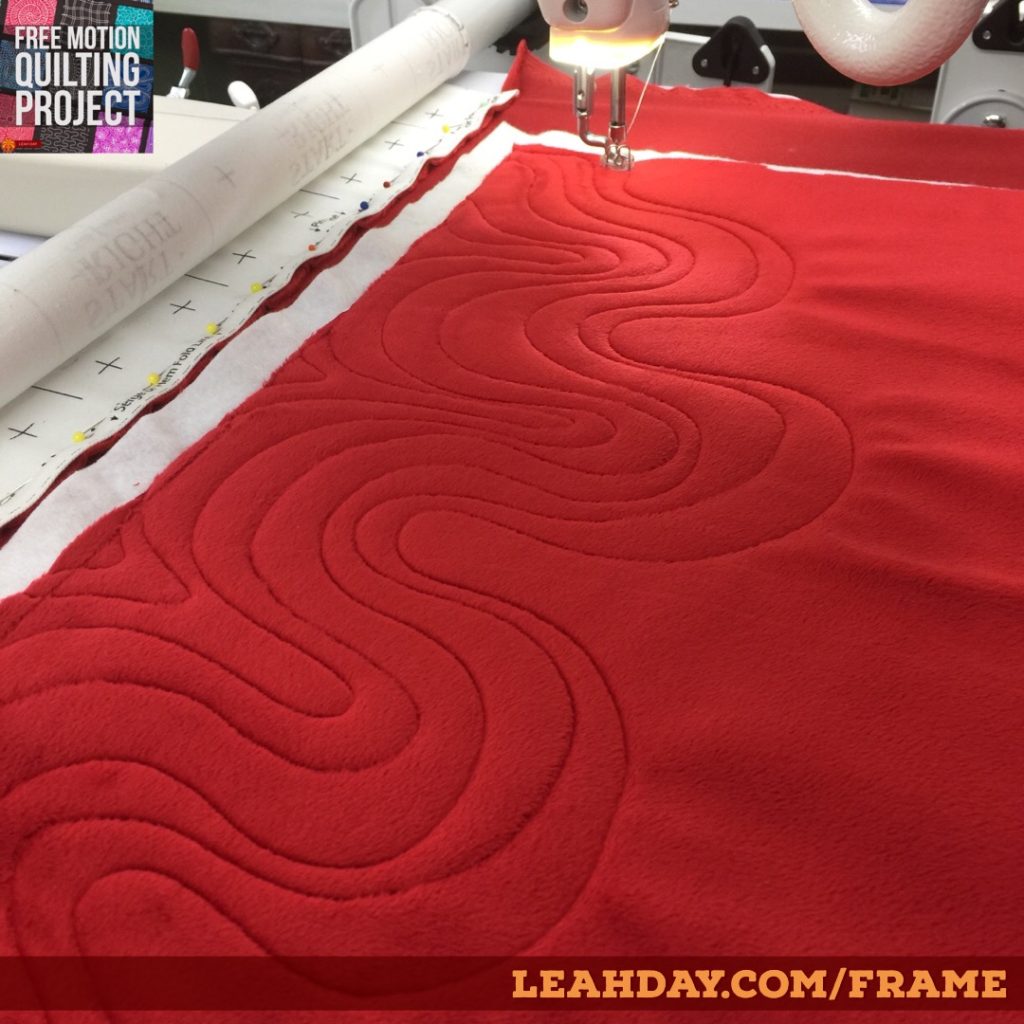
- When quilting with Minky on a longarm, pin the stretchiest side of the fabric on your leader cloth.
- Always check your tension on the side of the quilt before you quilt across the frame.
How to Free Motion Quilt Undulation
The basic idea for Undulation is to quilt repeating, parallel lines. This is just like echo quilting I practiced last week, but with Undulation, the goal is to make the echoes irregular.
I love the random irregularity of this Undulation design!
I started with a foundation line. This was just a simple wiggly line across the minky fabric. I tried to make this as irregular as possible so it would be more interesting.
After quilting that line, I began filling in the open space between the edge of the quilt and the line. As I quilted, I brought the lines close together, then further apart. I’d stitch the same way a few times, then change it up and where I quilted close, I began leaving big gaps.
This is the key with Undulation – continually mixing up the spacing of the lines so you’re not creating a perfectly repeating pattern.
It’s both fun and challenging and I LOVE the texture it creates!
The key with quilting over minky is not to stitch too densely or the quilt will feel very stiff.
Quilting Minky on a Longarm
I especially love this texture on minky fabric. This is super soft 100% polyester fabric that has a pile like velvet. In order to quilt minky on a longarm, I first tug on it gently to see which side is stretchy. I always pin the side with most stretch to the leader cloth on my longarm frame.
This way I have the direction with least stretch on the sides of the quilt. The rails are steadily tightened on a longarm, which means if you put the stretchy direction on the sides, you could easily stretch the fabric out of shape, and quilt it that way! That would definitely make a mess of a finished quilt.
As you can probably tell, I meant to share this video before Christmas. I wanted to quilt all of my minky scraps, then cut them up and make pillow covers for the couch. I guess that will be a project for NEXT Christmas!
What do you think of this design? Wish you could see it quilted on something else? I have another tutorial coming up next week quilting Undulation on vinyl fabric. Make sure to swing by next Friday to check it out.
Click Here to find all the Frame Quilting Friday posts I’ve shared so far. Please suggest more quilting tutorials you’d like to see in the comments below. Yes, I’d really like to make a video just for you!
Let’s go quilt,
Leah Day
More Frame Quilting Friday Posts:
Organize Your Longarm Quilting Room
It looks great, I’m going to have to try it!
Awesome Erin! I’m so happy to hear it!
That looks great and very easy to do. Thank you! Also thanks for the dowel tip from you and the person that shared with you. I have also seen basic curtain rods used in the same manner. Just wanted to tell you that so if other readers might have them on hand like I do from curtains long a go. I also have dowels on hand. No need to go buy anything here. Thank you Leah! My husband also just watched this video with me which is his first time watching one of your video’s and he said, “she makes it fun”…he has seen several quilting video’s in the past but never one of yours. That’s a huge compliment!
Thank you so much Lisa! You’re totally right, I have lots of rods sitting around unused. Just needs a bracket to hold it and you’re good to go. Tell your hubby Thank you my quilting friend!
Do yourself a favor and get some leader grips. Pining is a waste or time. Id like to add since fireside always needs to be piece to make sure you piece it side to side on your machine and not top to bottom, it will roll up even being side to side. Still easier to work with then minky.
I’ll check into leader grips Dylan. I honestly don’t mind pinning, but it’s nice to know there are other options.
That looks great…love it! Can see that on one of those scrappy quilts
Thank you Karin! Yes, I think it would look great over a scrappy Friendship block! Great idea!
LOVE IT! Leah you are awesome. I learn so much from you. Thank You!
Thank you Judy! I’m so glad you enjoyed this tutorial!