
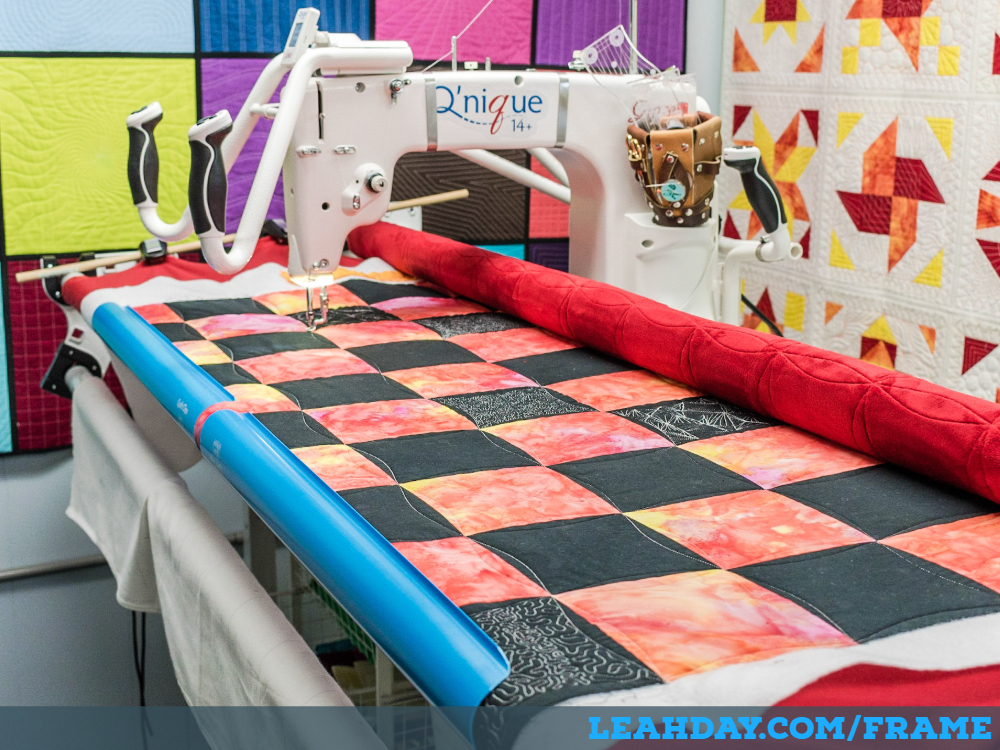
Quilting to the Edge of Your Quilt
Click Here to learn more about the Grace Qnique Longarm I’m quilting on in this quilting tutorial. I love this machine because it’s very simple and reliable and helps me quilt so much faster.
Click Here to find the Ruler Kit I used to make this curved corner-to-corner design.
I install most quilts on my longarm using Quilt Clips
Using Quilt Clips on the Longarm
I like using Quilt Clips to secure the quilt top and batting tight on the front of my longarm. This helps me load the longarm a little bit faster because I don’t have to pin the top to the bottom leader cloth.
I also like to be able to easily reach the back of the quilt. When the space between the second and third rail is open, I can easily slide my hand through to feel the back of the quilt.
This helps me check the quilt back and feel for tension issues without having to bend over or crawl under the quilting frame.
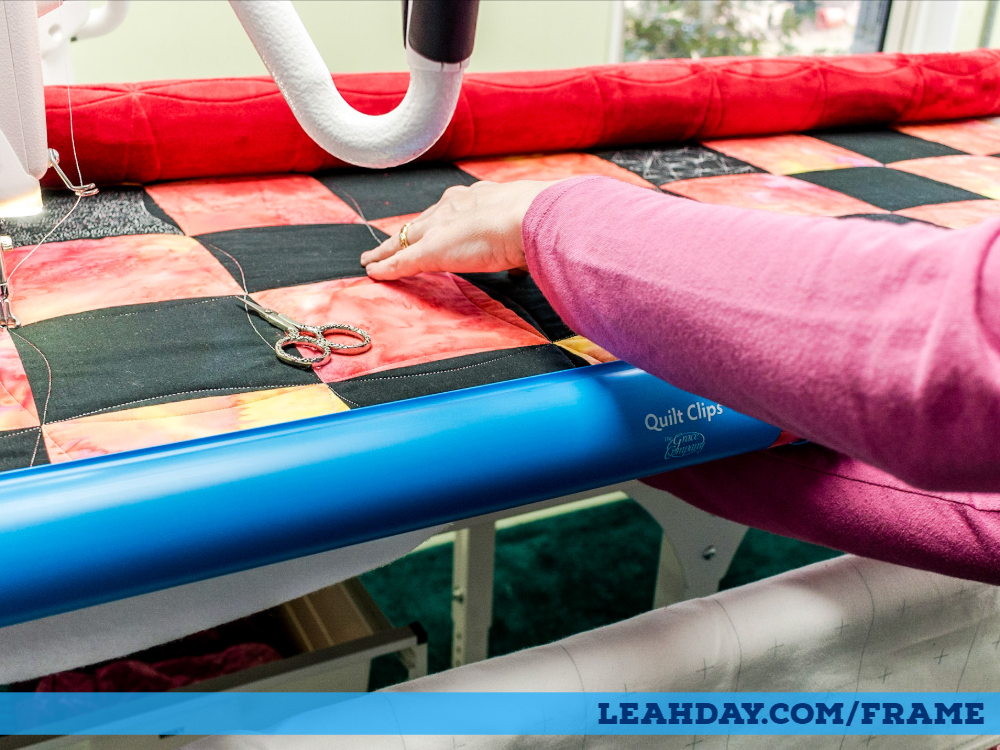
I like to have access to the back of the quilt so I usually leave this space open
How to Quilt Right to the Edges
There’s only one problem with using the Quilt Clips – how to quilt once you’ve run out of quilt?
When you advance the quilt the last time on the longarm, the last row will not be secured by the plastic bar. It will float freely on the longarm frame and nothing will secure the bottom edge of the quilt in place.
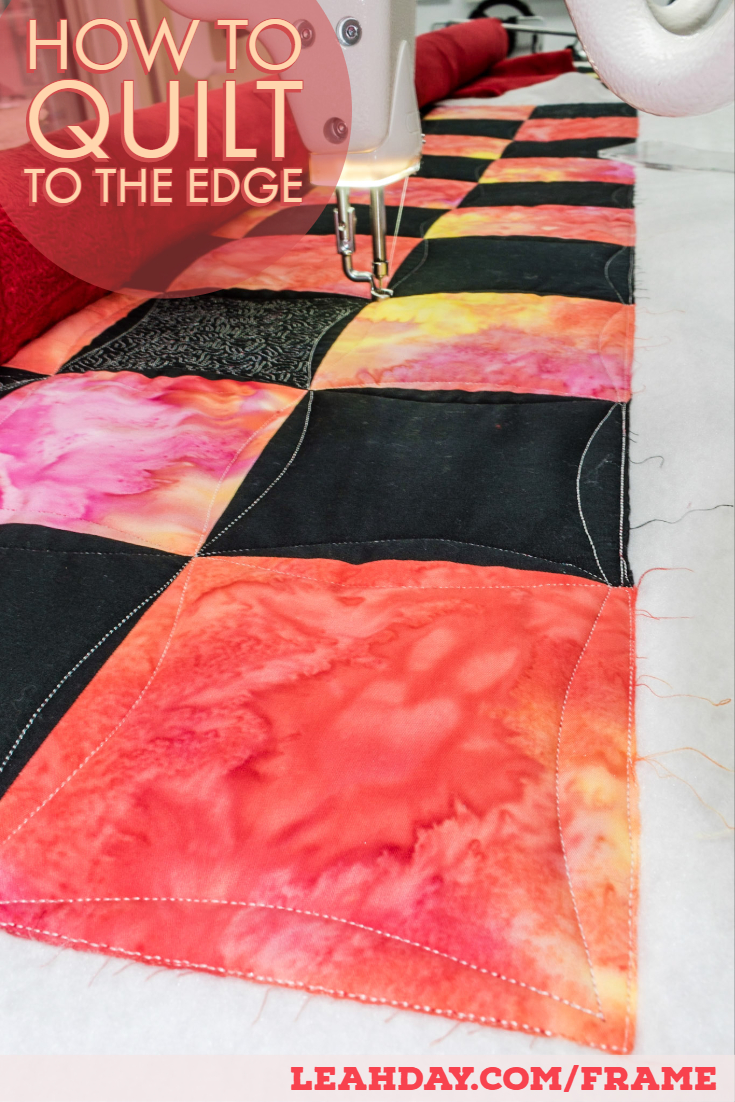
Here’s what you do after the Quilt Clips come off
My favorite method is very simple: to stitch carefully and work one a small space at a time.
As I stitch across, I smooth out the quilt top so it’s nice and flat against the batting and backing fabric.
So long as you go slowly and stitch carefully across the bottom edge, this will work great. Take your time stitching whatever design you’re using to secure this bottom edge.
Would you like to learn more about the corner to corner curve design I was quilting in this video? Click here to find another longarm quilting tutorial on how to stitch this design over your whole quilt.
Click here to find more Frame Quilting Friday videos.
Let’s go quilt,
Leah Day
what are the grey bands around the machine, one of them on the edge of the letter Q
That’s something I attached to my machine specifically for filming. Nothing you’ll need to worry about!
Leah
I have a 10 ft. frame and was wondering if the ten foot set of red snappers has enough product to do all three rollers. Also how much is a set of quilt clips?
Yep, 10 foot snappers will work on a 10 foot frame. You can find Quilt Clips here – https://leahday.com/products/grace-qnique-accessories
I sent a question and got “your comment is awaiting moderation”. What does that mean???
I personally read and approve every comment on my site to filter out spam and nastiness. The internet isn’t the nicest place.
How do yu advance a quilt on the continue frame after quilting edge to edge design and staying where yu need to be so the design for next row is placed correctly
You can find the first part on how to space your rows in this tutorial – https://freemotionproject.com/2019/03/what-are-pantographs-and-why-quilt-with-them.html