The Tunic Challenge – Part 2

Yay, we’re on the second week of the Tunic Challenge! Click Here to find Part 1 of this mini series.
Just a quick recap in case you haven’t been following along – Amy Johnson and I are both making tunics using The Tunic Bible book. We’re both super busy this month and we knew we wouldn’t make tunics for ourselves, but by challenging each other, we’re having lots of fun and making something pretty to wear this winter.
This I cut out the pattern pieces in white fabric and started sewing to create a muslin of the tunic garment. Honestly I’m glad I did because adding the elongated placket and bias neckline was a bit tricky and it was good to get some extra experience with it.
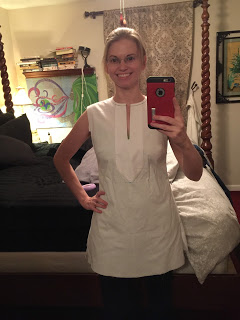
I cut out the pieces and slipped on the tunic before attaching the sleeves. Immediately I saw it needed to be shortened, which surprised me. I have a fairly long torso and the tunic for size small ran to below my butt. That’s not my favorite length because you end up sitting on the end of the shirt and it gets all wrinkly, or you have to bunch it up not to sit on it and that looks weird…yeah, you get the idea.
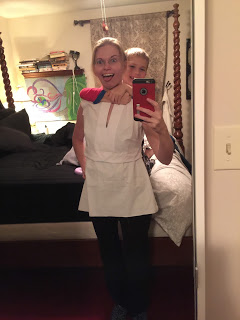
So I found the only full length mirror in the house, backed up as far as I could and folded the tunic up along the lengthen / shorten lines. Then James decided he needed to come help out, despite already going to bed.


When I finally managed to get my kid to stop picking my nose and choking me, I found the adjustment I liked. This raised the tunic up around 3 inches so the bottom edge falls around the pockets of my jeans. Perfect! I don’t like shirts that come up too short and expose my belly (who the heck would?!) and I don’t like shirts that come down too low, unless it’s actually a dress. None of this wannabe dress / confused length shirt nonsense for me.
Have you noticed I’m fairly picky? I know – I’m surprised too! When I buy ready-to-wear garments I know instantly when something feels right. When making it yourself, I think you have to give yourself permission to keep tweeking the pattern until it feels good. Too many times I’ve made garments that were…eh…good enough…and then I’ve never worn them.
So back to the fitting. The collar was tricky and yes, I was working with leftover bias binding from funky quilt that absolutely didn’t match my white muslin, but hey, it was already cut!
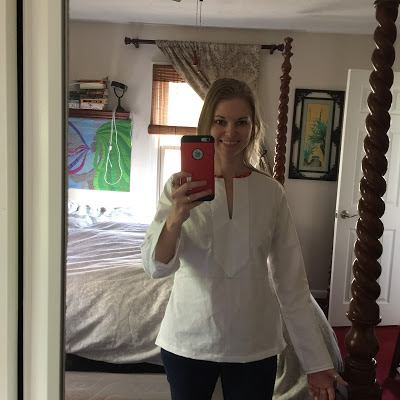
Then I played with the sleeves. Or more like fussed with the sleeves. The first thing I realized is the main garment is designed with 3/4 length sleeves. So I tried adding a cuff and that only took them down to my wrist bone. Uggh!

I measured and guessed that I needed an additional 5 inches of length to become a long sleeve. I tried that out and I like it a lot better, but I may extend it another two inches to get it just right.
So that’s my fitted tunic! I didn’t stitch the back darts because I like a comfortable fit. I like the cut and I think it’s nicely flattering.
Now how has this gone for Amy Johnson? Check out her post right here!
We have just a few more weeks of this Tunic Challenge. Here’s the next posts we have planned:
Next Saturday – Cutting out the pieces of our real fabric
Saturday after next – Sew our tunics and show them off!
You can join in this informal sewing party. Just pick up a copy of The Tunic Bible and follow along sewing your tunic with us. We’d love to see what you make on Instagram!
Let’s go sew!
Leah Day

Looking good Leah. Very interesting post on getting the right fit for you. I have had a couple of goes making a shirt for myself but not been happy with the final results as the fit was not quite right for me. When I try again I think I will do a muslin version first and be brave to tweak the pattern as needed.