
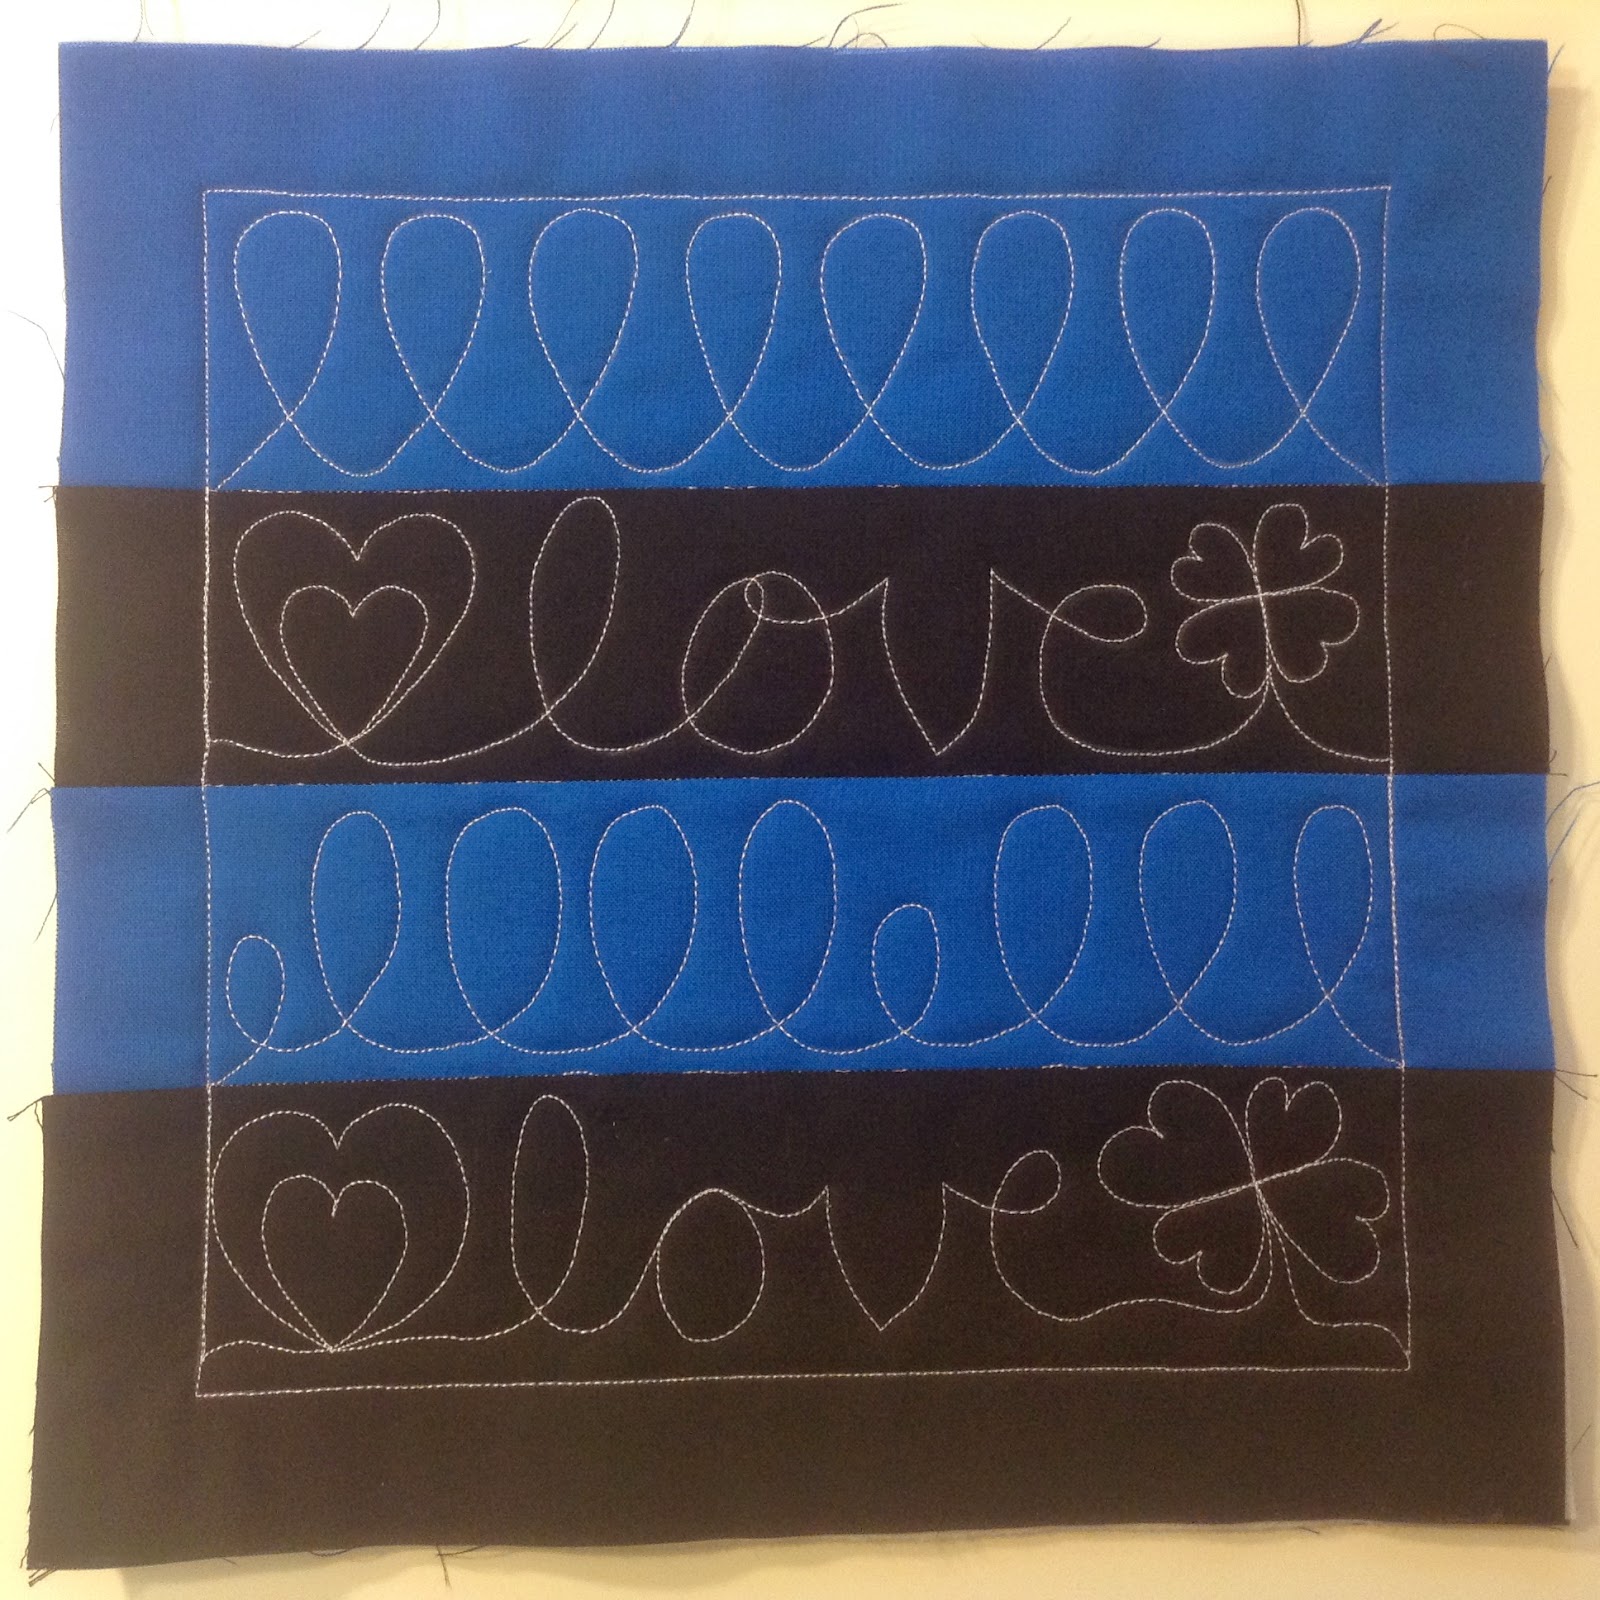
12. Quilt a Rail Fence with Cursive Words
Cursive words are probably the easiest thing to free motion quilt because they’re already a continuous line design – a series of letters connected together in one unbroken line. It’s also a set of curvy shapes that are already logged into our brains – we know how to write a letter L and how it connects with the O – all those little rules that make cursive writing make sense.
So this will hopefully feel more natural for you to quilt than some of the other designs we’ve learned this year!
Make sure to watch the beginning of the video when I explain where to start in the block to stitch in the ditch and knock out the perimeter. You’ll want to set it up so you can stitch the word “love” working from left to right, the same way we would write this word on paper. Stitching them backwards would certainly not feel natural or “flow” in the same way!
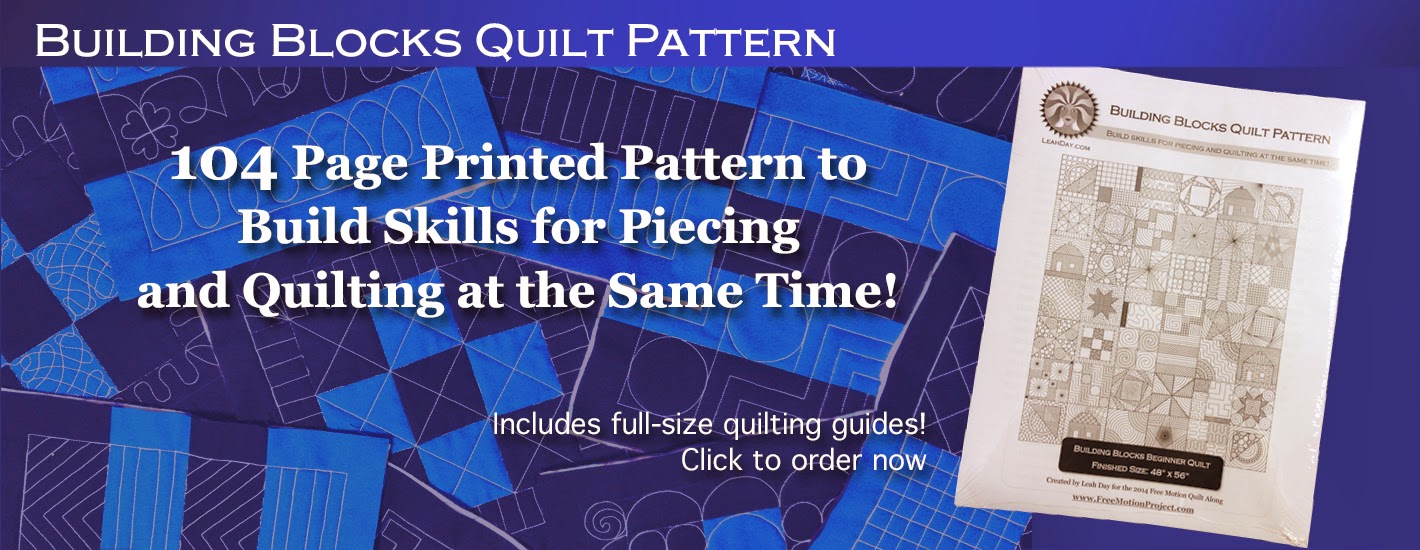
Just in case you haven’t joined in this quilt along yet, you can actually get started anytime by picking up a copy of the Building Blocks Quilt Pattern. It comes with all the piecing AND free motion quilting designs planned out for you to follow. Click here for the download version.
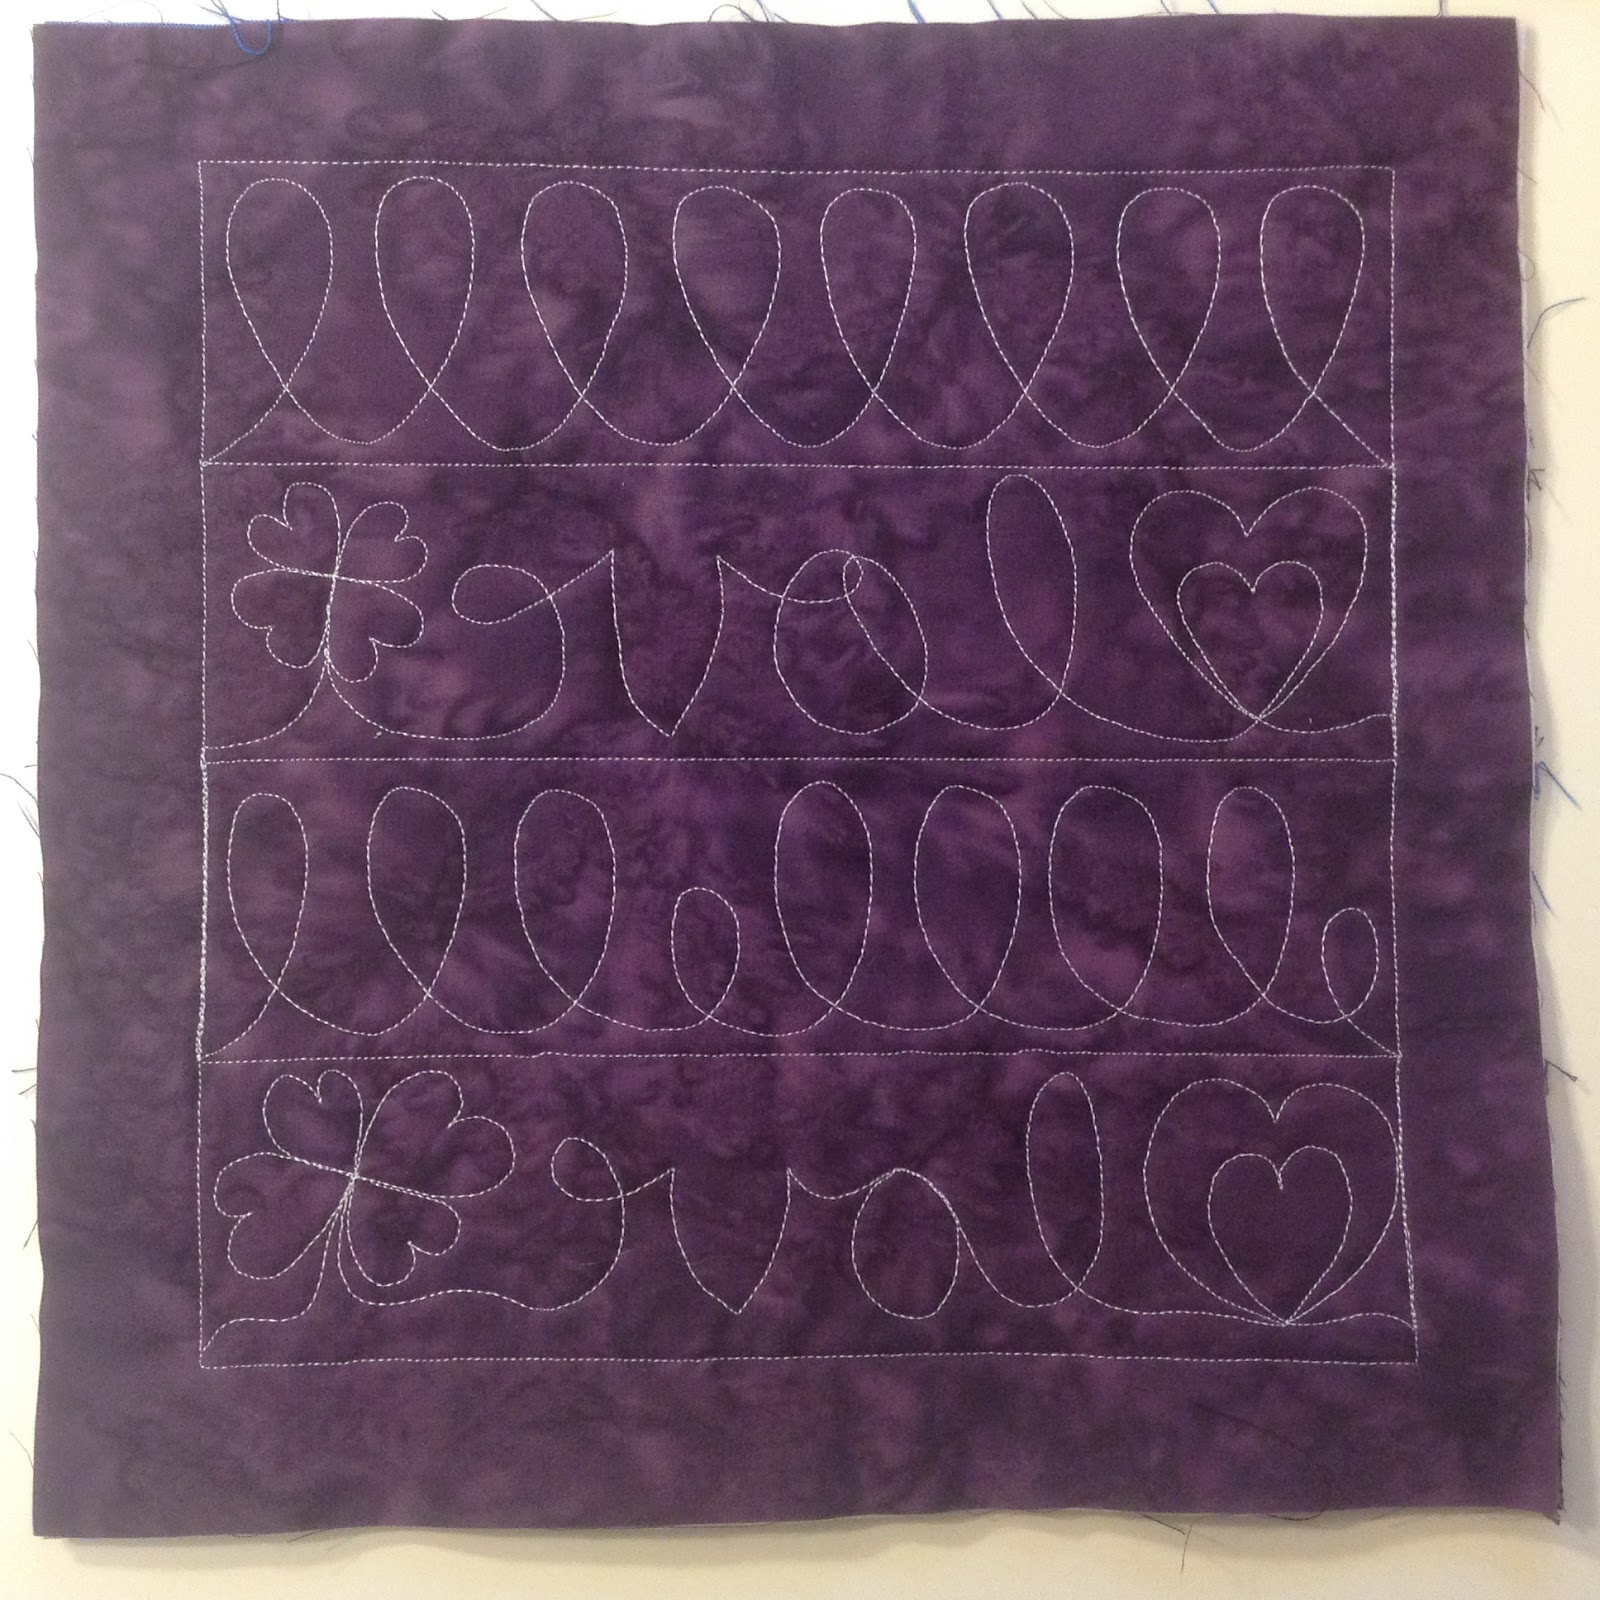
In addition to stitching out the cursive word, I also included the little hearts and a little flower on the sides. This is a great example of just how different quilting on a marked line can be verses free hand quilting. On the line I free hand quilted, my flower turned out very differently because I stretched some petals to fill in more space.
Again, this is the nature of free hand quilting – quilting without marks will always be more like your signature – not perfect or imperfect, but uniquely YOU!
If you really like the repeating hearts, you might want to try Heart Paisley. This pivoting design is created by stacking together hearts, then pivoting off the starting point and echoing multiple times.
If you liked the flower shape, you might want to try Wandering Clover, which is a lot like stippling, but with little clusters of clovers stitched randomly within the space.
Another technique I included in this lesson was Assisted Marking. A lot of times I don’t need an entire design marked, but if I want the shapes to be evenly spaced, I’ll mark guidelines within the space to break it up.
This is far less time consuming than marking the entire design, but will still give you assistance in placing each letter or shape within the space evenly.
Ultimately I think cursive words would be a great addition to any quilt. It’s a way to share a personal message and to put your signature on something that might last beyond your lifetime.
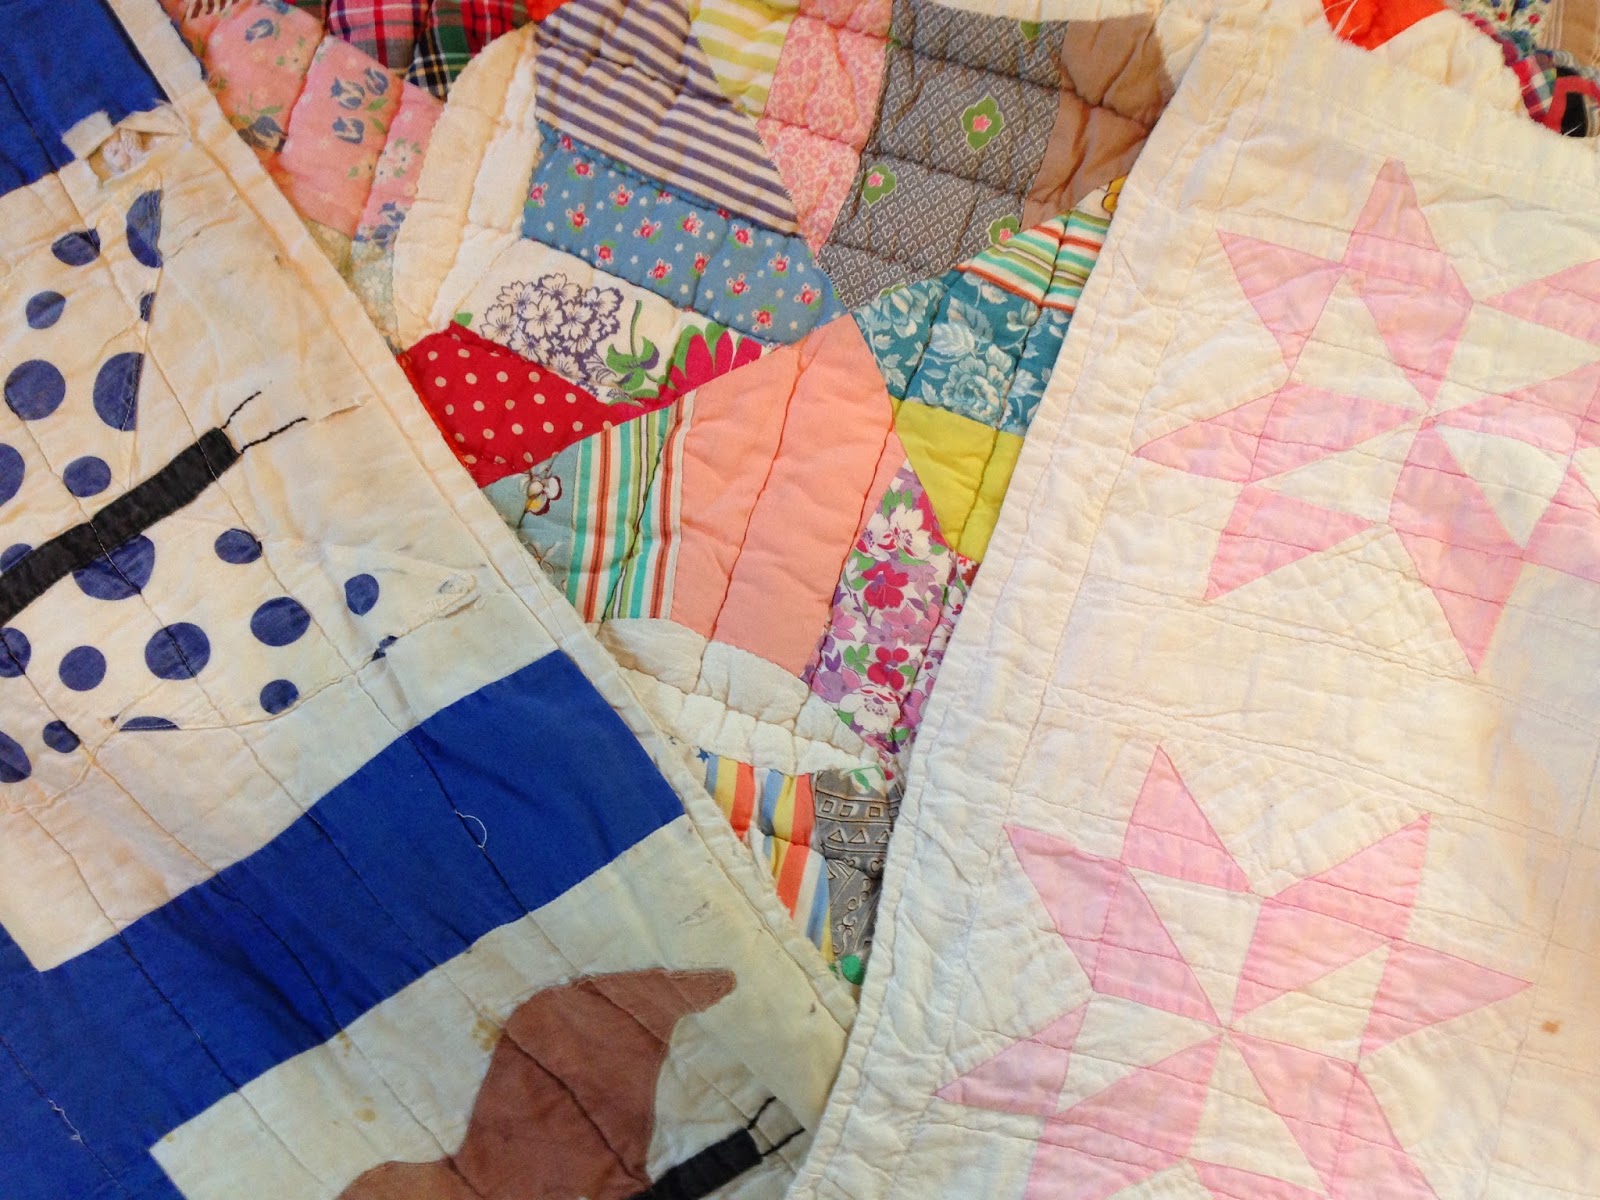
I have many quilts passed down from grandmothers and great grandmothers from both sides of my family and for most of them, I have absolutely no idea who created these quilts.
I love them, and I take care of them carefully, but it would mean so much more if I knew WHO was behind their creation, and how we are connected.
So even just a little cursive message in one corner “This quilt was stitched with love by…. in 2014” – You can do this now!
One day that little message might make a big difference to someone you might never meet but are somehow connected to, and that quilt might inspire that child, grandchild, great grandchild to pick up quilting too.
All I know is, that’s all it took for me!
Let’s go quilt,
Leah Day
Leah: I am new to fmq and find you videos and comments very helpful. My practice pieces will be 8" blocks which I can turn into mug rugs. This is so I don't feel i am wasting batty and material. I will make a little gift and practice, practice and conquer the art of fmq. You are very inspiring. Thank you.
LOL – I read the post title as "Quilt a Rail Fence with Curse words" and did a double-take. I do know what "cursive" means, but it is not a term used in my version of English, so I had to read the title again very carefully to work out what you meant!
LOL Vireya! That would be a a very interesting post! I'll have to try that one next!
Oh, that is SO FUNNY! We could say, " We are just practicing"…
I really enjoy the loops and letters.
Hi Leah, are we still not pressing our seams open for this cursive lesson; our is it our preference?
thanks,
Kathleen
Hi Kathleen – I actually pressed the seams open on all 4 rail fence blocks, so yes, that is still the way I recommend preparing the blocks. It's up to you if you try it this way or not though – it's YOUR quilt!
Leah
Holy Smokes!!!! Is that why I get those eyelashes??? I kept trying to turn my tension down until it was almost nothing. I rethreaded. Started over. Looked a little better, but I was probably going too slow! Ugh!
That was the best tip ever!!!
Thanks for the idea. I was stumped on some sashing, but now know what to do!