
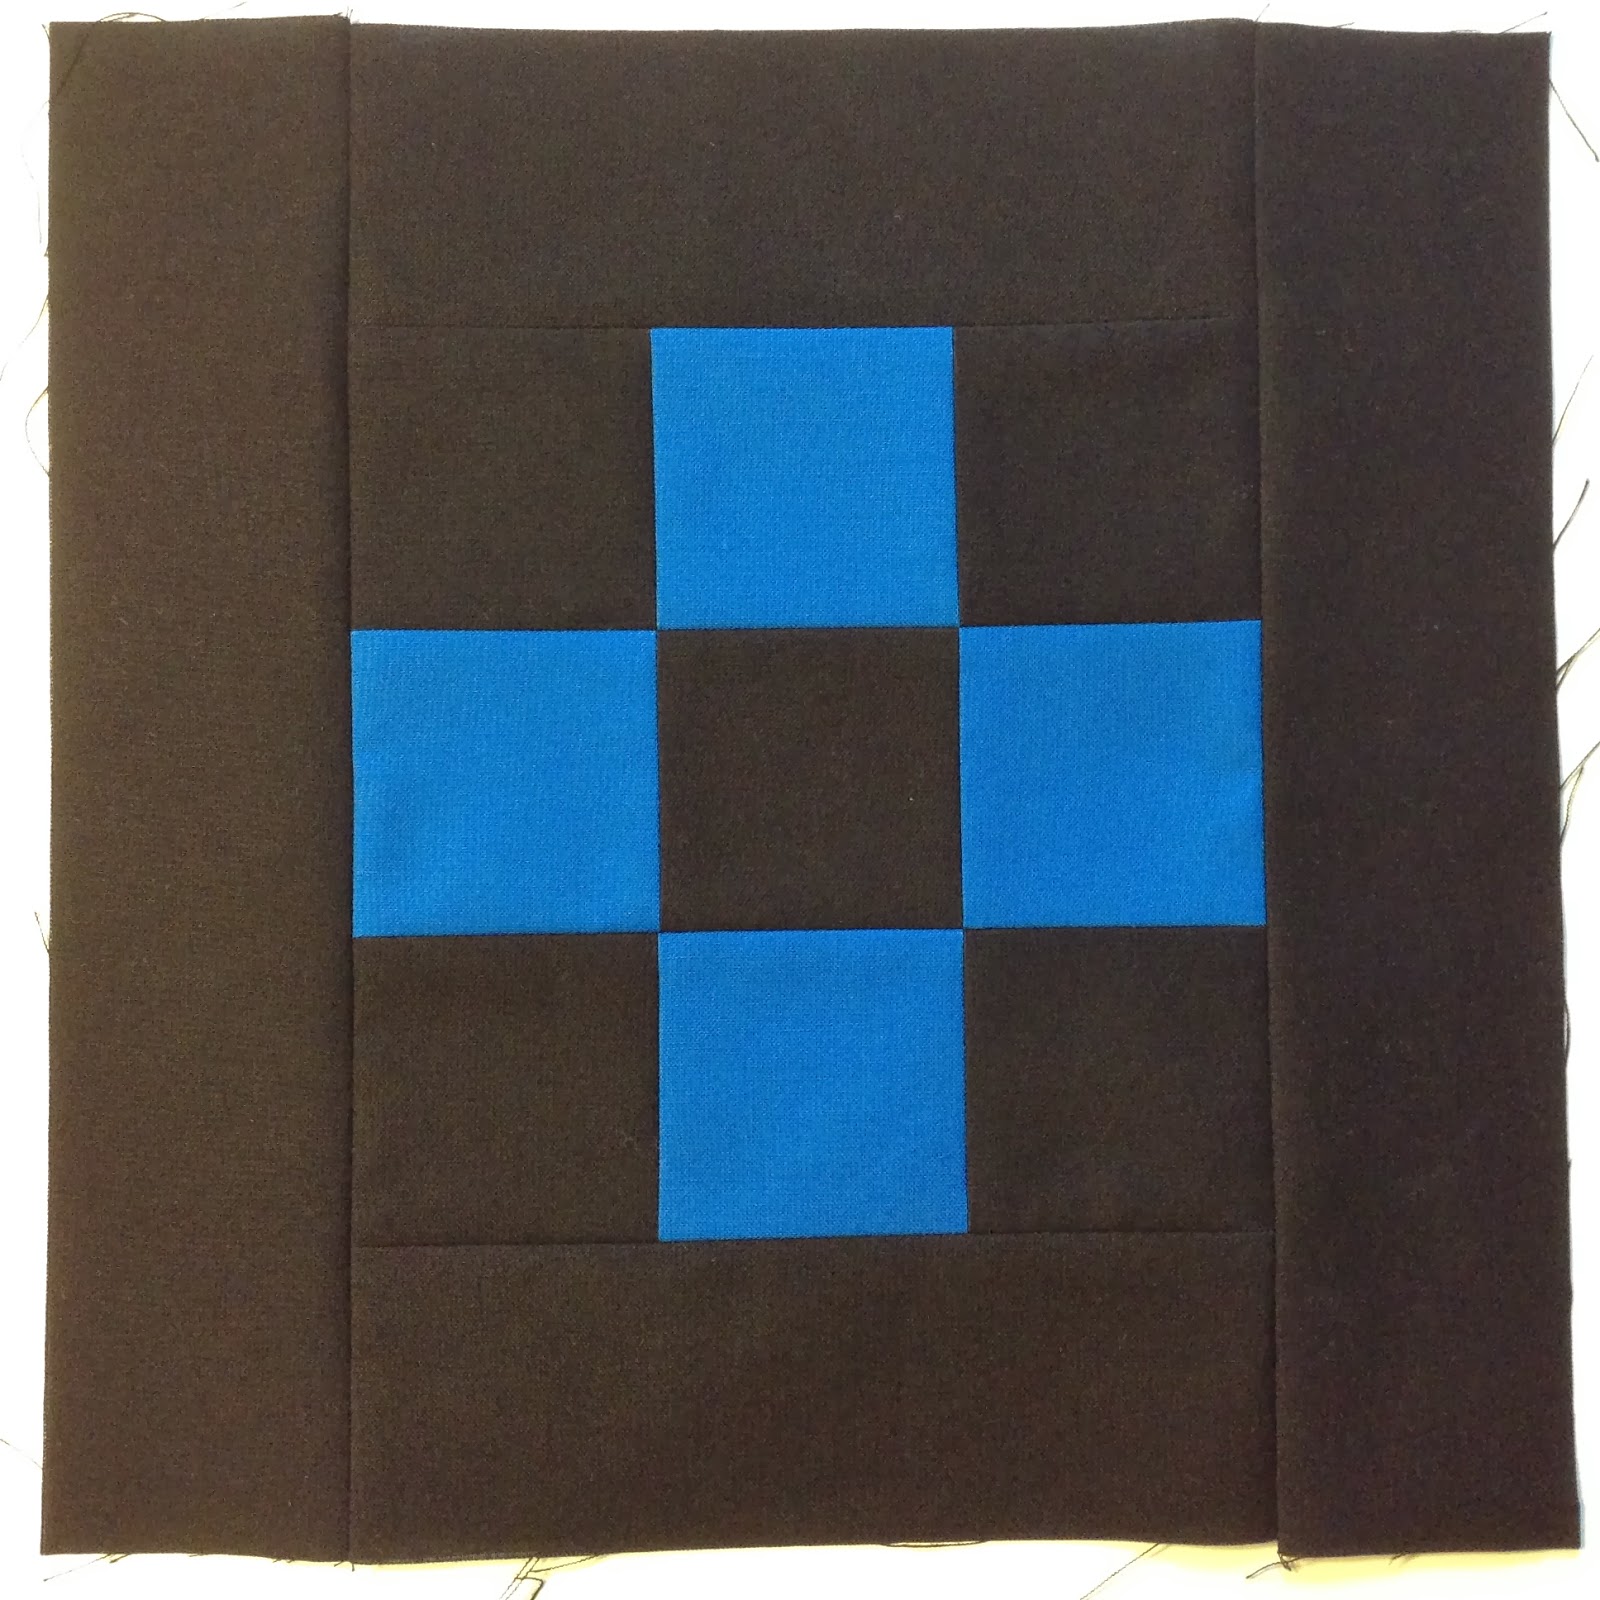
5. How to Piece a Nine Patch Block
Are you looking for the piecing instructions and quilting guides? Click here to find them in the Building Blocks Quilt Pattern!
For this block, we’re also going to learn two extra piecing techniques: strip piecing and chain piecing. These techniques can definitely save you time cutting and piecing fabric, but care must be taken not to stretch the long strips as you piece them together.
Watch the video to see what I mean:
Just in case you missed it, click here to check out my piecing tips post for more info about how I prepare fabric and what tools and supplies I use for piecing.
This was a pretty LONG video today, but I really wanted to nail in the point about strip piecing and the gentleness you need to bring to this technique.
I also demonstrated left and right handed cutting, and hopefully you noticed just how long it took to cut 9 pieces from our pieced strips. Yes, strip piecing can certainly save time, but if you try to fly through it like a speed demon, chances are the seam lines won’t match up.
However, is it the end of the world if your pieces don’t match perfectly? No! You’re still going to make a beautiful quilt, and the quilting designs this month will likely hide any imperfection in the piecing anyway.
So this week aim to piece 3 of these blocks so you’ll be ready to go for the rest of the month. Just in case you have questions – feel free to post them here or on the Building Blocks Facebook Group Page and get the help you need!
Let’s go quilt,
Leah Day
I loved your comments about being gentle. I remember years ago cutting out certain lengths of fabric and then "pulling really hard on these lengths" forcing them to match each other as I sewed them together. I think I remember doing the same thing in general sewing situations. You are so right…..be gentle with sewing these blocks. Also, I think I'll try the tape with the 1/4 mark on it. That might be very helpful. I can't wait for your next video. You are such a good teacher!
Leah,
I noticed that you don't use a 1/4 inch presser foot. Is there a reason you don't? I sew with 4-H kids and have found the 1/4 inch foot to be very helpful for them to sew more even, straighter seams.
Hi Gretchen – Actually I am using the Bernina 1/4" patchwork foot. It might look a little different from yours, but yes, it is designed to help you sew these seams very accurately.
Leah, I still cant get on to the fb group. First it says the link might be expired, or I don't have permission. Today after that it took me to another page (auto) that said, No valid session. Please help. I use to be able to go there, and enjoy chatting and seeing everyone's work.
I may have missed this before, but why do you press the seams open? It seems easier to press them to one side so they "lock" together when joining pieces for perfect corners.
Ok newbie here to pattern reading. You talk about having strips that are 2.5" in width but what should the length be? Any help is greatly appreciated!
They are width of fabric strips – so cut the full length of fabric from selvage to selvage. Usually if a strip is called for, that's what's intended. You might also see the acronym WOF – Width of fabric too.
Hi, I goofed and made my nine patch with the border so it is 8×8 instead of 10×10! So I made new ones with the right dimensions. I am almost done with all the blocks and have been wondering if I can use my smaller nine patch squares with a twist:
I would turn the block 45 degrees, fill in triangles in each corner with the fabric not used for the border. This I believe will make a nice design, BUT:
All the blocks, with the exception of the paper pieced spinning block have the grain running parallel to the sides if the block. By turning the block 45 degrees and adding to the corners, will having the bias running parallel with the sides cause a problem? If so, what kind of problems and are there remedies?
Thanks,
Brit
I don't think it will have too much of a problem if you stabilize the outer edge. When you go to connect the blocks together – stitch an outer "victory lap" around the outer edge of the block, then stitch 1/8 inch inside, then a line in between the two. This will solidly secure the outer edge and even if it's on the bias, it will not shift as you put the blocks together.