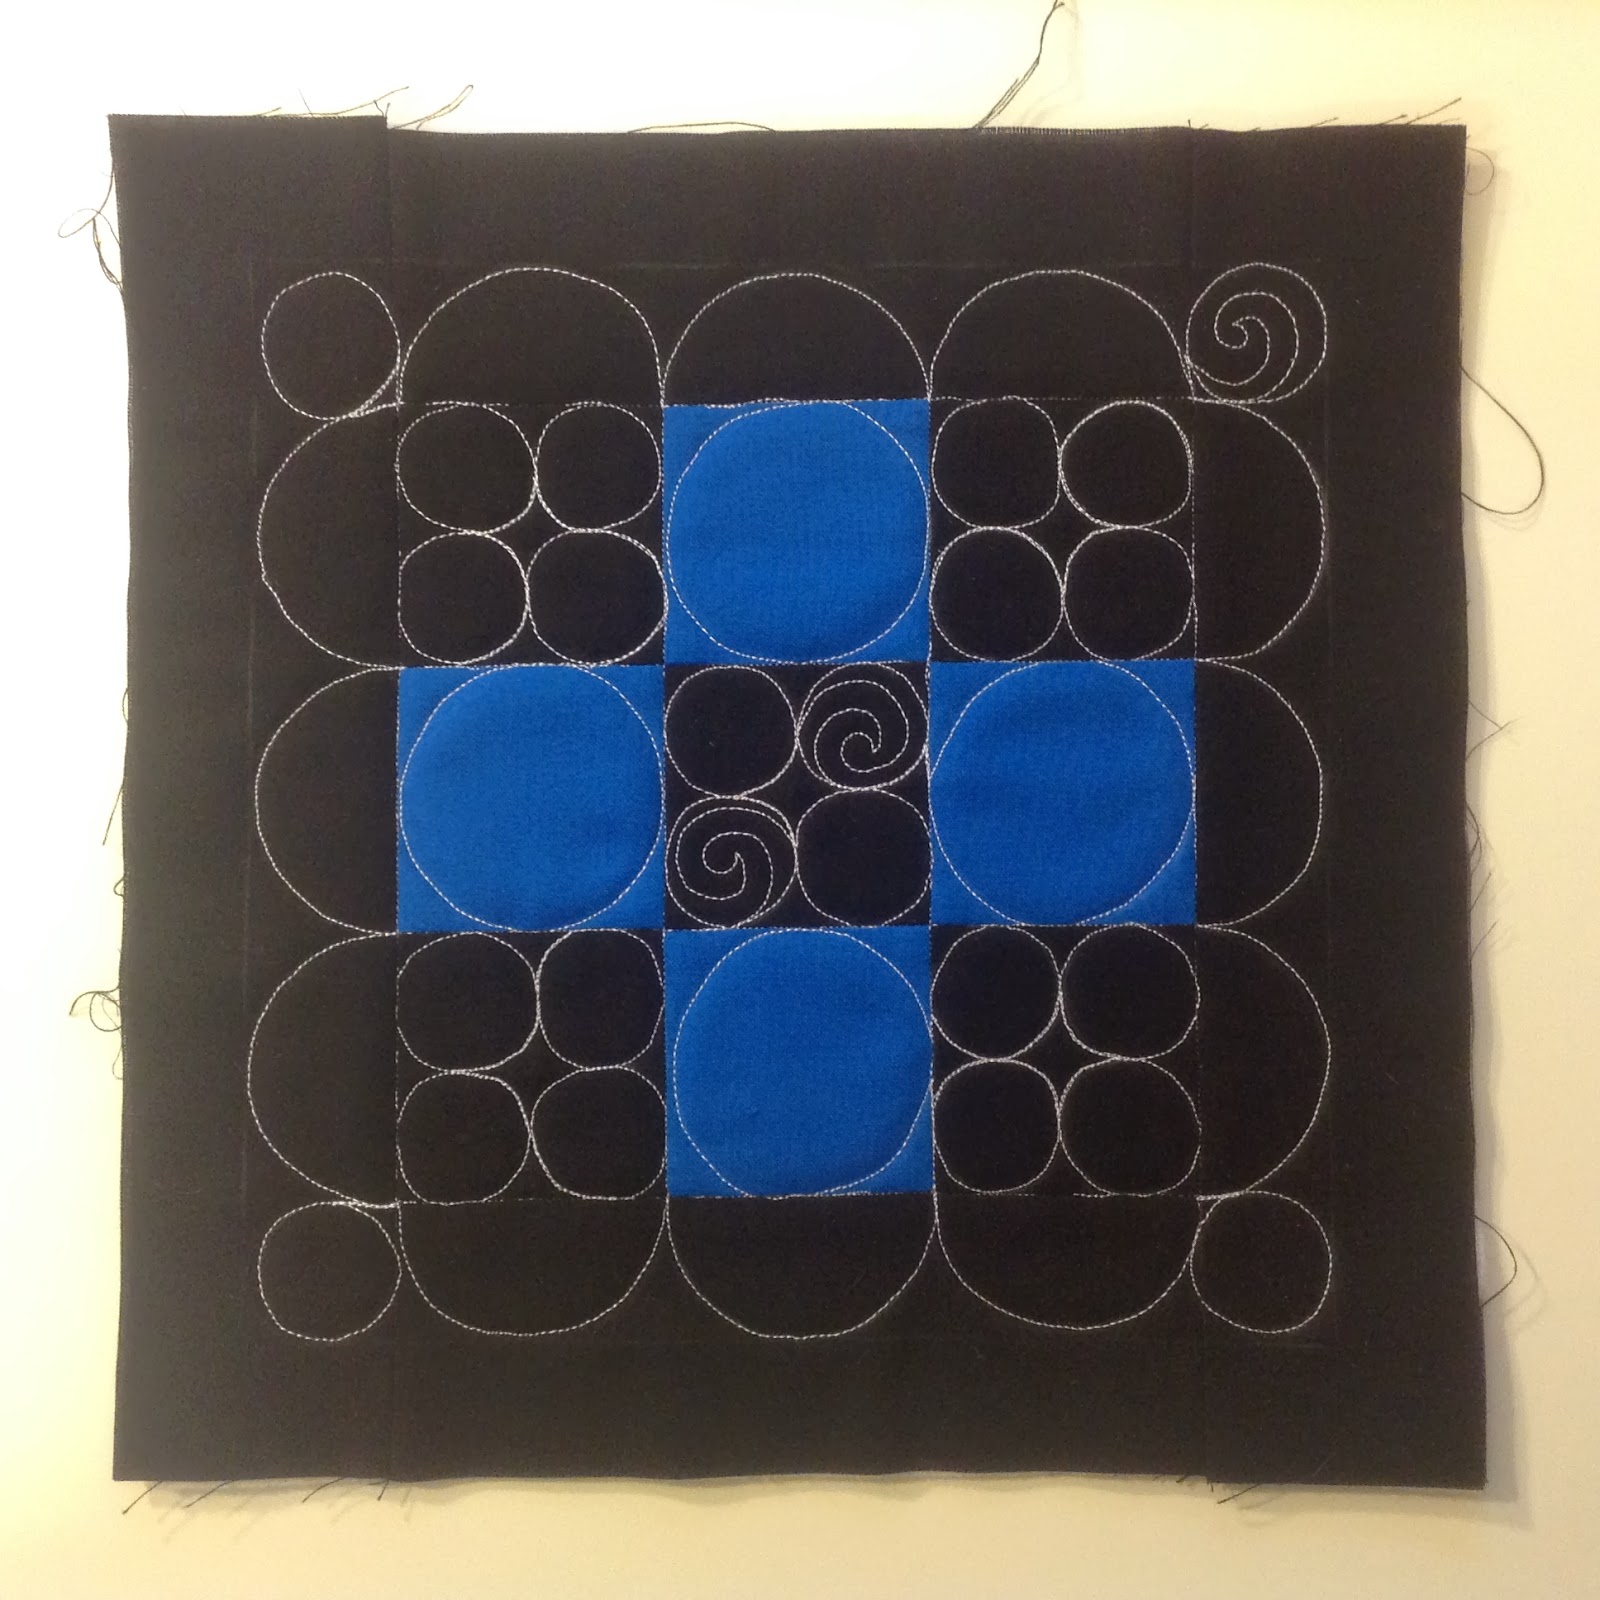
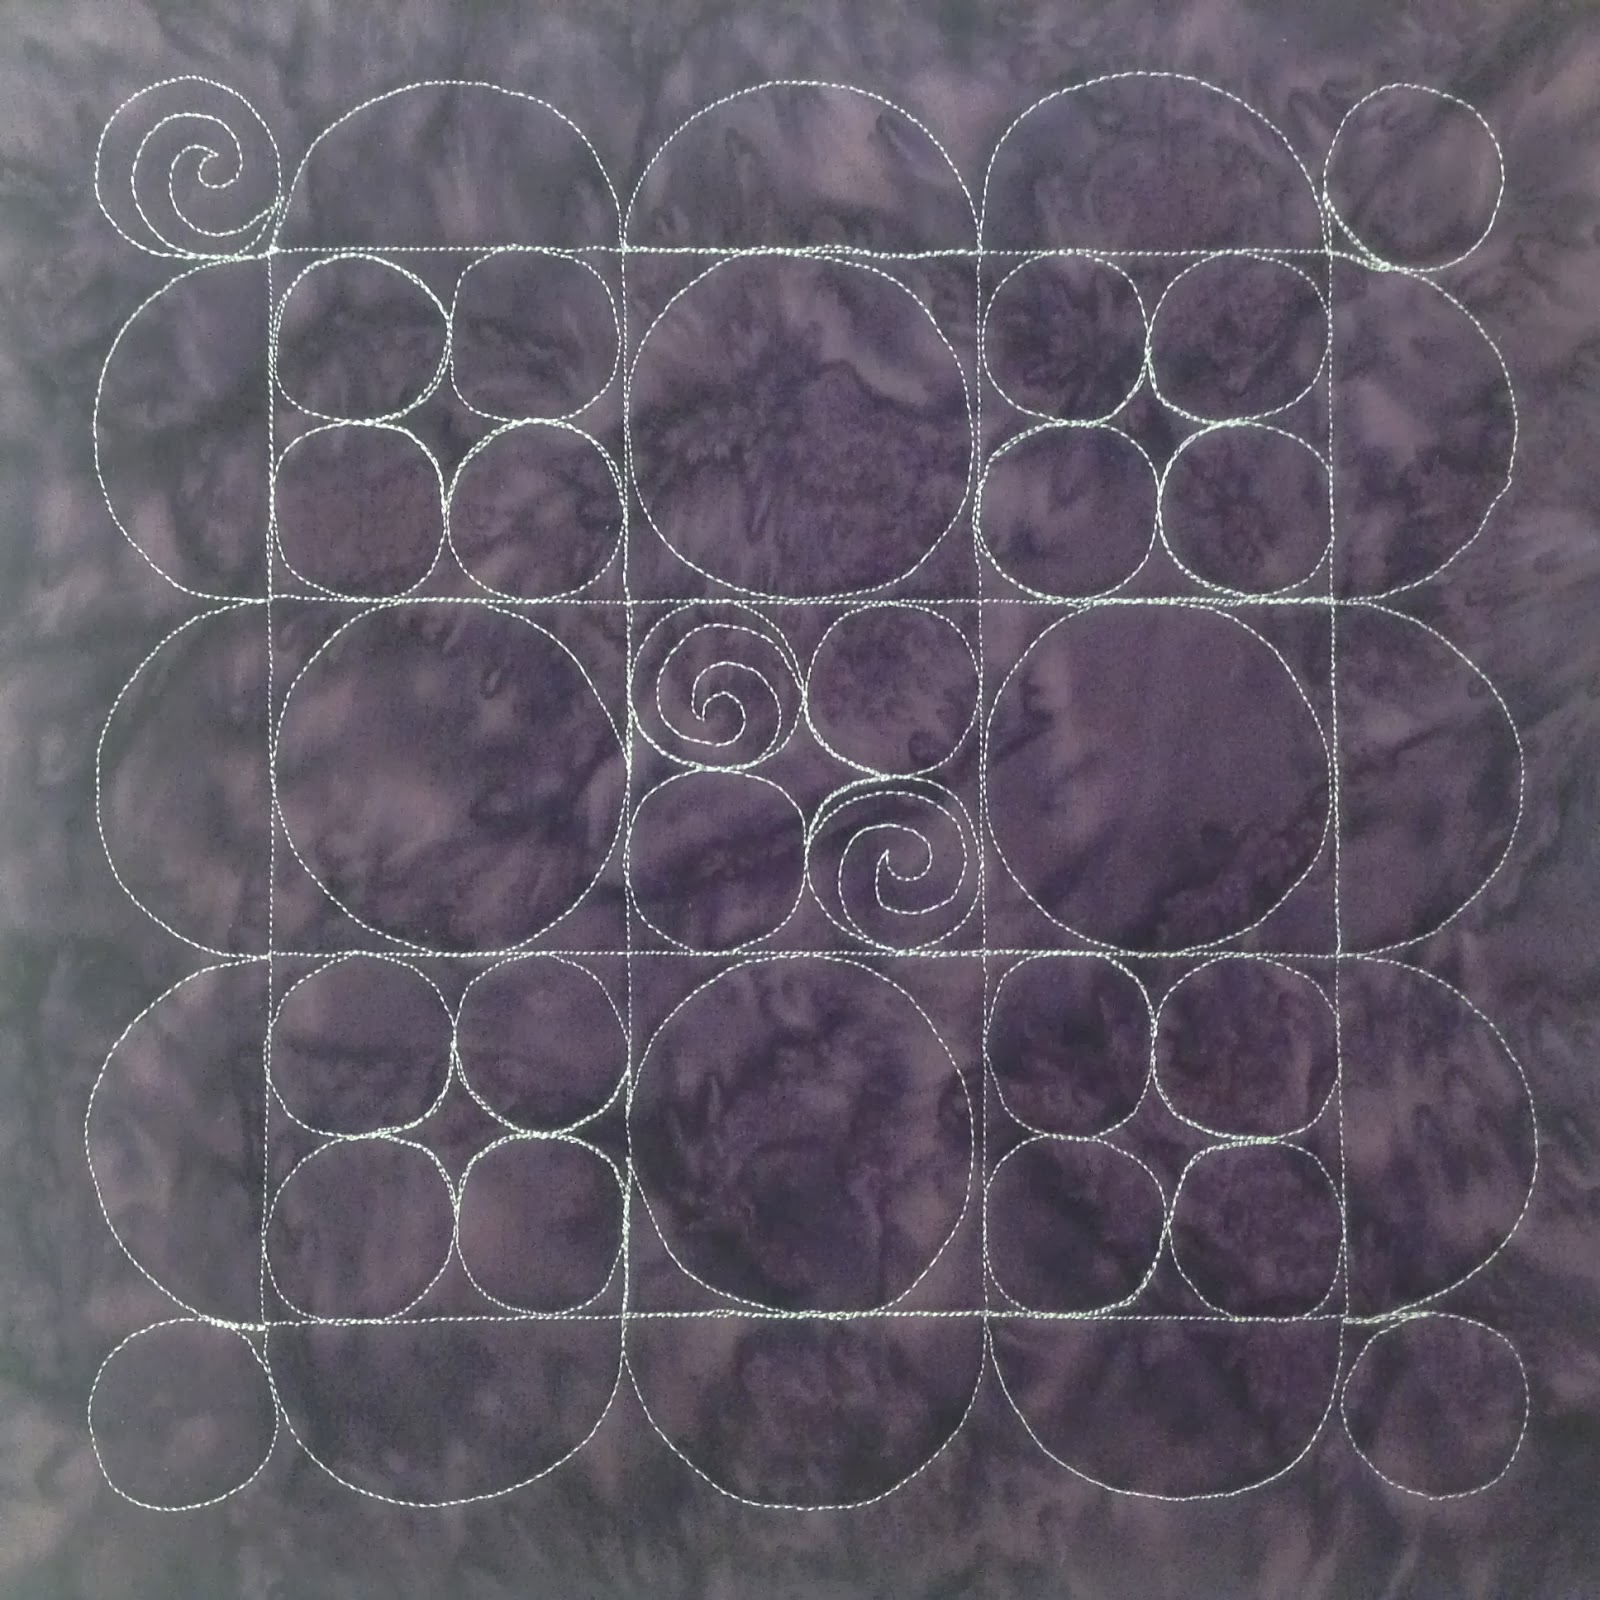
7. Quilt Circles in a 9 Patch Block
Just in case you’re looking for the quilting guide to mark your block, you can find it in the Building Blocks Quilt Pattern right here.
However, marking these circles accurately can be a challenge. We have a lot of seam allowances all pressed open on the back side of the block which can create more shadows and make marking more difficult.
So instead of using my light box, I marked using my Fons & Porter marking pencil and a drafting circle template like this:
You can find templates like this in any office supply store – just look in the drafting section. I love collecting these templates and using them to mark from the surface of the quilt.
NEW! You can also mark this block using the new stencil created by Quilting Creations International. Use the stencil to easily mark the design on plain fabric, your block, or another fun quilt you’re working on! Click here to find the 8 inch stencil compatible with the Building Blocks Quilt.
However, it is possible to free-hand quilt these circles too – that’s quilting without marking the actual shape. In this situation I marked simple lines on the block to create a visual guide for the space the circle should fit. It’s a little less fiddly than marking the actual circle shape, though you may end up with some less-than-perfect circles.
But I also have a fix for that too! Watch the video to see what I mean:
I think my new mantra for this quilt along is Don’t Obsess About It. It’s easy to get obsessive about every little mistake and every little missed stitch or wobbly line.
Many of my circles were more oval than circular. My big circle was a bit more wobbly than I would have liked. But was the way I was quilting that day and I’m not going to obsess about these tiny details.
And trust me, if you think you’re hard on yourself, just try quilting this on video and talking at the same time, then having 5000 people watch the video and potentially criticize your work! I’ve had to learn the hard way that obsessing about the little things is a waste of my time.
Instead I look for ways to hide the worst mistakes, like filling them with the small open spirals. Adding this little detail will transform a totally wobbly circle into a beautiful spiral, and make it even more uniquely yours.
Yes, UNIQUE – not perfect, not exactly matching the quilting guide, but a unique, one-of-a-kind, never-to-be-recreated version made by the awesomely talented, terrific quilter – YOU!
If you get too hard on yourself about this stuff, it’s easy to miss the point of making the quilt: to have fun, to learn something new, to pass down a piece of yourself to your kids or grand-kids.
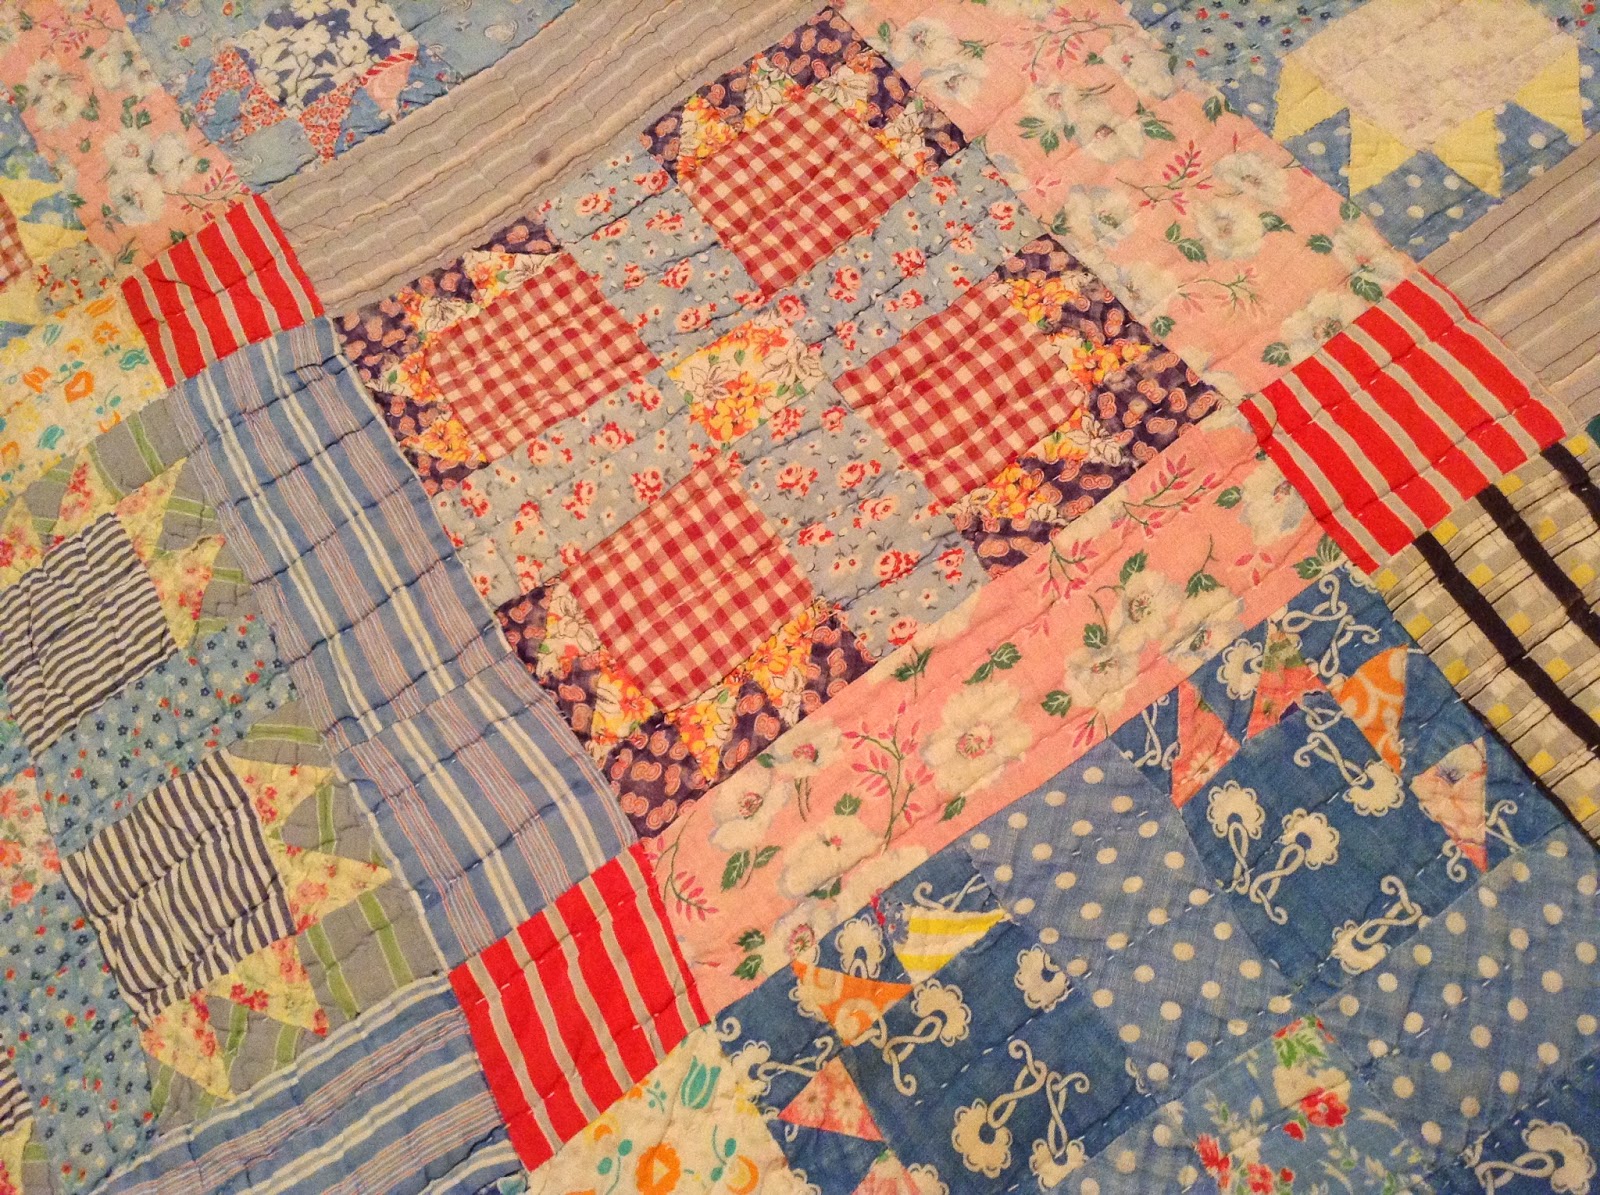
Because quilts last! I have quilts in my closet made by great-grandmothers I never met. They are not in any way perfect – large chunky stitches, lumpy places in the batting, messy bound edges – but they mean more to me BECAUSE they are imperfect.
It shows that a real person made these quilts, not a machine, not a computer, but a real person that was somehow related to me, and I still own a piece of her, something she touched and created and hopefully had fun making.
So please remember that perfection isn’t the point of this exercise. Try to find the fun in this learning experience instead of judgement and criticism. Quilt with joy!
Let’s go quilt,
Leah Day


I still cant get into the group on FB, been like this since the superbowl
Hi Unknown – You'll need to email us through the contact page on LeahDay.com with your facebook username so we can check if something happened on our end.
Cheers,
Leah
This block is the coolest yet! Also love the photo of the old quilt. I've got six of my husband's Lithuanian grandmother's quilts up in the cedar closet and do not know what to do with them…use them? Have someone evaluate them from a collector's point of view? Cut them up and make other items from them? They're a little rough with some very worn spots and uneven stitches, but also pretty cool and have actual flour-sack backing.
It's never too often to be reminded that we have to lighten up, and be okay with imperfection. We are not robots or machines. What you said about your great-grandmothers'(more than one, right?) quilts – loving them all the more BECAUSE of their imperfections really resonated with me. Thanks for the gentle reminder to not be so hard on myself.
Very great block, Leah! And thank you very much for sharing all with us! I love your old quilt! I dream to see one in the future, the patchwork is very new in my country.
And thanks for reminding us in every video that we must enjoy and be free from our mistakes! After three years, I have learned to not feel frustrated with my quilting and really enjoy it thanks to your teachings! Have a beautiful day!
What kind of a marking tool are you using? I can't quite see the writing on it.
Hi Susan – It's a fons & porter marking pencil. You can find them in our quilt shop at http://www.LeahDay.com
Thank you Leah! I just bought some stuff on LeahDay.com. My small way of supporting you since you have taught me so much. I will go to you first when I need supplies.
Carole
I once told a guy I work with whose wife is into quilting that there is no such thing as a perfectly sewn or quilted quilt. He thought the Amish were perfectionist, but next time he went with his wife to an Amish quilt shop, he reported back I was right. Some of the stitches were not precisely uniform. I told him it's because fabrics is like fluid, it moves, shifts, shrinks and stretches.
I then realized the perfection in the quilt is the whole finished project which can be used as art, dressing a bed, or to keep warm and, most often, was made with the recipient, your mom, your grandmother or great-grandmother in mind. As some would say, "made with love."
Thank you, Leah, for helping me see that so I could get on with learning how to free motion without stressing about it too much. This is my joy, stress reliever, and creative outlet.
Also, keep in mind, that once you wash a quilt, the quilting itself can be less obvious, because of the puckering, quilty look. Most people don't look at the individual designs or stitches (just fellow quilters!) but look as the quilt as a whole and call it beautiful, georgeous, or awesome!
can you tell me, which pencil you took for marking the blocks. I only have some you cannot see on dark colours 🙂
greetings -from Germany – Veri
it's ok, I found your post with the pencil – thanks – Veri
Hi Leah, Love your videos and the relaxed attitude toward making mistakes. I am looking to buy a new sewing machine specifically for free motion quilting, can you give some pointers on what to look for? I have a Husqvarna (older) and the new one I tried out, clanked when free m/quilting? I loved the new foot for fmquilting, but, the noise really bothered me. Thanks for any help.
Will the semi-circles on the border get covered up by the binding when the quilt is put together?
A bit…when I designed this I really didn't anticipate that quilters would be so bothered by that idea (I've learned my lesson!). So the choice is yours to cut the blocks down to 8.5 inches instead and have the design not be overlapped at all, or cut them to 8 inches to hide any stitch issues that happen right along the edges of the block. Either way, it's going to look just fine!
I think I might just go back in and quilt smaller semi circles inside the big semi circles. That way they show on the finished quilt.
I think I'm more 'bothered'- that my semi circles (which look a lot better than my circles) aren't going to show 🙂
I'm really loving this project. I've learned that while I travel stitch pretty well, my stitch in the ditch needs a TON of work. You'd think it was mostly the same skill.