
1. How to Piece a Four Patch Quilt Block
Many quilters began writing in yesterday asking when the blog post will be up because it was already Monday in their neck of the woods! Just to clarify – I will aim to have all these Quilt Along posts live by 8 am US Eastern Standard Time (EST) from here on out.
Let’s watch the video to learn how to piece this fun four patch block:
Remember, you can find exact cutting and piecing information in the Building Blocks Quilt Pattern.
 Also if you’re wondering about anything you see in this piecing video, make sure to check out the article on Piecing Tips to find more information on quilt piecing.
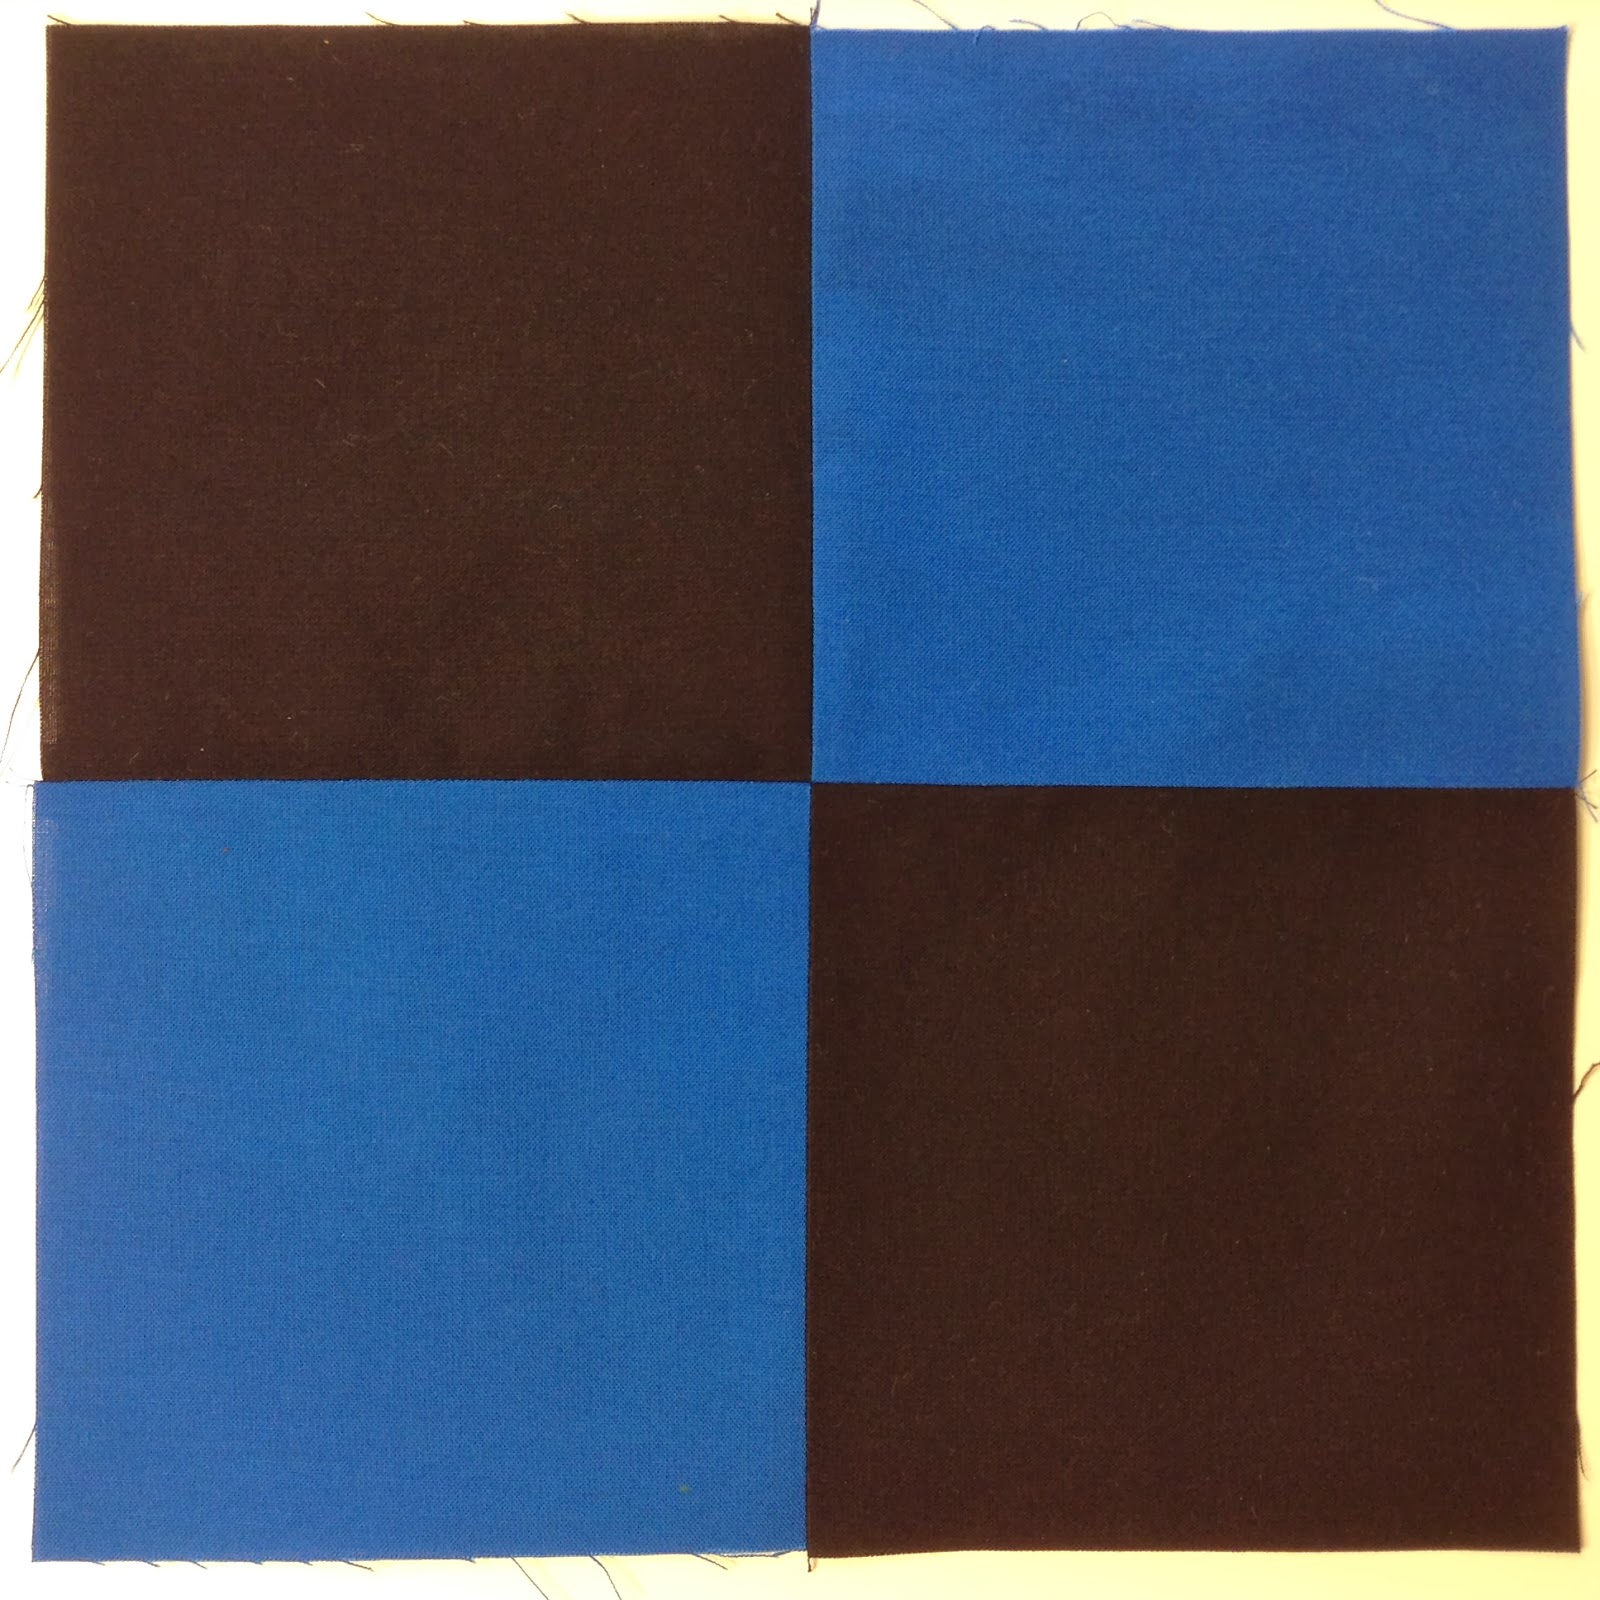
So this simple block connects four squares together, and usually the colors match diagonally as shown in the photo above.
However, you could make a completely scrappy block if you wanted to! The place to focus on is the matching seam right in the center. You really want the seam lines of the two top and two bottom blocks to perfectly line up.
But what if this center seam doesn’t match up just right. What do you do?
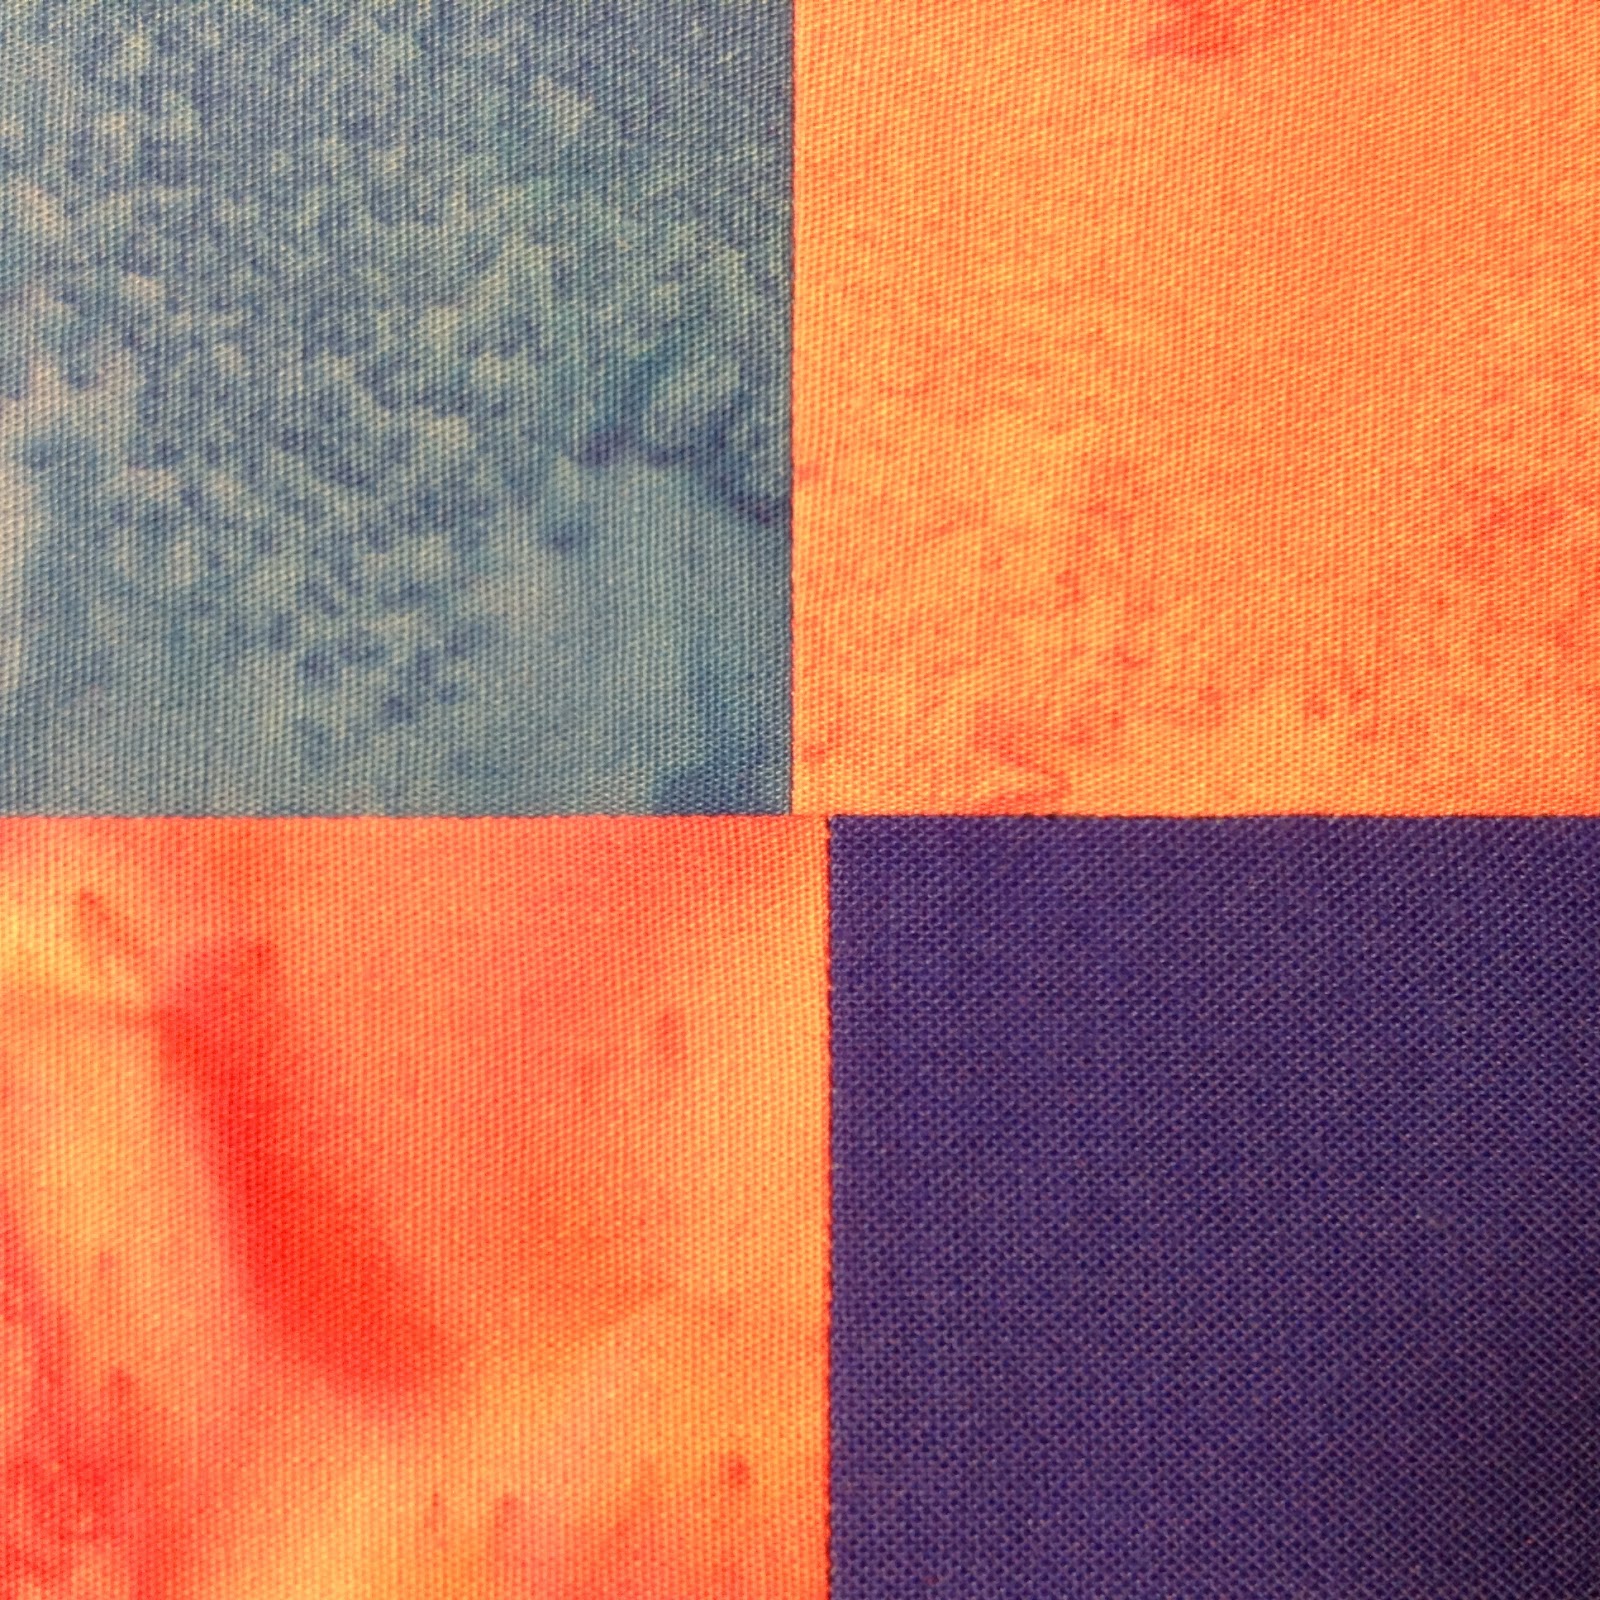
Leave it! Whether the seam matches perfectly or not really doesn’t matter to the structure or integrity of the quilt. It will still be just as soft and cuddly and wonderful when it’s finished whether that seam is perfect or not.
So what next? Piece 3 of these Four Patch Blocks and meet me back here every Monday this month as we learn how to quilt these blocks in free motion.
Tomorrow Josh will be back with his Beginner Tip Tuesday post and Wednesday I’ll be sharing another video on marking blocks in preparation for quilting.
There’s lots of exciting info being posted daily so make sure to check back every day this week as we begin this awesome Building Blocks Quilt Along together!
Let’s go quilt!
Leah Day
I am so excited to get going on this. Great job as usual Leah. I wish I had my fabric already. I have already "talked" a fellow quilter into trying the short seam length and pressing open. I told her to try something new, that is kind of the point in this quilting adventure 😛 Thanks again for so much effort Leah!!
Hey Leah!
Just watched your video. Your instructions are very clear and easy to understand. I got a HUGE kick out of your sheepish admission that you often sew over your pins, most of the time successfully…. you're not alone! I do too!
Linda from Maine
I like what Janet said about "the point in this quilting adventure"!
Leah, is it really necessary to prewash the fabric? I hate taking all the time to do that when all I really want to do is start piecing and FMQ-ing! You've really done an amazing job putting this project together!
Saberz Mom – Yes, sorry, but I do believe it's necessary to prewash the fabric. Of course, that is just my opinion! I won't kick you out of the quilt along just because you don't want to do that extra step!
Cheers, Leah
Hi Leah, I am contemplating using a cute layer cake for the back of my fabric. Will this quilt be reversible when it's completed?
So excited it's started, especially as I spent the last two days cutting up 10 metres of fabric and batting into hundreds of peices in preparation :). Is there a face book page or other form for this specific project aside from this coments section? It would be fun to see progress pics of other people's quilts. Goodluck everyone!
I sew over pins occasionally too…
I don't prewash unless I'm using reds. I like the wrinkly look it gives the finished quilt.
I also like your example of "just leave it". I, personally, have a quarter-inch rule. If the center is off by a quarter inch, I take it out and redo it. Smaller than that- I don't care!
Quilter Izzy – All quilts are technically reversible, but yes, a cute layer cake would be a nice thing to use for the back, especially if you're wanting to hide your quilting lines.
If you want a truly reversible quilt with the quilting showing equally on both sides, you might want to pick a darker, less complicated layer cake.
Cheers,
Leah Day
Sophie – I've actually just created a facebook group for the quilt along right here: https://www.facebook.com/groups/buildingblocksquiltalong/
Cheers,
Leah
Question – and perhaps a silly one. But…on a solid piece of cotton fabric, once cut, how do you tell the front from the back?
Hi Lorrie – You really can't tell the front or back of a solid because, like batiks, they are double sided. I was just clarifying in case someone was piecing with a printed fabric with a clear right and wrong side.
Cheers,
Leah
I recently made a full sized quilt and did not wash the fabric first. Unfortunately, when I washed the finished quilt the yellow and green ran and ruined it. Sometimes it pays to slow down – too much time and money spent otherwise.
Just started sewing my first quilt block and I did not match any of the center seams as I am so use to pressing seams to one side and locking them together. I can match my seams perfectly that way but this way, pressing the seams open, I am a tad off…I watched the video a few times and I thought the seams matched but after sewing them they do not….also, some of my seams look like they are puckering, I have the stitch length set to 1.6…
hello, which size has the finished blocks. There is no measurement.
thanks for answering
Veri from Germany
Hi Veri – The block will be 10 inches square after piecing. We will quilt 8 inches inside this block so you have space to hang on to the edges.
Cheers,
Leah
Hi Kathleen – There's definitely going to be a learning curve to piecing a new way. Matching seams perfectly does take practice and careful pinning. As for the puckers, is your needle new and sharp? You might want to check that first.
Cheers,
Leah
Leah, I am a brand new quilter, very first time. Please bear with me. In block #1 you asked to cut one piece of fabric A and one of fabric B. I did and now have 2 pieces 5.25" in size. I do not have four pieces, I just have two. Where o I get they other two? Thanks for your help. Mariemay
Mariemay – Double check Page 10 again. There is a chart at the bottom of the page that indicates the strips needed and then what size squares to cut the strip into. If you follow the directions and cut the pieces from the chart, you will end up with the right number of pieces to make 3 of these blocks.
Cheers,
Leah Day