
Ruler Quilting on Qzone Hoop Frame
Click Here to find the ruler foot I’m using in this video. My Juki F600 is a low shank machine so this ruler foot fits great and works with the thinner style quilting rulers. If you have a high shank machine or longarm, you’ll want to use thicker rulers.
Click Here to find the Super Slide quilting ruler so you can quilt beautiful curves like these!
You can space your quilted curves from 1/4 inch to 2 1/2-inches apart with this ruler!
Click Here to learn more about the Grace Hoop frame. I love this frame because it only takes up 4 1/2-feet of space and I can quilt bigger quilts! This hoop style frame is designed to clamp the quilt in place so you can shift it side to side and forward and back. Yes, I do have videos planned with bigger quilts demonstrated on this frame coming soon!
I’m also using the Speed Controller so I can easily click the machine on and off with my thumb from the handlebar.
Can You Do Ruler Quilting on Your Home Machine on the Q-Zone Frame?
The answer to this question is MAYBE. This honestly depends on your home machine and how bulky it is around the needle.
If your machine is super skinny around the needle, like this vintage Viking machine, then no, this wouldn’t be a good choice for ruler foot quilting. You need a bulky base around the needle to hold and support the ruler.
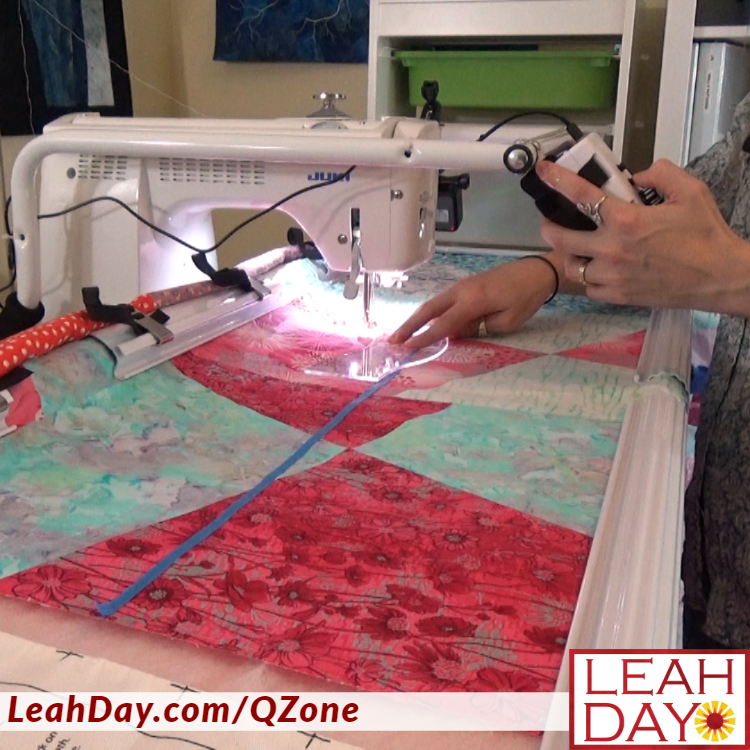
Remember to hold the ruler in your non-dominant hand and steer the machine with your dominant hand!
This is also something that changes depending if you are right or left handed. For ruler quilting, you should always hold the ruler in your non-dominant hand and steer the machine with your dominant hand. That way the hand on the machine has the most control and strength.
Most machines have extra space to the front of the machine. This translates into extra space to the right side of the needle when the machine is on a frame.
So for left handed quilters, that is going to give you an advantage because you will hold the ruler in your right hand and mostly position it to the right of the needle.
For right handed quilters, this might not feel as comfortable. You will be holding the ruler in your left hand and usually positioning it to the left of the needle, which is the back side of the machine.
It will entirely depend on your machine and how bulky the base is as to whether this feels comfortable and if you have enough support provided by the machine. I think the Janome Horizon series of machines will be a good choice for this style of quilting, plus with an 11 inch harp space, you’ll have a lot more space to quilt in.
How the Slide Quilting Ruler Works
The Super Slide and Mini Slide quilting rulers are both continuous line curves that have the same curve on both sides of the ruler. This means anytime you feel uncomfortable holding the tippy edge of the ruler, you can rotate it around and continue the same curve from the middle of the ruler.
To keep the curve continuous, always stop 1/4-inch from the edge of the ruler, then shift it over and begin 1/4-inch from the opposite end.
Quilting with Rulers Across the Quilt
I first stitched a straight line across the quilt using my channel locks to lock the machine in a straight line. When I reached the end of the frame, I broke thread and left nice long thread tails.
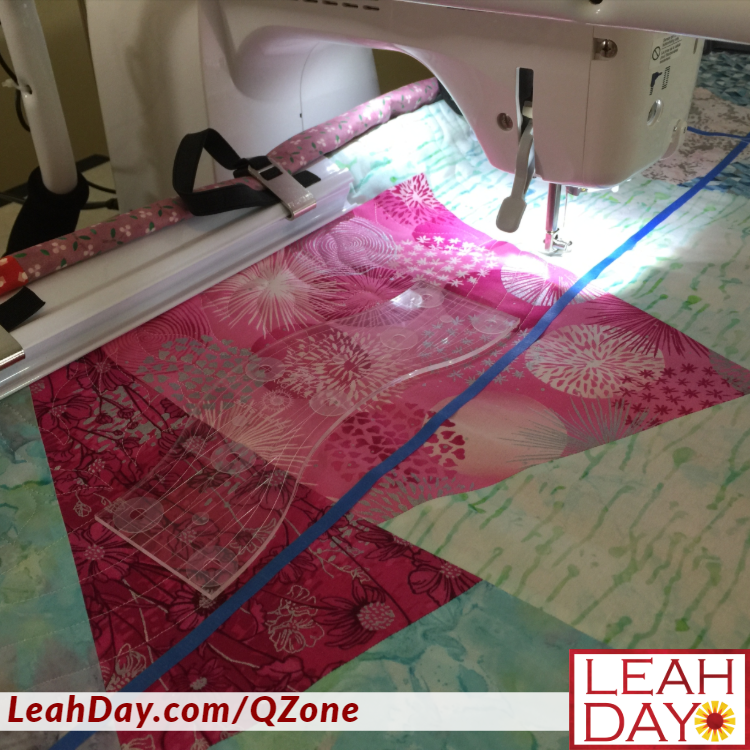
Then I returned to the left side of the quilt and began quilting big curves with the Super Slide ruler. I used a line of 1/4-inch masking tape as a guide and lined up the etched lines on the ruler so it stayed straight on the quilt.
With each line of quilting, I broke thread at the end. This baby quilt I’m quilting is 44-inches wide, which means I have to shift it side to side on the frame to finish the design.
Shifting from Side to Side with Ruler Foot Quilting
I used the same Needle Down, Channel Lock technique from last week and shifted the quilt over to the left and clamped it back in place. Then I completed the design by pulling up thread on each line from before.
I tied off and buried all the thread tails using my favorite Cheater Needle, which you can find here!
After stitching across the quilt, the only thing I’d change is where I ended the lines of quilting. I stopped with all the thread breaks in a line, which is a bit noticeable on the quilt. From now on, I’ll break thread in an irregular pattern so the starts / stops are less noticeable.
With each video, I’m learning something new on this quilting frame! I hope you are too. Don’t forget to use the discount code, which you can find at the end of each video to save $100 on your Grace frame or machine purchase from my Quilt Shop.
Let’s go quilt,
Leah Day
More Q-Zone Hoop Frame Videos
How to Set Up the Q-Zone Frame
I found a ruler base for Juki on Ebay. I’m wondering how it would work out with the hoop frame.
I just bought the frame and just getting use to it too.
Thanks for all the videos on it, it’s really helping!
Most likely it will snap around your machine and add extra space around the needle to support the ruler. I’m so glad to hear you’re enjoying this seires!