
Quilting Basics 11: Create a Cutting Template
Click Here to find the pattern for Block #2.
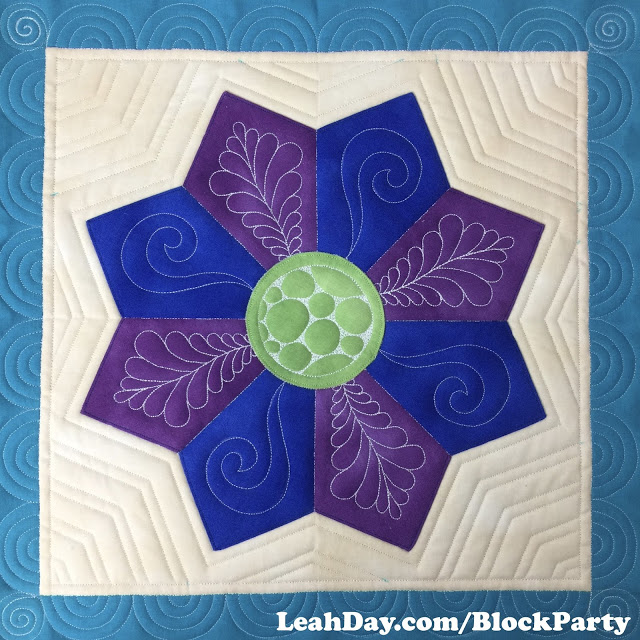
To get started on the right foot I want to share another Quilting Basics video with you to teach you how to create the cutting template needed for this Dresden Plate There are many times in quilting that we can’t cut a shape with our normal rectangular or square ruler because the shape is unique and can’t be cut using the angles or lines on a normal ruler.
At times like these, we need to create a cutting template so we can cut the shapes we need accurately for our block. Learn how to create a cutting template and cut your pieces for this new Dresden Plate quilt block:
Wishing you could skip this step? You can use Template #1 from the new Dresden Plate Template Set instead. Click Here to check it out.
 The first step to creating this cutting template is to print page 6 of the Block #2 pattern. Double check that you print the template the correct size by measuring the 1 inch square in the corner of the page.
I sped up the process a bit by printing the template directly onto freezer paper. Click Here to find printable freezer paper sheets.
Make sure to print your template using an inkjet printer. Laser printers heat up too much and will melt the freezer paper together. I killed Josh’s favorite printer doing this so don’t repeat my mistake!
To make the template rigid, first press a piece of freezer paper waxy side down onto your pressing board. Then top it with the template page, waxy side down, and press again until you see no air bubbles or wrinkles on the pages.
Pull the template up and trim down the sides carefully. You want to cut up to the lines around the template, but you don’t want to cut the lines off.
With this template you can cut the edges with a regular rotary cutter and ruler. When we create curved edge petals, you’ll need to cut the shape out with scissors so you form a nice smooth curved edge.

Now that your template is cut, you’re ready to start cutting fabric! Make sure to buddy up the paper template with a regular ruler so you don’t cut the edges of the template. If you do accidentally cut the edges of the template off, it’s probably not going to work. Just make a new template and try again.
If you’re in a really big hurry and you don’t want to mess with making a paper cutting template, you can find this template included in the Dresden Plate Template Set.
Let’s go quilt,
Leah Day
Really like this block. Going to try to make one. Just now quilting block #1. My border isn't so perfect. Hope ghe washing evens it out a little!
Thank you again for your wonderful blog; I have learned so much. You are a superb teacher. I do have a question (probably dumb, but you don't know if you don't ask). I have an iron that really doesn't heat as well without steam (it's a Black and Decker and I really love it otherwise). Is there a reason you prefer dry ironing to steam? And, am I going to screw up my blocks if I steam iron? I can get a different iron, just wondered is all. Thanks again.
I don't prefer steam unless I'm intentionally manipulating fabric. Especially with starch, it tends to soften things up, rather than stiffening them. My advice would be to get a very cheap $20 grocery store iron just for dry pressing just to see if you like the technique.
Thanks, I will try that. I did notice that the panel quilt (similar to Olaf, but Star Wars) I am working on for my grandson is not as stiff as I was expecting and the steam is probably why. Thanks again, I will let you know how it goes.
leah. I have a vintage singer 251-2 which is a high shank industrial machine that I want to quilt on. I have not been able to find out what foot to use for the ruler quilting. Can you help me with this. Also I have been trying to take out the feed dogs but I am having trouble keeping the tension right. Any ideas? I did have a new motor put on that allows me to slow down the sewing with an adjustable speed on the motor. I would appreciate any ideas you have. Thanks Stacy
If you know the machine is high shank, I'd start there and look for a high shank ruler foot. Amy's Free Motion Quilting Adventures and Patsy Thompson both carry ruler feet so check out either of their websites. It might not fit because it's industrial and it might be that there just isn't a foot compatible with your machine yet. Just keep searching and trying different feet and consider trying this with a different type of machine if you can't find the right foot.
Can’t find where I can get the paper template for 8 pedal dresden plate. Flower Festival Block 2 in your tutorial.
Hoping you can help –
Thank you,
Rita
Hi Rita – The paper template is included in the Block 2 quilt pattern which you can find here: https://leahday.com/products/flower-festival-sampler-quilt?variant=28039857936