
The Great Pressing Seams Debate, Podcast Episode #32
Hello My Quilting Friends! Yes, we are officially moving to a weekly podcast! Every other week we’ll continue to meet new quilting friends with interviews. The opposite weeks will be a podcast with me answering a specific quilting question or digging deep on a quilting topic.
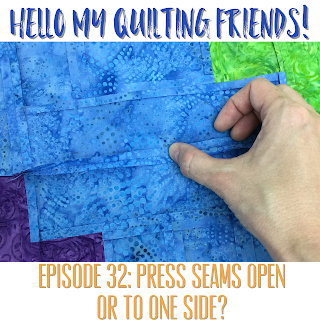
So this week I’m tackling the Great Pressing Seam Debate – do you press your seams open or to one side? What is your reason for pressing your seams the way you do?
If you happen to be piecing this week, post a picture of your quilt to Instagram and tag me @LeahDayQuilting to share your favorite way to press your seams. I can’t wait to see all your beautiful blocks and quilts!
I find this topic fascinating because it really brings out surprisingly strong opinions in quilters, as you will be able to tell in this podcast. Sorry, but I can’t help being a bit bias to my favorite method of pressing seams open!
But I tried to explain the entire topic coming from our quilting roots – hand piecing and hand quilting which continue to guide our craft even today. I hope you enjoy this new type of episode and look forward to hearing from me each week. Listen to the episode here:
Or you can watch the entire podcast as a video and see what I’m working on (and crazy gesticulating) as I chat here:
Now for some updates from around the house! While I was talking through the introduction, I was working on a Christmas tree button mosaic:
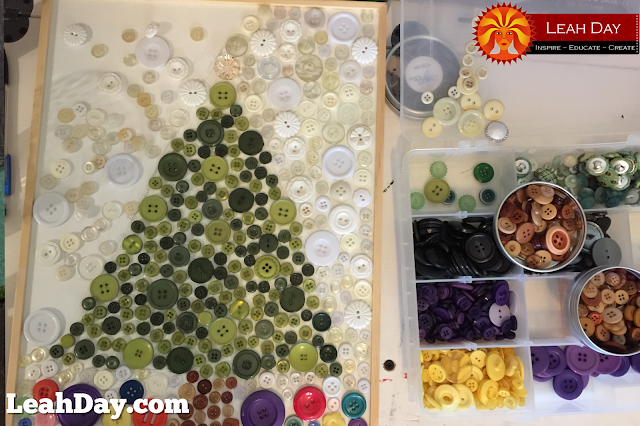
I find it’s easier to keep my thoughts running smoothly if my hands are busy so that’s why I always try to find a project to work on as I chat with you. I have a really big collection of buttons and this was the perfect way to use them up!
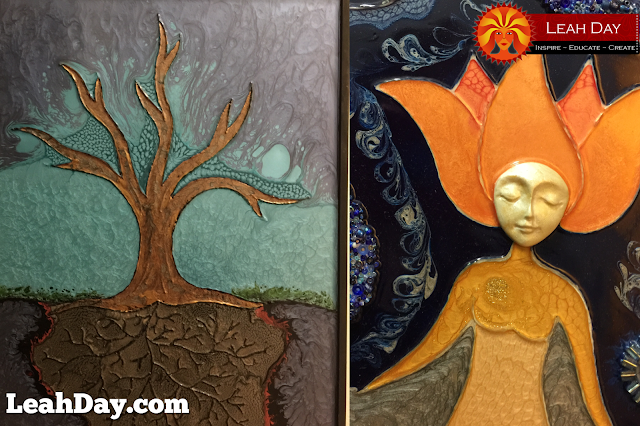
And just in case you’re curious about the paints that the canvas was designed for, they are Pebeo paints and much thicker so you apply them with a tear dropper, but the effects are AWESOME! Here are two paintings I’ve made with them:
Sunday I shared a Spiderweb tutorial that has been a big hit and made a beautiful Hoop Quilt:

Make sure to check out this video featuring bobbin thread work and quilting on a sit down longarm quilting machine. Click Here to find the video.
Yep, that little Candy Corn mini will also be another sit down longarm quilting tutorial coming up soon!
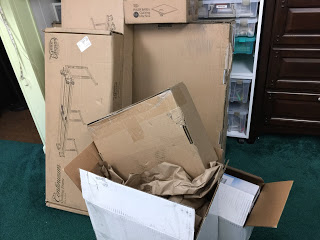
Downstairs I’m getting ready to switch the longarm from a sit down to a frame longarm. Right now the boxes are all stashed in the sewing room and I’m feeling a bit divided on when to set up the machine. I just need to pull on my big girl panties and do it!
Honestly I think I’ve just been a bit too busy to think about changing the sewing room. The last few weeks we’ve been finishing the edits to the book, creating new pages, planning the schedule of the new Machine Quilting Party for 2018 and creating a nice bonus for preorders as well. Whew!
Speaking of Preorders – we will begin preorders for Explore Walking Foot Quilting with Leah Day on November 1st!
That is just one week away and I’m super excited to be finally ready to release this book to the world. The books will begin shipping and ebooks will be emailed out on December 1st – just in time for the Machine Quilting Party which will begin in January.
Speaking of the party, it’s time to reveal the quilts we will be creating together next year:
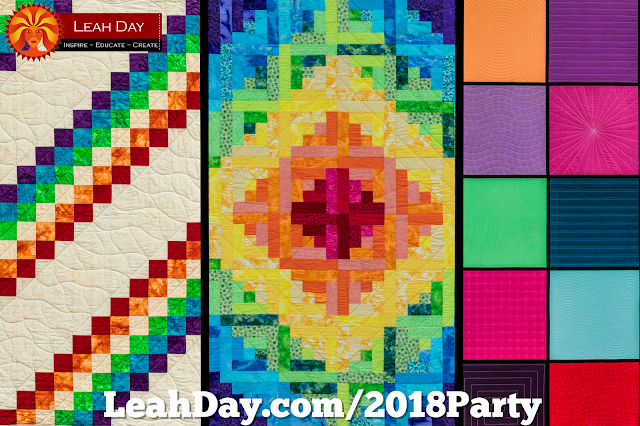
We will begin the year working on the Rainbow Log Cabin, a beautiful 80 inch quilt that’s a terrific scrap buster. If you have lots of fat quarters laying around, this will be the perfect quilt to use them up all in one go!
After creating Rainbow Log Cabin, we’ll probably be in the mood for a simpler, faster project with the Prism Path baby quilt. This is a bargello quilt that will be very easy to piece and create lots of fun spaces for beautiful quilting.
Sort of a bonus quilt you can create will be the Marvelous Mosaic Quilt which is Quilt-As-You-Go so each block is quilted separately, then put together at the end to create a large throw sized quilt.
You can find the schedule for the Machine Quilting Party as well as material lists so you can get started collecting fabrics so you’re ready to jump in at the beginning of the year! Click Here to find the schedule.
Whew! It’s so exciting to be getting all this planned, organized, and videos ready for you. I can’t wait to get started creating these beautiful quilts and learning together next year.
Do you have a topic you’d like to recommend for the podcast? What is your favorite way to press seams? Share your thoughts in the comments below!
Let’s go quilt,
Leah Day
I had been pressing seams to the side but on my last project I pressed them open and it was so much easier! I didn't have to remember which side I pressed the seams. So OPEN from now on ~
I loved this podcast! Looking forward to my next project and changing stitch size and pressing open. I appreciate your sharing. It’s the best video I’ve seen that explains the pressing debate. Thank you.
Wonderful Norma! It’s good to remember that there is no “right” or “wrong” methods in quilting. All of these things are down to personal preference.
That was a very thorough explanation. Thank you! I do have one question though, my machine will only go down to a 2mm stitch length. Is that too long to press seams open? You seemed to really stress that the small stitch length is what allows you to press open.
I would check your machine Lynda. Most likely that lowest stitch length is 0.02. That is way too small. The length you need is 1.5 mm and all home machines should be able to be set to this length.