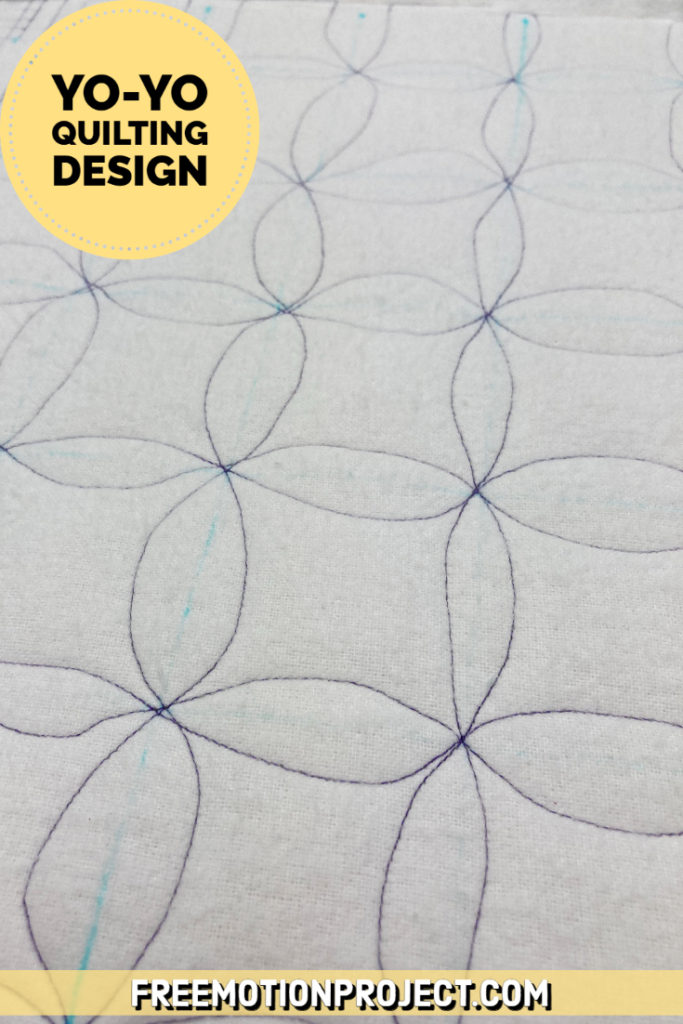
Easy Grid Quilting Design – Yo-Yo – Design #523
Yo-Yo’s are typically something we piece by hand and collect in bins and then eventually stitch together by the million. But I think this can also be a quilting design too! See what I mean in this new video:
Yo-Yo is built off a grid so if you’re working on plain fabric, you’ll need to mark lines 2-5 inches apart. What we specifically need are the intersections where the gridlines come together. Aim to hit those points as you curve up and down within each square.
While filming the video, I wasn’t happy with my stitches or the occasional wobbles I made with my longarm. However, after finishing the entire space and stepping back, I found the overall texture very pleasing. I think Yo-Yo will work best on scrappy quilts where you can use the seamlines as a guide. This will eliminate any need to mark the quilt and those occasional wobbles and inconsistent stitches will blend a bit better into the background.

I did use the Ditcher Ruler occasionally to help me travel stitch between the curving lines. Though with my trusty bag of beans on the quilt surface, I don’t always need to grab the ruler when stitching in certain directions.
Let’s go quilt,
Leah Day
