
Walking Foot Quilting Basics
 It’s finally Friday and time to jump on our machine and start walking foot quilting! I’m going to be machine quilting all of the designs from my book Explore Walking Foot Quilting with Leah Day into squares to teach you how to quilt each design.
So you can find new walking foot quilting videos here every Friday. At the end, you’ll have lots of blocks quilted and you can connect together your favorite 20 to create the Marvelous Mosaic Quilt. Click Here to learn more and find the materials list!
Let’s get started on the right foot and learn how to prepare your fabrics and baste your blocks for Marvelous Mosaic in this quilting tutorial:
Click Here to find the flower head pins and pinmoors in the Baste Your Quilt Kit!
If you decide to use Minky fabric for the backing of your quilt, click here to find French Fuse to stabilize it.
Yes, I do think prewashing, starching and pressing fabric is an important step in the quilting process. Click Here to learn how to prepare you fabric.
Marvelous Mosaic is a very fat quarter friendly quilt and yes, you can prewash fat quarters of fabric too. Separate the fabrics by color and wash them in a laundry bag or pillowcase to minimize the fraying from the edges of the blocks.
It’s so nice to start with washed fabric so you never have to worry about bleeding dyes when the quilt is complete. I would hate to see the bright colors of Marvelous Mosaic bleeding into one another. It would turn in to a big mess!
It does save time to prepare all your blocks ahead of time so each week you can grab one and stitch a new design. Yes, quilting individual blocks will teach you quite a lot about quilting, even though it’s not a big quilt. You’ll get the feel for moving and manipulating your quilt, how to work with the walking foot and get used to how it feeds the fabric forward.
If you’re looking for tips on quilting bigger quilts, make sure to check out our videos posted every Monday as we piece and quilt the large Rainbow Log Cabin and quilt it all in one piece!
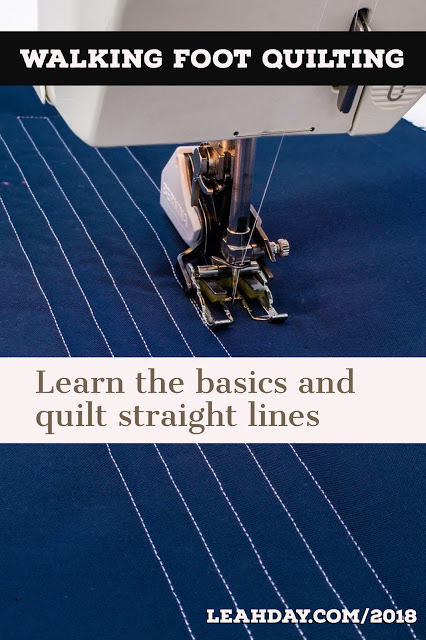
Now let’s dive into walking foot quilting with our first, very simple quilting design and some basic tips to get you started in this quilting tutorial:
It can be a bit tricky to put a walking foot on your machine so I hope the beginning of this video is helpful. You may need to wiggle your handwheel a bit to adjust your needle bar so you can slip the little arm of the walking foot in place.
Many machines have new integrated dual feed systems that are built into the machine so your foot may be very different to attach. Check your machine manual to double check how to attach it if you have an accu feed or dual feed system.
Gear Up!
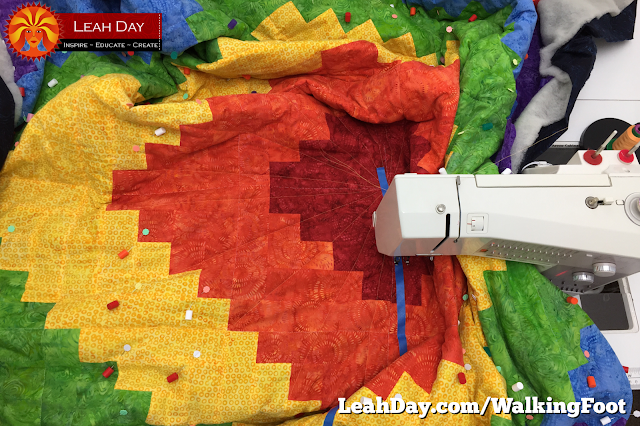
I love quilting on my home machine, but moving and manipulating the quilt can be challenging. Quilts are heavy and the fabric on the surface is very soft so I always find my hands slipping and sliding over the surface. That’s why I wear quilting gloves to get a grip on the quilt so it moves exactly where it I want it to.
I also use a Queen Supreme Slider to help the quilt slide more easily over the table. For walking foot quilting, you need to position the slider to the left side of the machine.
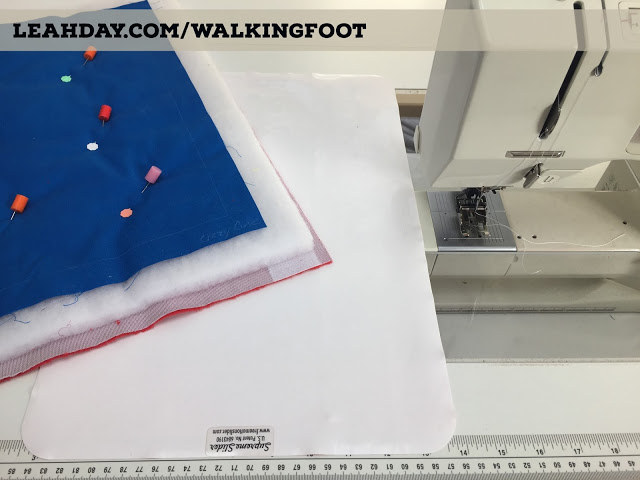
Do not place it on the machine with the hole over the feed dogs – that position is for free motion quilting, a totally different technique.
For walking foot quilting we need the feed dogs to feed the quilt from the back as the walking foot feeds the quilt from the top. If you’re not used to using the slider, please tape it down. It’s a very delicate tool so if you stitch through it, it will not live to quilt another day!
I also use bobbin washers in the bobbin case of my machine to help the thread glide evenly through the bobbin case. This is really helpful for older machines like the one I’m using in the video.
Click Here to find these three tools in the Queen Surpreme Kit.
Set Your Stitch Length
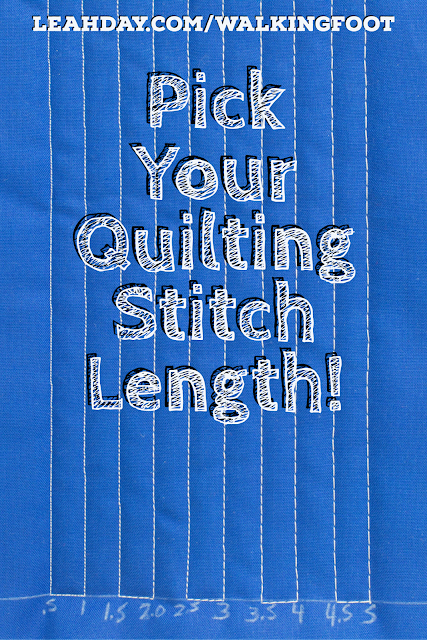
This is something you get to play with! When you change your stitch length setting on your machine, you will change the length of your stitches. Please make a test sandwich and play around with lots of different stitch lengths to see the effect on your quilt.
Pretend you are Goldilocks only instead of testing oatmeal and the softness of chairs, you’re testing stitch length – you have to find the one that feels just right.
My favorite, most used stitch length is 1.5 mm for walking foot quilting. This is the setting I use for piecing too, so it’s become a routine to sit down at my machine and immediately adjust the stitch length down to this setting.
But my blocks are a bit different for this quilt because I’m using minky fabric on the back. The minky loves to grip the table top and the machine so I found I needed to increase the stitch length to 2.5 mm.
Anytime I mention stitch length, I’m always asked about stitch width. Unless you want to stitch a zigzag, you don’t need to mess with your stitch width setting. Leave it at center position or 0 or whatever the default is on your machine.
Marking Straight Lines
You can mark your block with a ruler and a fabric marking pencil, or you could just tape it! I used 1-inch wide masking tape to create a nice straight line to begin stitching my lines. I positioned my foot on top of the tape so my needle was running right along the edge of the tape like this:
.jpg)
I like quilting like this and you’ll see me do it a lot this year. I can see the tape clearly and see my needle and I don’t find it hard to stitch right against the tape. I almost never stitch over the edge of it, but even if you do, just tug on the tape gently and you should be able to rip it out from your stitches.
Dealing with Thread Tails
One very issue is going to crop up a lot and that is thread breaks. Every line of quilting you begin and end is going to result in two loose thread tails on your quilt. It’s important to secure these loose threads so your quilting stitches don’t unravel from your quilt. Learn how to tie off and bury your thread tails in this video from last year:
Yes, I tie off and bury every thread tail using this method, every time! I’ve incorporated this into a habit so I don’t even have to think about it. I tie a knot, grab a cheater needle, pop the thread tails in and hide them in the quilt.
I keep the needle handy on a small magnet pincushion. The last thing I want to do is go hunting for a special needle when I’m in the middle of a quilt so I keep this right next to my machine and that single needle is the only thing on it.
Click Here to find both tools in the Hide Your Threads Kit.
Quilting Scale and Density
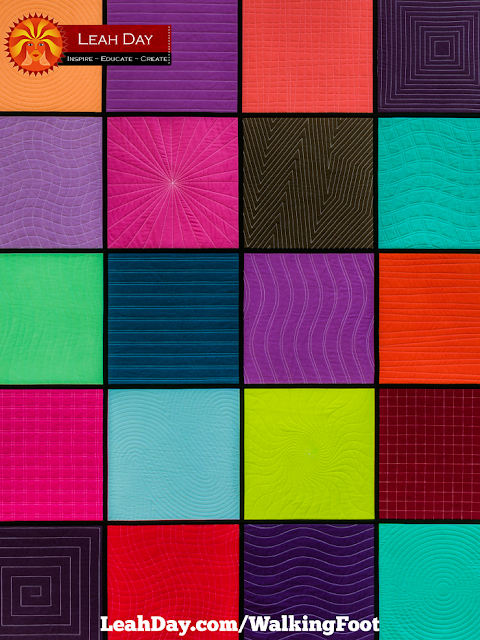
I stitched Straight Lines, one of the easiest and simplest walking foot quilting designs on a 1/2-inch scale for my quilt block. Your quilting scale refers to the distance between your lines of quilting.
If you want to quilt the block faster and for it to feel softer and squishier, leave more space between the lines. You don’t have to quilt the lines so closely together.
I like to quilt on a 1/2-inch scale because it makes the texture really stand out on the quilt and it’s easy for me to stitch on that scale using the edge of my walking foot as a guide. But yes, it would take half the time if you quilted this block on a 1-inch scale, and even less time if the lines were spaced 1 1/2 inches apart.
So that’s it for this tutorial! Be looking forward to more walking foot design videos every Friday through June as we Explore Walking Foot Quilting together.
If one day a week isn’t enough, also check out our videos every Monday as we piece and quilt the Rainbow Log Cabin Quilt with walking foot quilting too. You can find all the videos linked up together right here.
Would you like to hang out with other quilters learning about walking foot quilting too? Join the Machine Quilting Party Facebook Group.
One last thing – I would LOVE for you to share the photos and videos shared in this tutorial! Please share on Pinterest, Instagram, Facebook, or any other social site you like. It helps me out a lot and helps new quilters find us and join in the fun!
Let’s go quilt,
Leah Day
Awesome tips Leah, thank you!
Yeah! You’re a great teacher! So glad to be doing another project with you. I do want to ask you about the the prewashing fabric. Do you think it is especially important when using the QAYG technique?
Thank you! I always prewash because it's my habit. As for it being especially important for QAYG, no, not really. You will get more shrinkage if the fabrics aren't washed, but I don't think it would mess anything up badly. As with all things, make your quilts the way you want to make them! Do what works best for you!
Great tutorial. One question, when you straight-line-quilt over a long distance (for example, side to side), do you stitch in the opposite direction for the next row of stitching, or do your subsequent rows all need to be done in the same direction? Would either of these cause some distortion to the way the quilt lies?
It really depends on the quilt and how it feels on your machine. When quilting in the ditch for the Log Cabin Quilt, which was a straight line across an 80 inch quilt, I quilted each line from the center to the outer edges. Distortion is less of a concern as just how the quilt feels to shift through the machine. You can watch a video on this here: https://freemotionquilting.blogspot.com/2018/01/how-to-stitch-in-ditch-with-walking.html
Thank you for these great tips and instructions!! I’m still a semi-beginner and learning how to wash fabrics, use my walking and free motion “feet”. Now I see that I want bobbin washers and a slider for my Brother!! I can see several interesting articles I want to read!
Wonderful! I’m so happy you found this helpful!