
Fusible Applique Tips
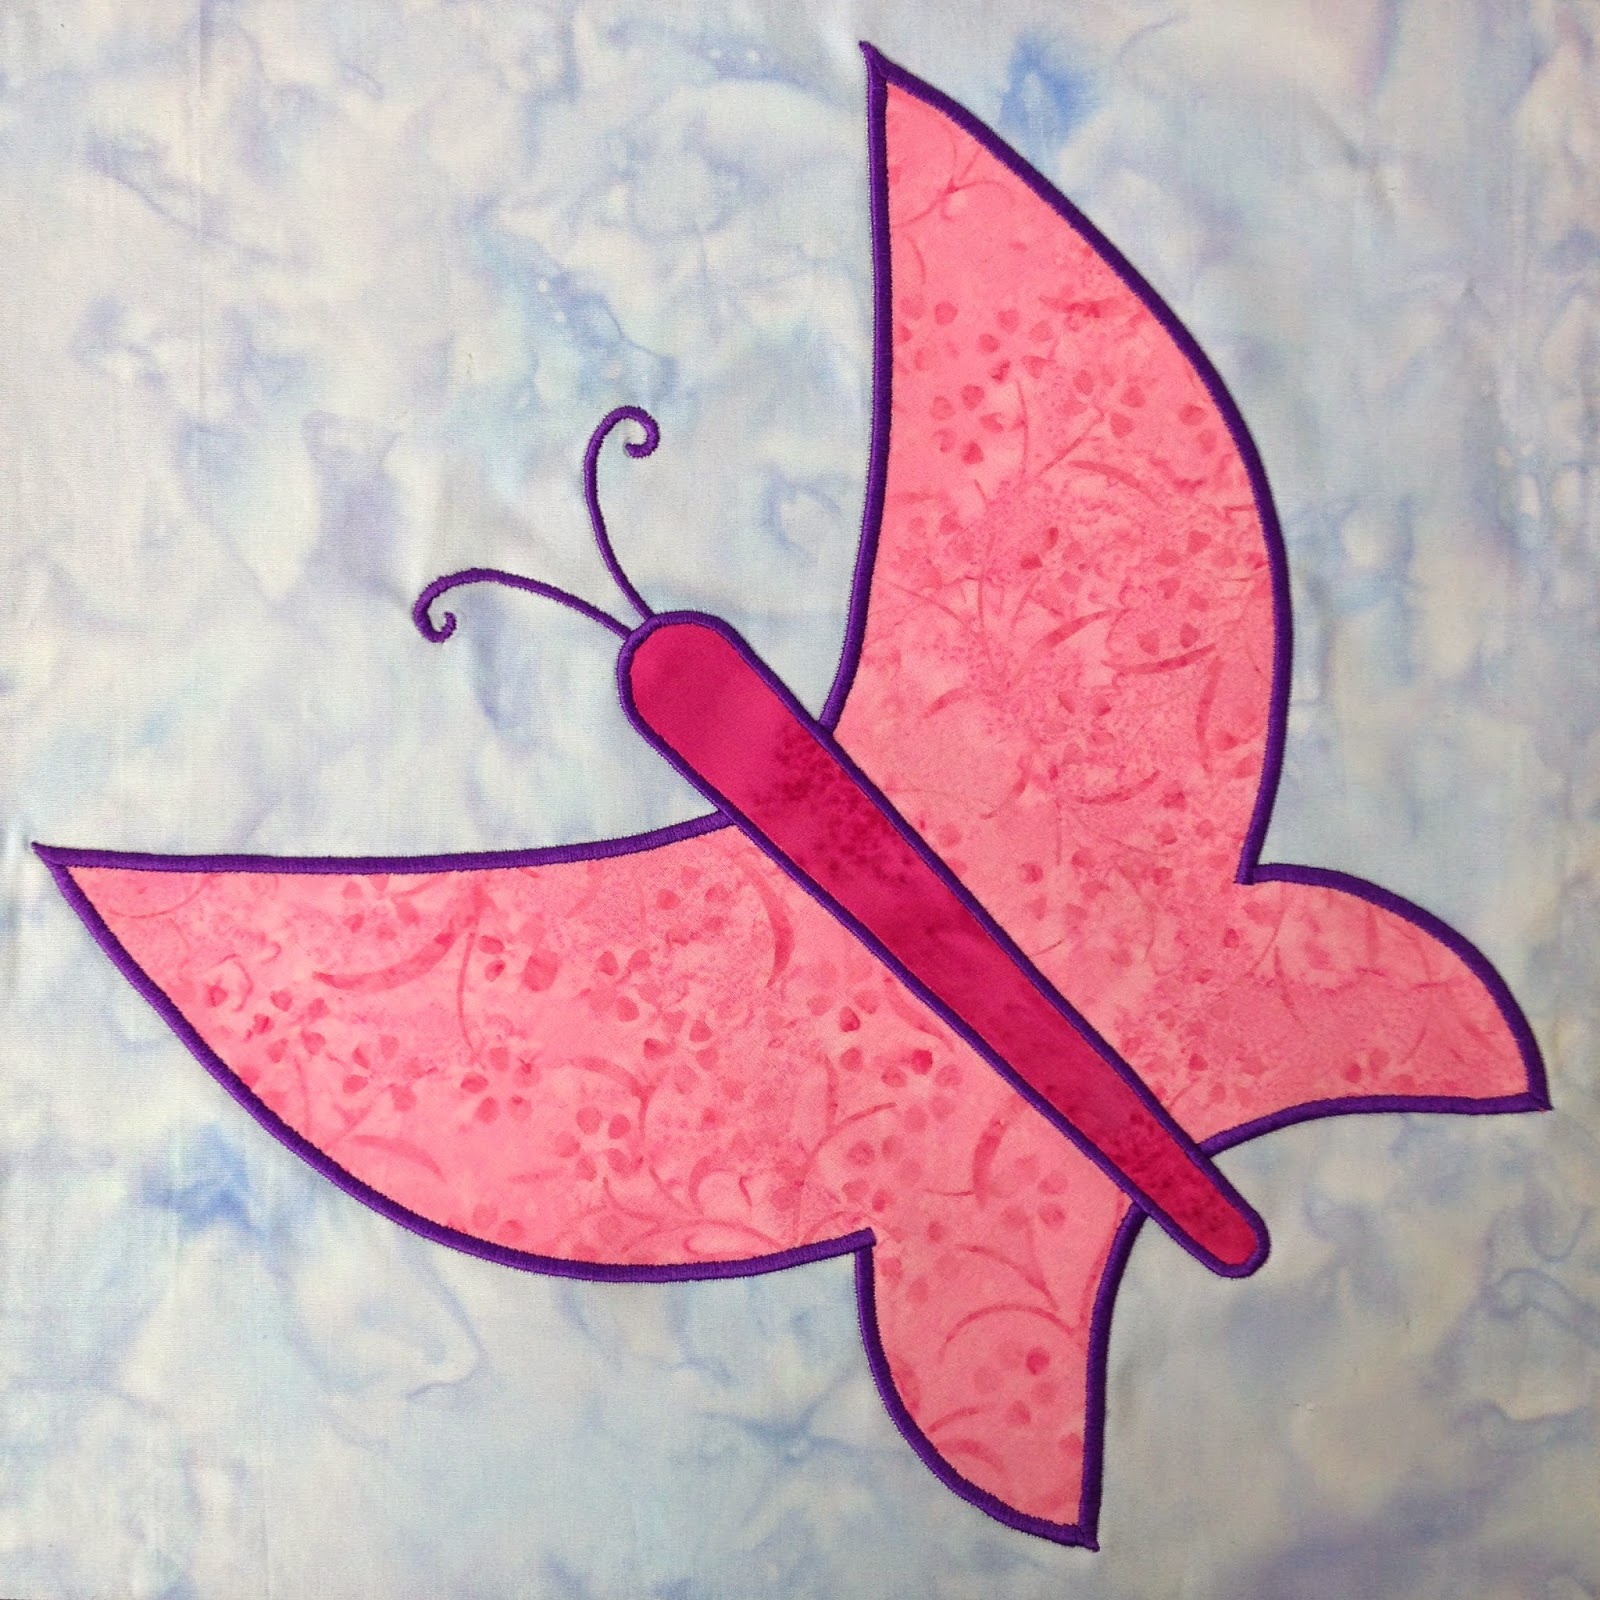
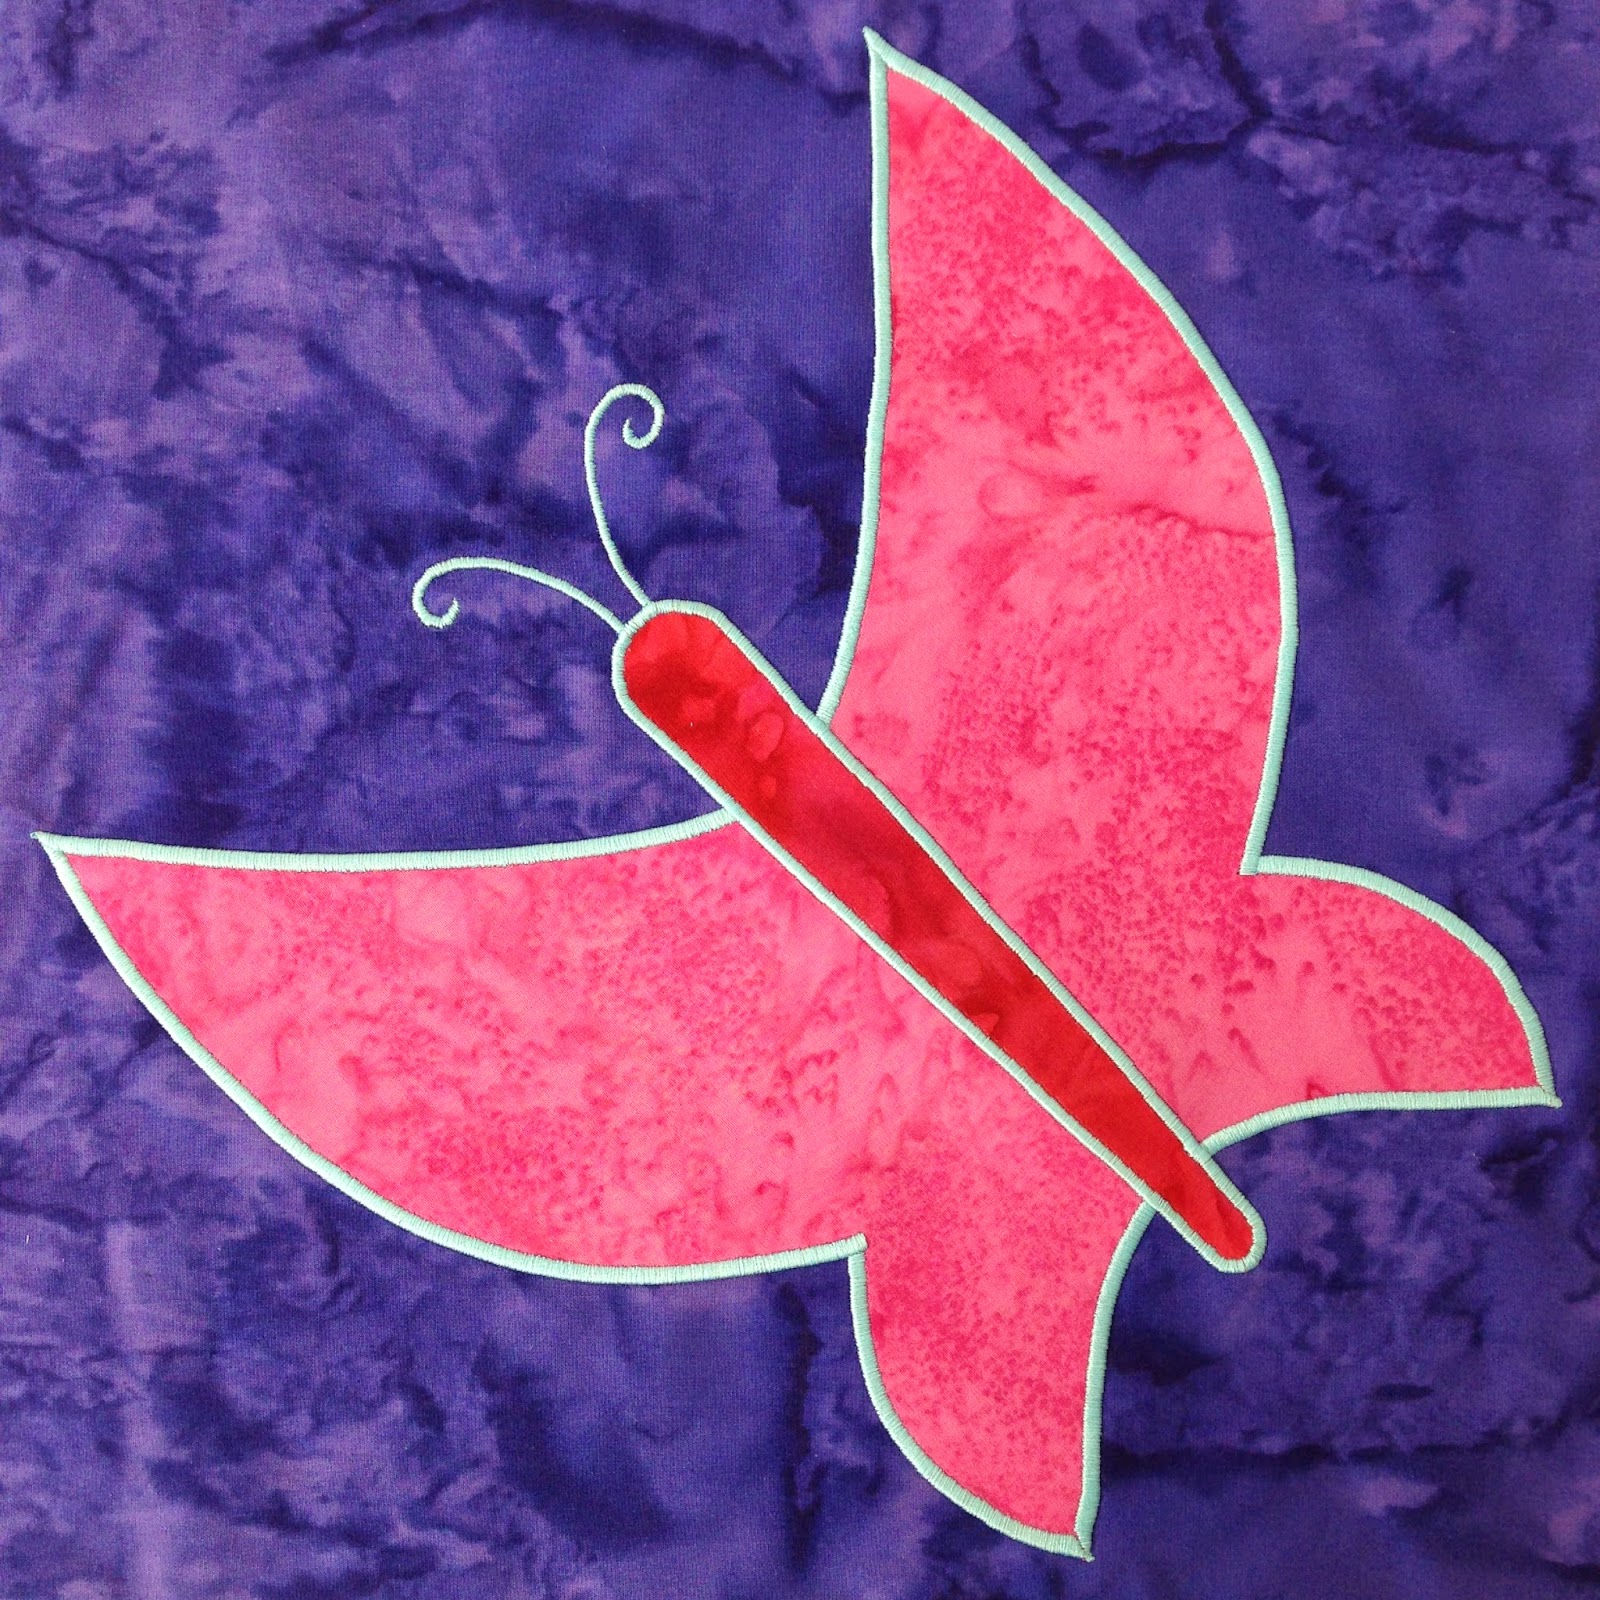
It’s time to get cracking on the butterflies for the Dancing Butterfly Quilt Along! If you haven’t already, make sure to pick up a copy of the pattern right here so you have all the templates, worksheets, and videos for this project.
Today we’re going to learn more about fusible applique, why I chose it for this pattern, and some creative ideas for stitching your blocks up a notch.
Let’s start with the steps to applique the butterflies on your pieced butterfly blocks:
1. Print page 8 of the pattern and double check you’ve printed the correct size by checking the 1 inch box on the page. If you struggle with printing, you can also pick up a printed version of the pattern instead.
2. Tape the paper to your table and layer a piece of fusible web on top. Trace the butterfly design onto the fusible web using a pencil.
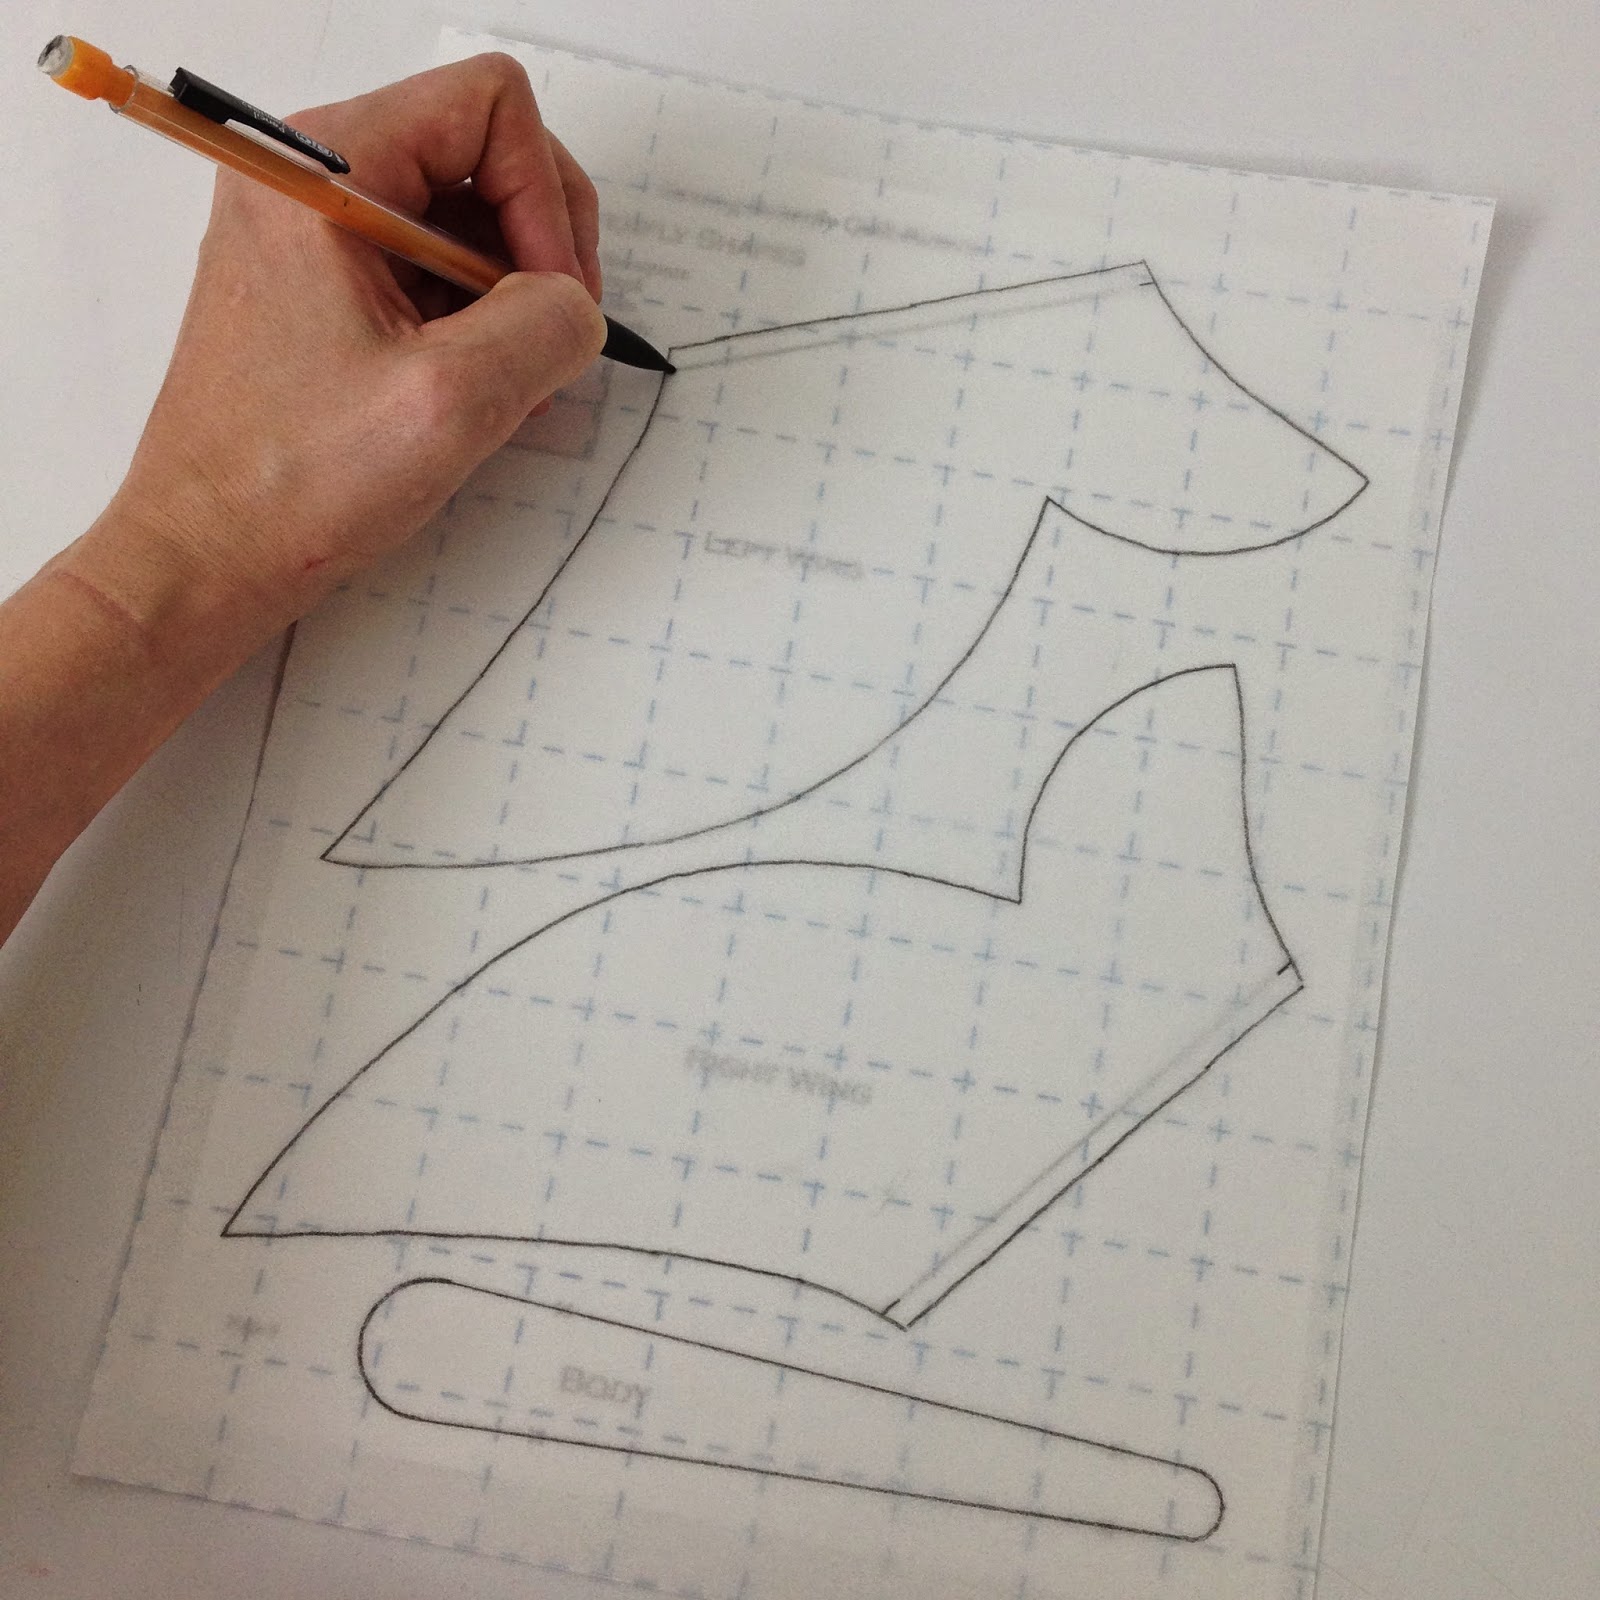
I used Lite Steam-a-Seam 2 for all of my butterflies and absolutely love how easy this web is to work with. You can also print directly onto Steam-a-Seam now with an inkjet so it will save you the step of tracing. It’s also very lightweight so it won’t make your finished quilt stiff once it’s complete.
3. Cut out your butterfly shapes roughly, leaving around 1/4 inch of web around each shape. You can also cut the shapes out with a small (28mm or smaller) rotary cutter which might be faster.
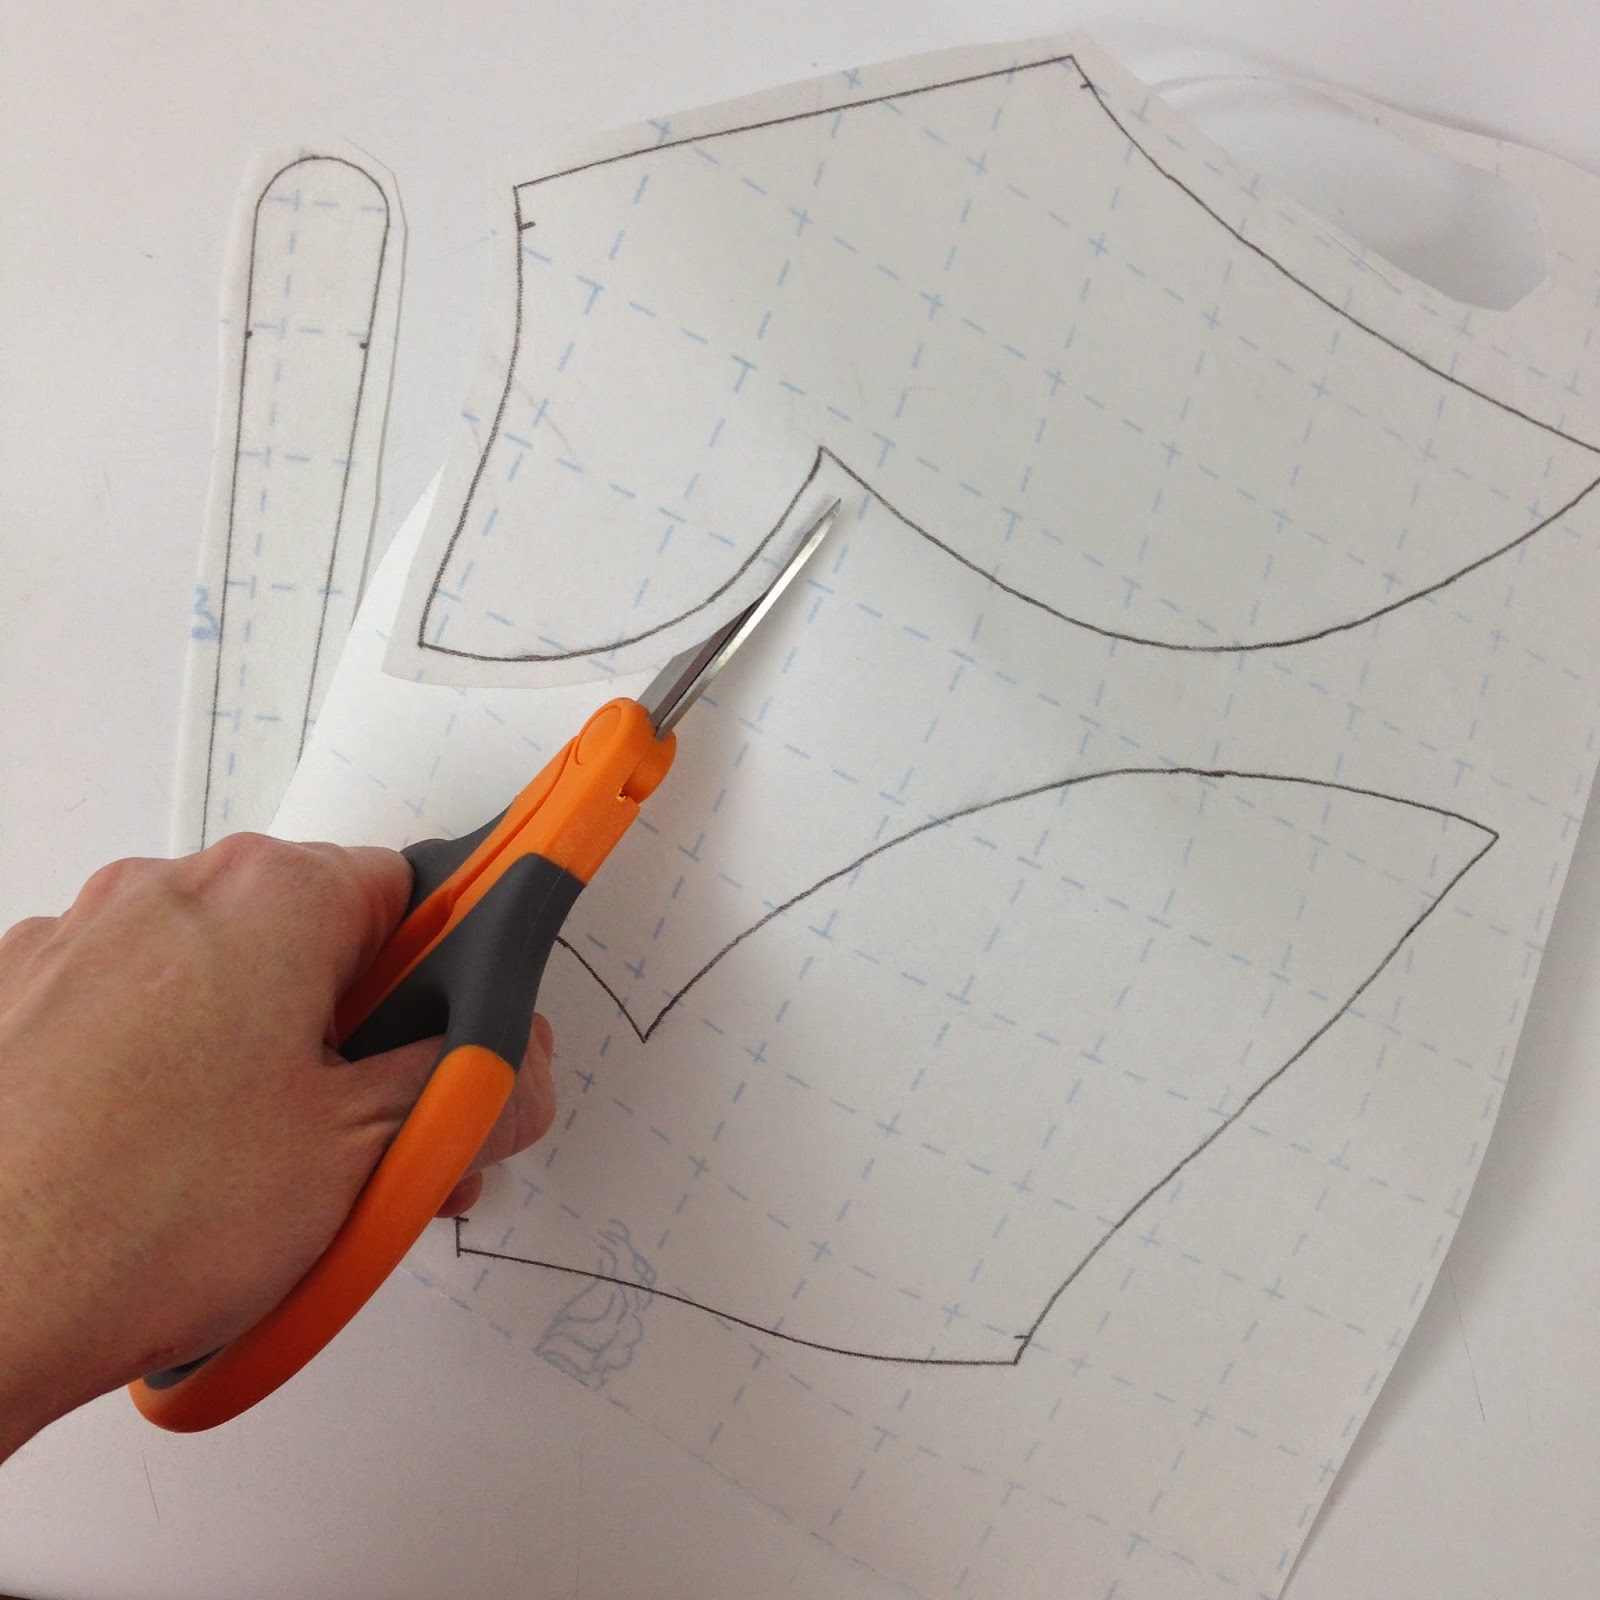
The reason you’re leaving the extra web in place is so the fabric shapes you cut have fusible extend exactly to the edge. When I first started fusing, I made the mistake of cutting out the fusible exactly to size and the edges of my appliques frayed terribly. Cutting the fusible bigger fixed this problem completely.
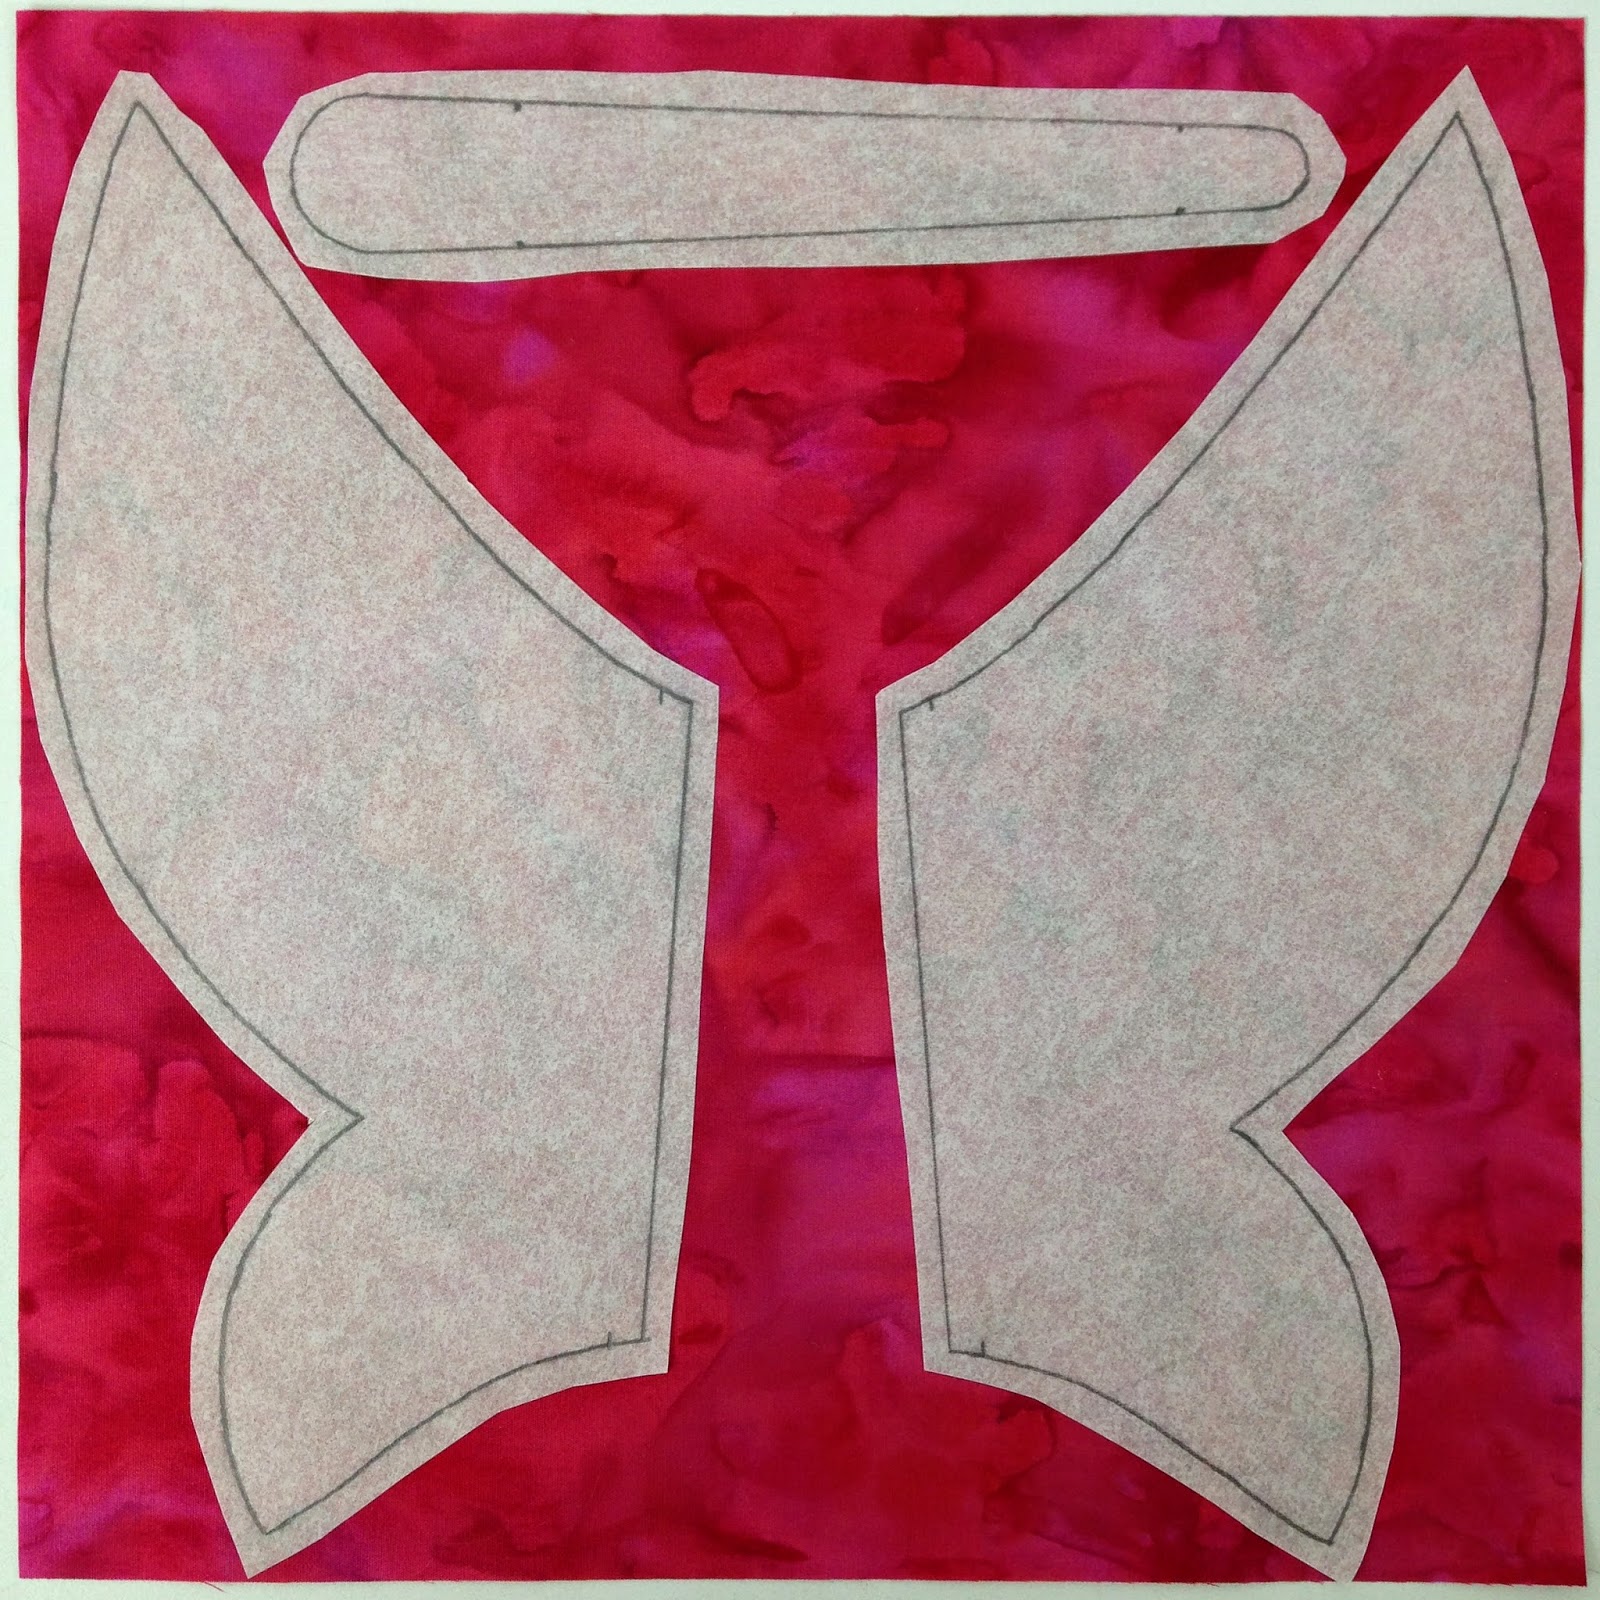
4. Remove the paper from one side of the fusible web and align the butterfly pieces on your fabric and press with a hot, steam iron. I pressed for around 5 seconds this first time around to get a solid first fuse. Some fusibles don’t use steam, so make sure to follow the instructions on the package.
5. Next, cut out the shapes exactly on the lines. The fusible glue will extend all the way to the edges of the pieces and produce a nice firm edge.

6. Now it’s time to fuse the shapes to your butterfly blocks! Using the alignment guides provided in the pattern, align the butterfly shapes on the block and fuse in place with a hot steam iron. For this final fuse, I made sure to press all the pieces at least 15 seconds.

Some fusibles can be very sensitive to heat and the glue, which is usually alcohol based, can evaporate quickly under high heat. If you fuse a piece too long, sometimes it will dry up the glue, resulting in fabric that doesn’t fuse well.
So be careful to check the instructions on your fusible web to make sure you’re using the correct settings on your iron, and count to keep track of how many seconds you apply heat.
If you’re feeling confused by any of the steps outline here, just remember you can find multiple videos walking you through every step of the applique process in the Dancing Butterfly Quilt Pattern!
Now that you know the steps to fuse, create all 12 of your butterfly blocks. Of course, just getting the shapes fused is only half the process. You still need to consider how to finish the raw edges of the shapes before the blocks are basted and ready to quilt.
Next week we will learn how to satin stitch the edges of the butterflies and explore some creative alternatives as well!
Fusing is really fun and opens up so many doors for creative play with fabric. I learned about fusing from multiple teachers and books over the years, and have found several Craftsy classes very inspiring.

Laura Wasalowski’s class Hand Stitched Collage Quilts is a wonderful class on fusible applique. I love her free form, intuitive design style that works without a set pattern to create cute whimsical quilts. In this class you’ll also learn how to embellish your designs with hand embroidery stitches.
 My friend Kimberly Einmo taught a class called Amazing Applique that will walk you through all the steps to make several projects with shapes cut from the Accu Quilt Go! system.
You don’t have to have a die cutter to enjoy this class, but it certainly makes cutting out lots of shapes much quicker.
 Another great fusible applique class is Fun with Fusible Applique with Debby Luttrell. You’ll learn how to make several projects, including how to work with a laser cut applique kit!
All of these classes are available on Craftsy so you can watch the lessons and follow along with the instructions anytime. The videos never expire and you can also ask your instructor questions and receive feed back too!
Let’s go quilt,
Leah Day

Great informative tutorial! You might want to stress the word inkjet when you mention printing on the Steam-a-Seam- as if someone accidentally gets confused and uses a laserjet, the heat on the fuser could cause the Steam-a-Seam glue to get all gummed up in the printer- which could ruin it. I've *almost* made this mistake and want to help remind others!