
Quilt As You Go Connecting Building Blocks

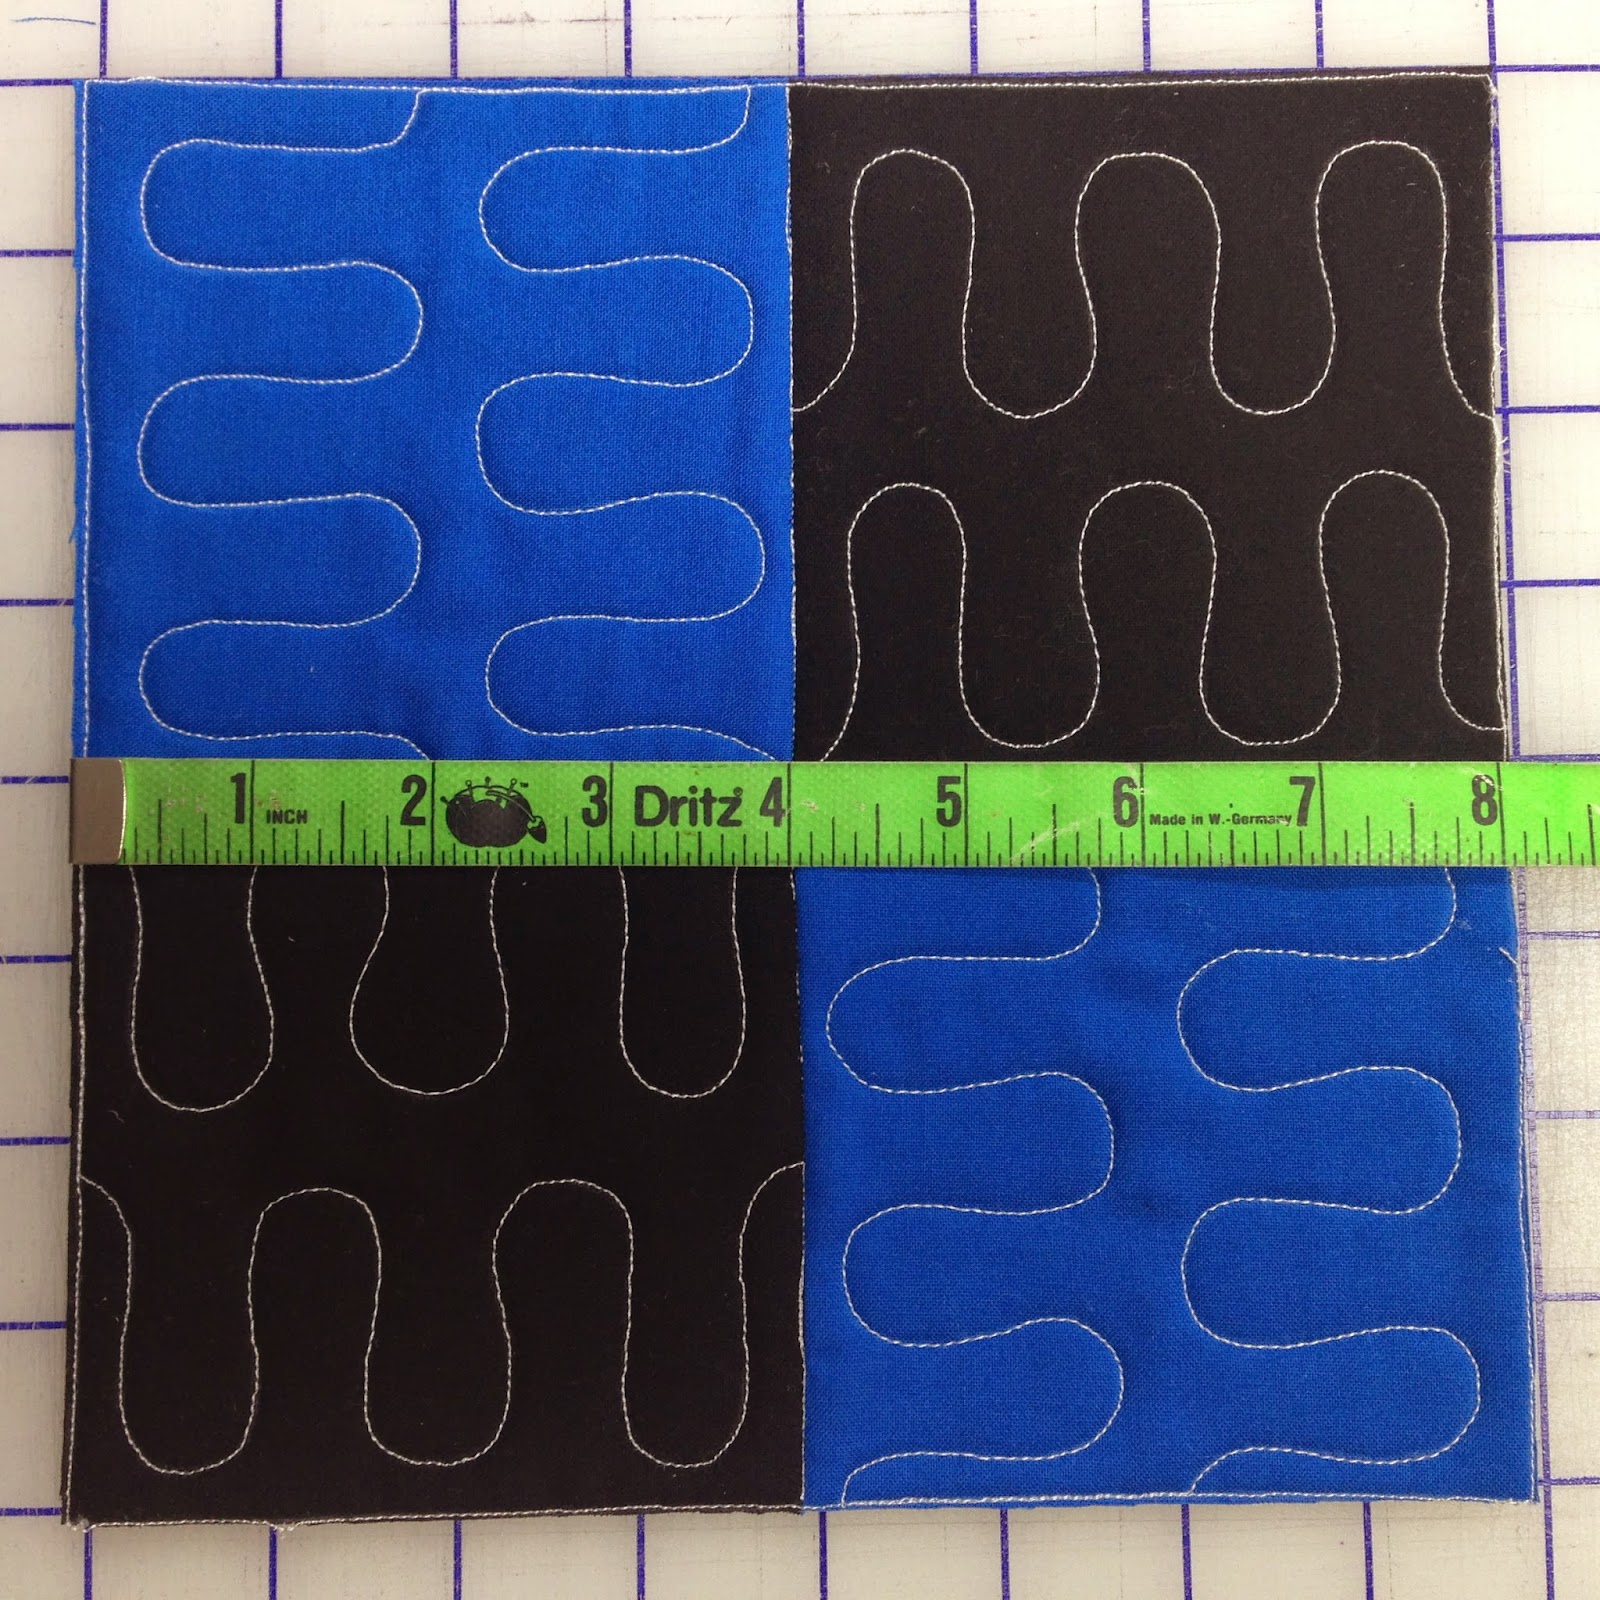
Yes, you may trim through the outline of your block, but most likely your blocks have shrunk slightly to fit within the 8 inch size. Either way it doesn’t matter. Center the quilted section under your ruler and cut carefully and accurately.
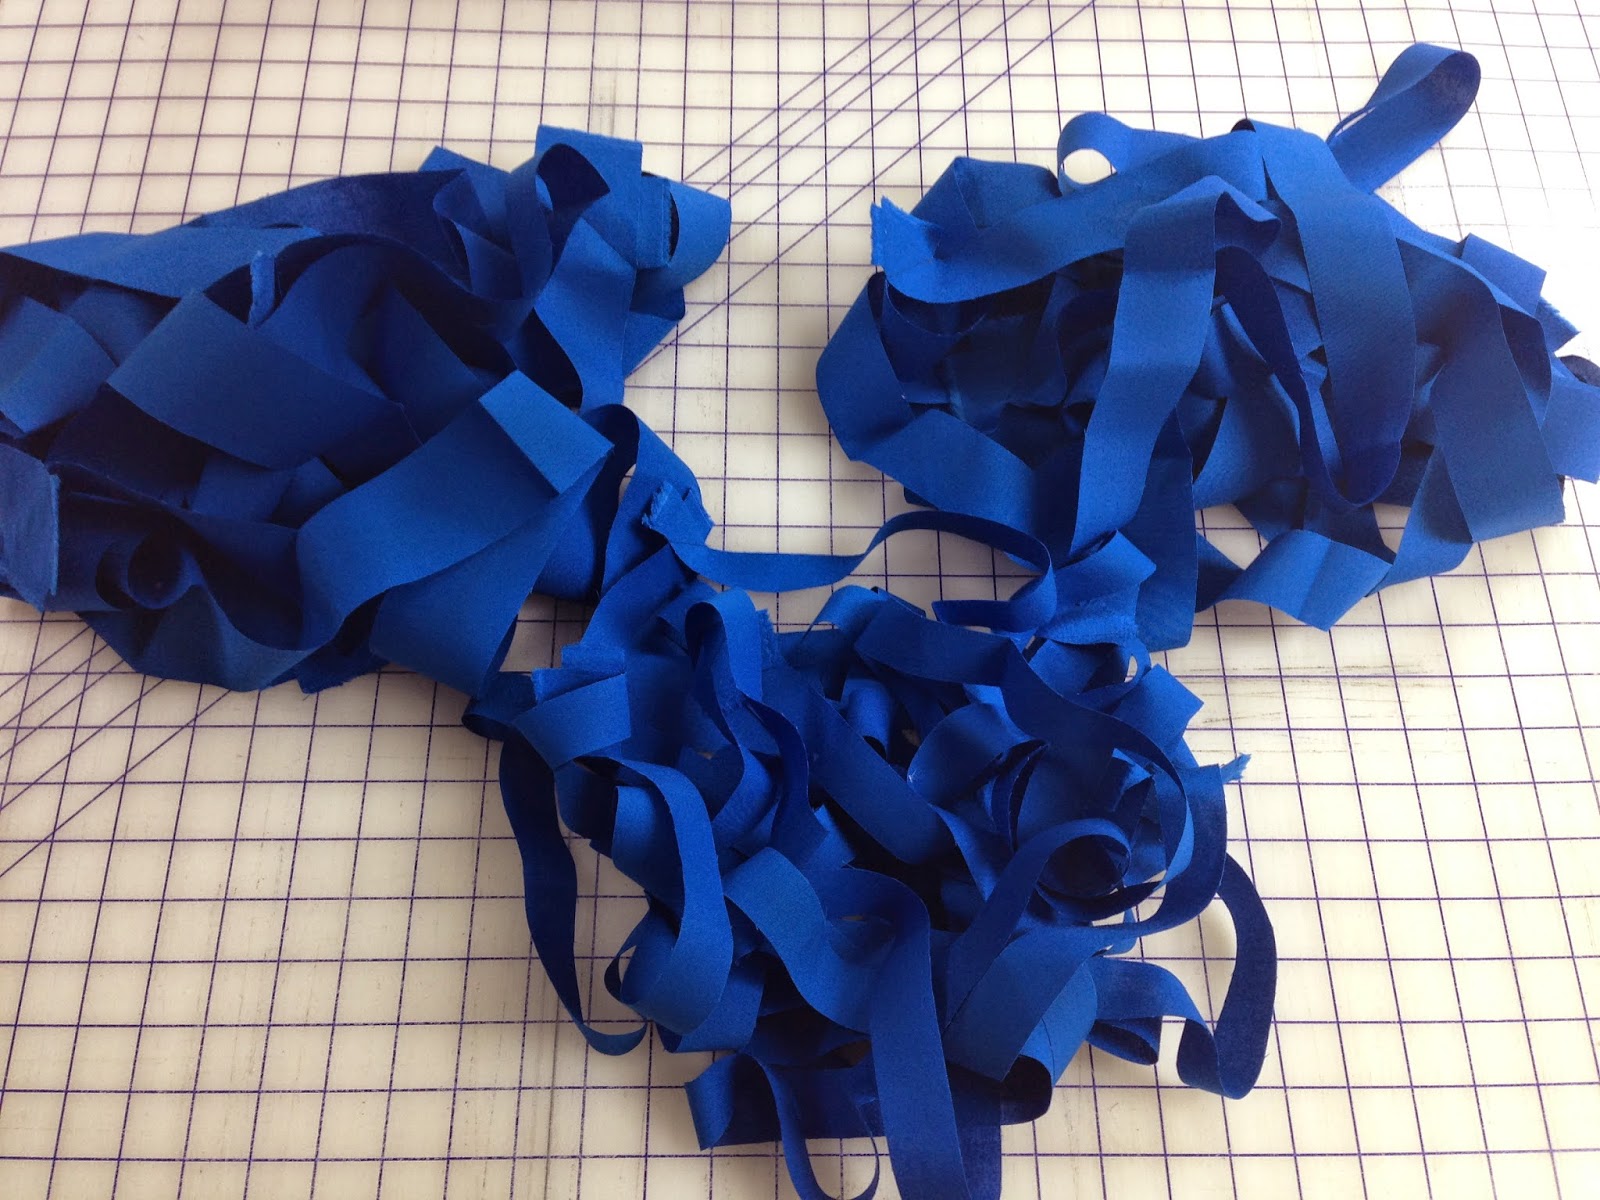
Yes, you will also have a lot of waste. No one ever said Quilt As You Go was frugal! I’ve already heard a lot of ideas on the Facebook Group on using the scraps for dog and kitty beds so feel free to reuse them as you can.
Once all 42 blocks are trimmed, take some time to prepare your binding. This is crucial. Please take your time and if you really want an easier experience, starch your fabric TWICE before cutting. You will be a happier camper if you do!
Now at this point I think it’s time for a video to get the nitty gritty, up close and personal visual demonstration of this Quilt As You Go technique:
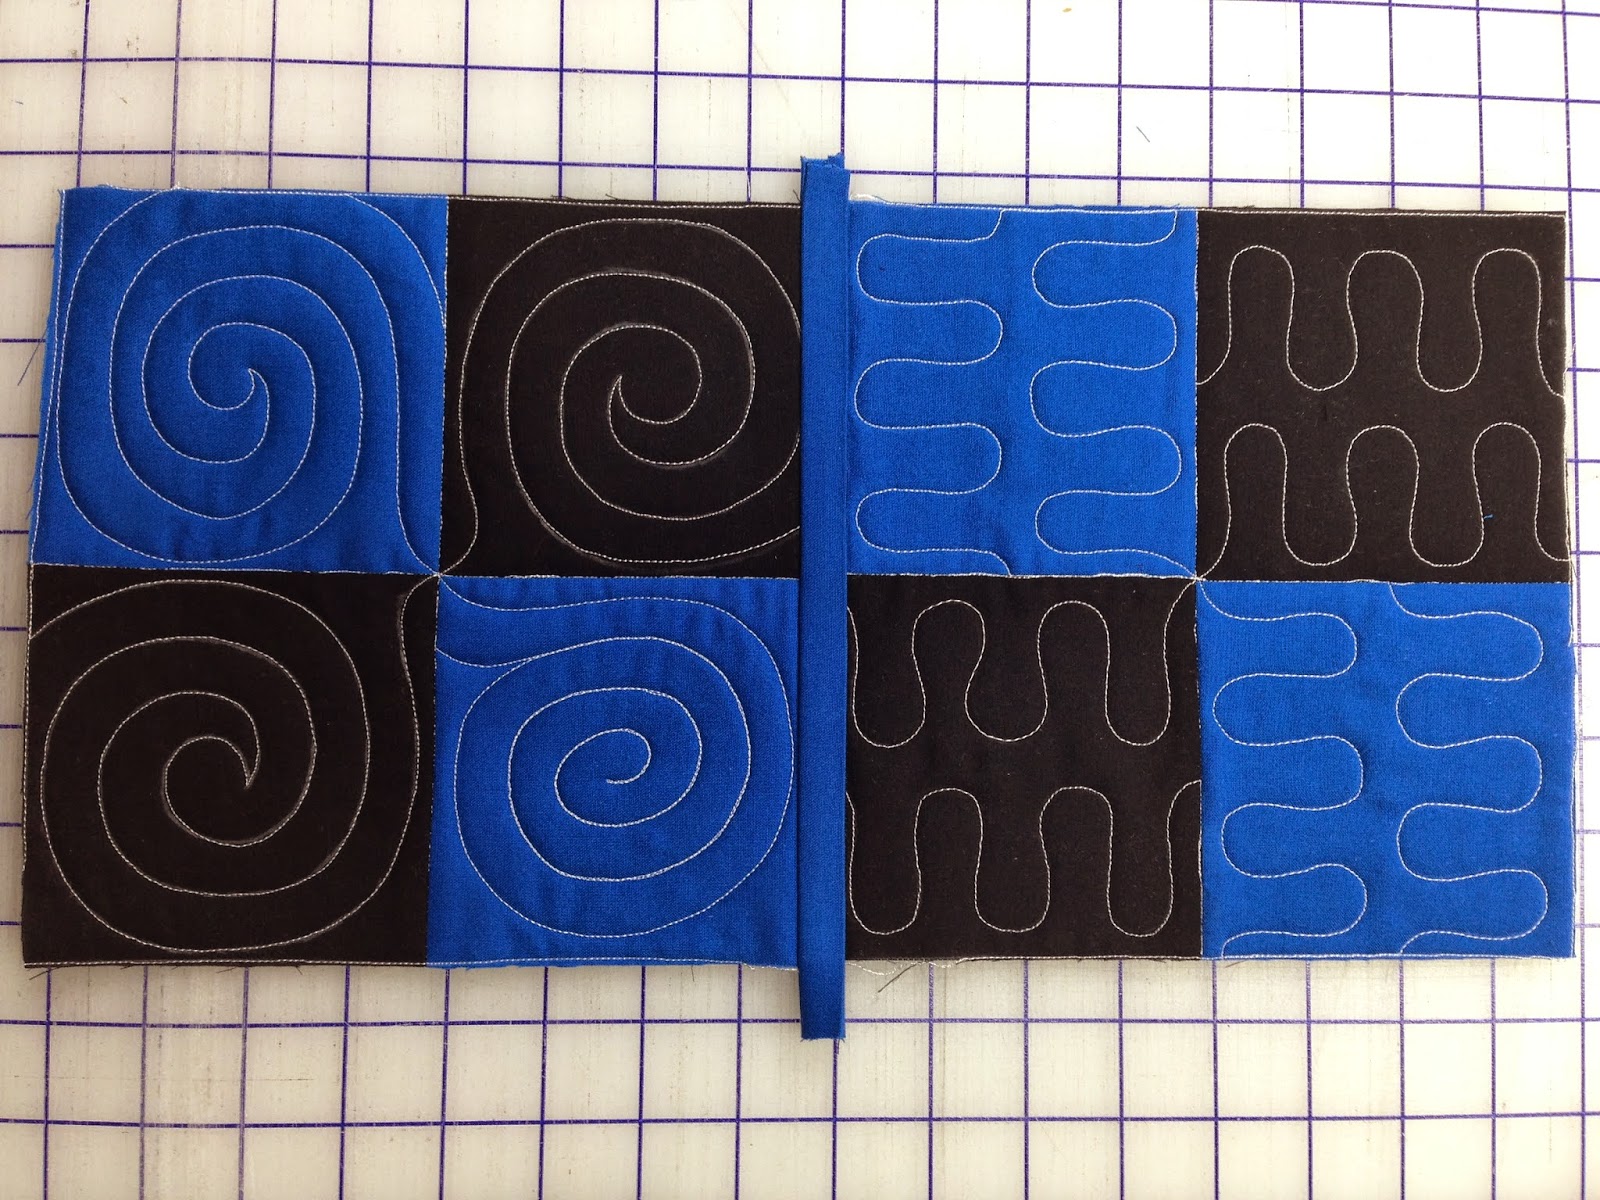
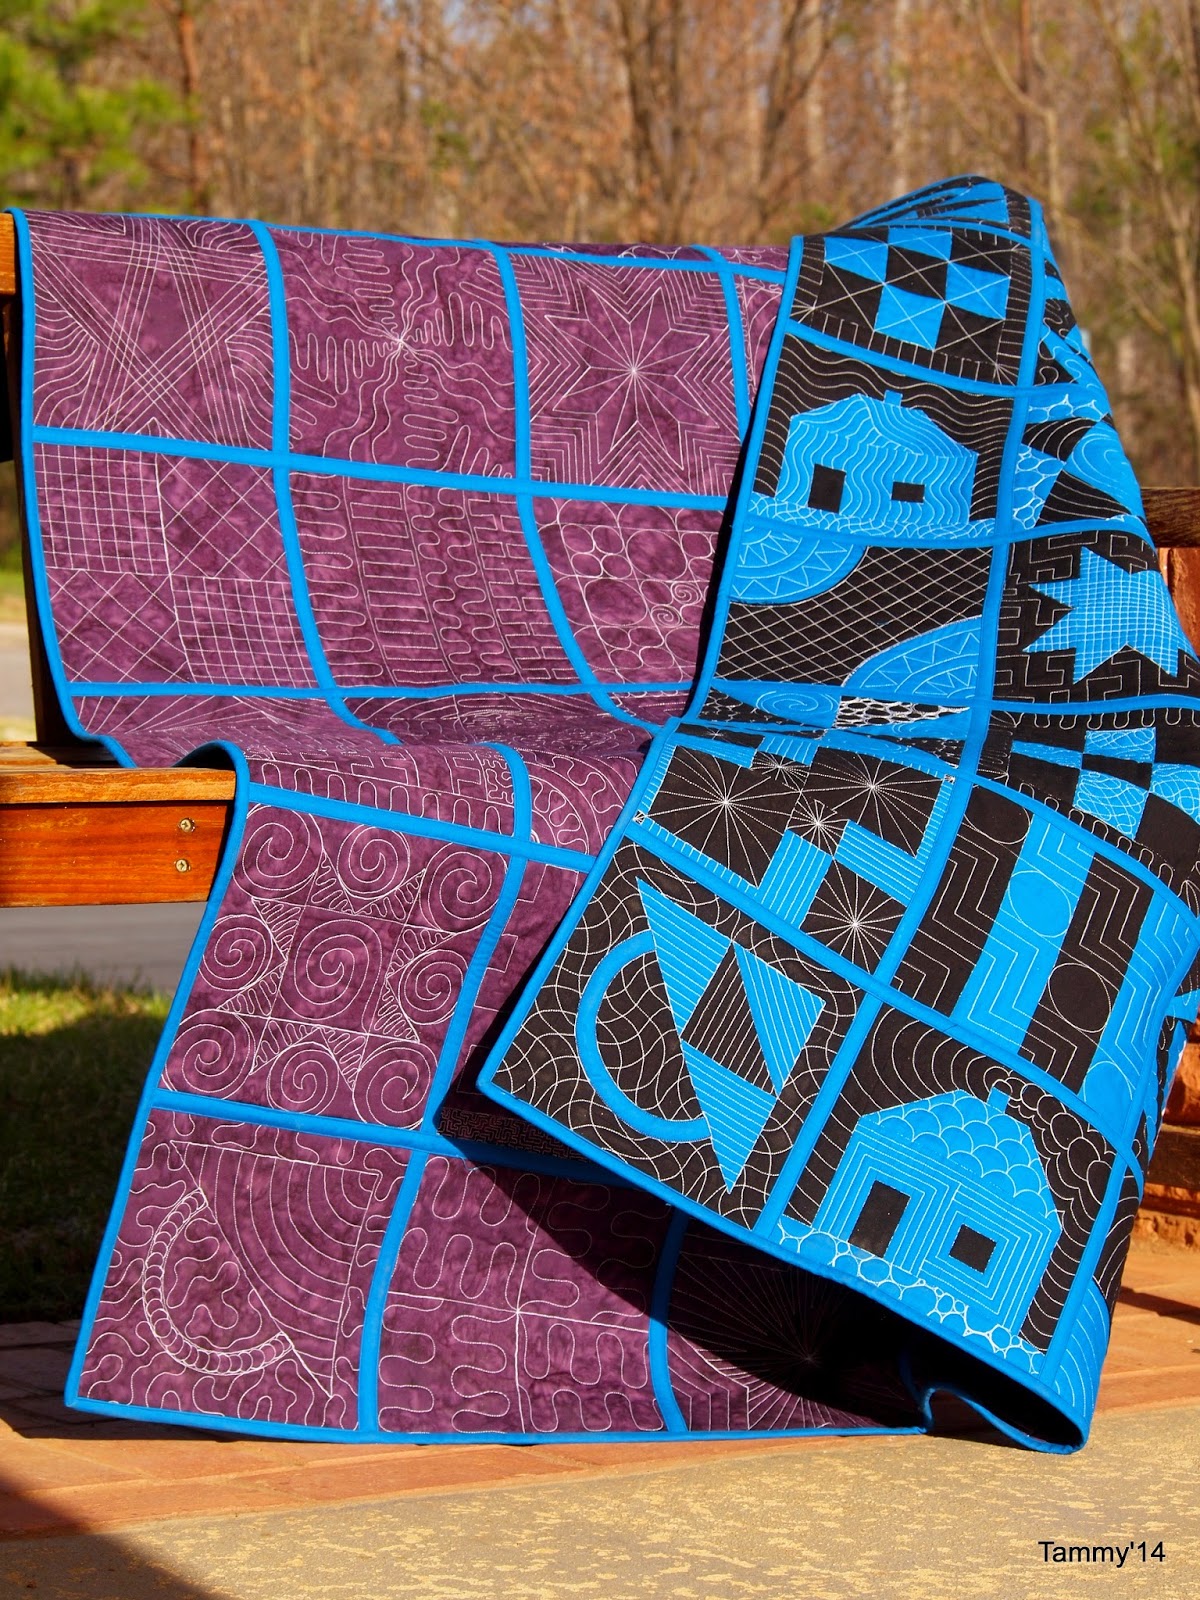
Yes, I machine pieced and machine finished each strip with a simple straight stitch. Here’s what the front and back looked like on my finished quilt:
 |
| Binding on the Front |
 |
| Binding on the Back |
It might not seem so bad when connecting the blocks into rows, but when you start connecting the rows together, trust me, you will wish you had done it all by machine.
So now let’s tackle that part – how to connect the rows together of our Quilt As You Go Quilt!
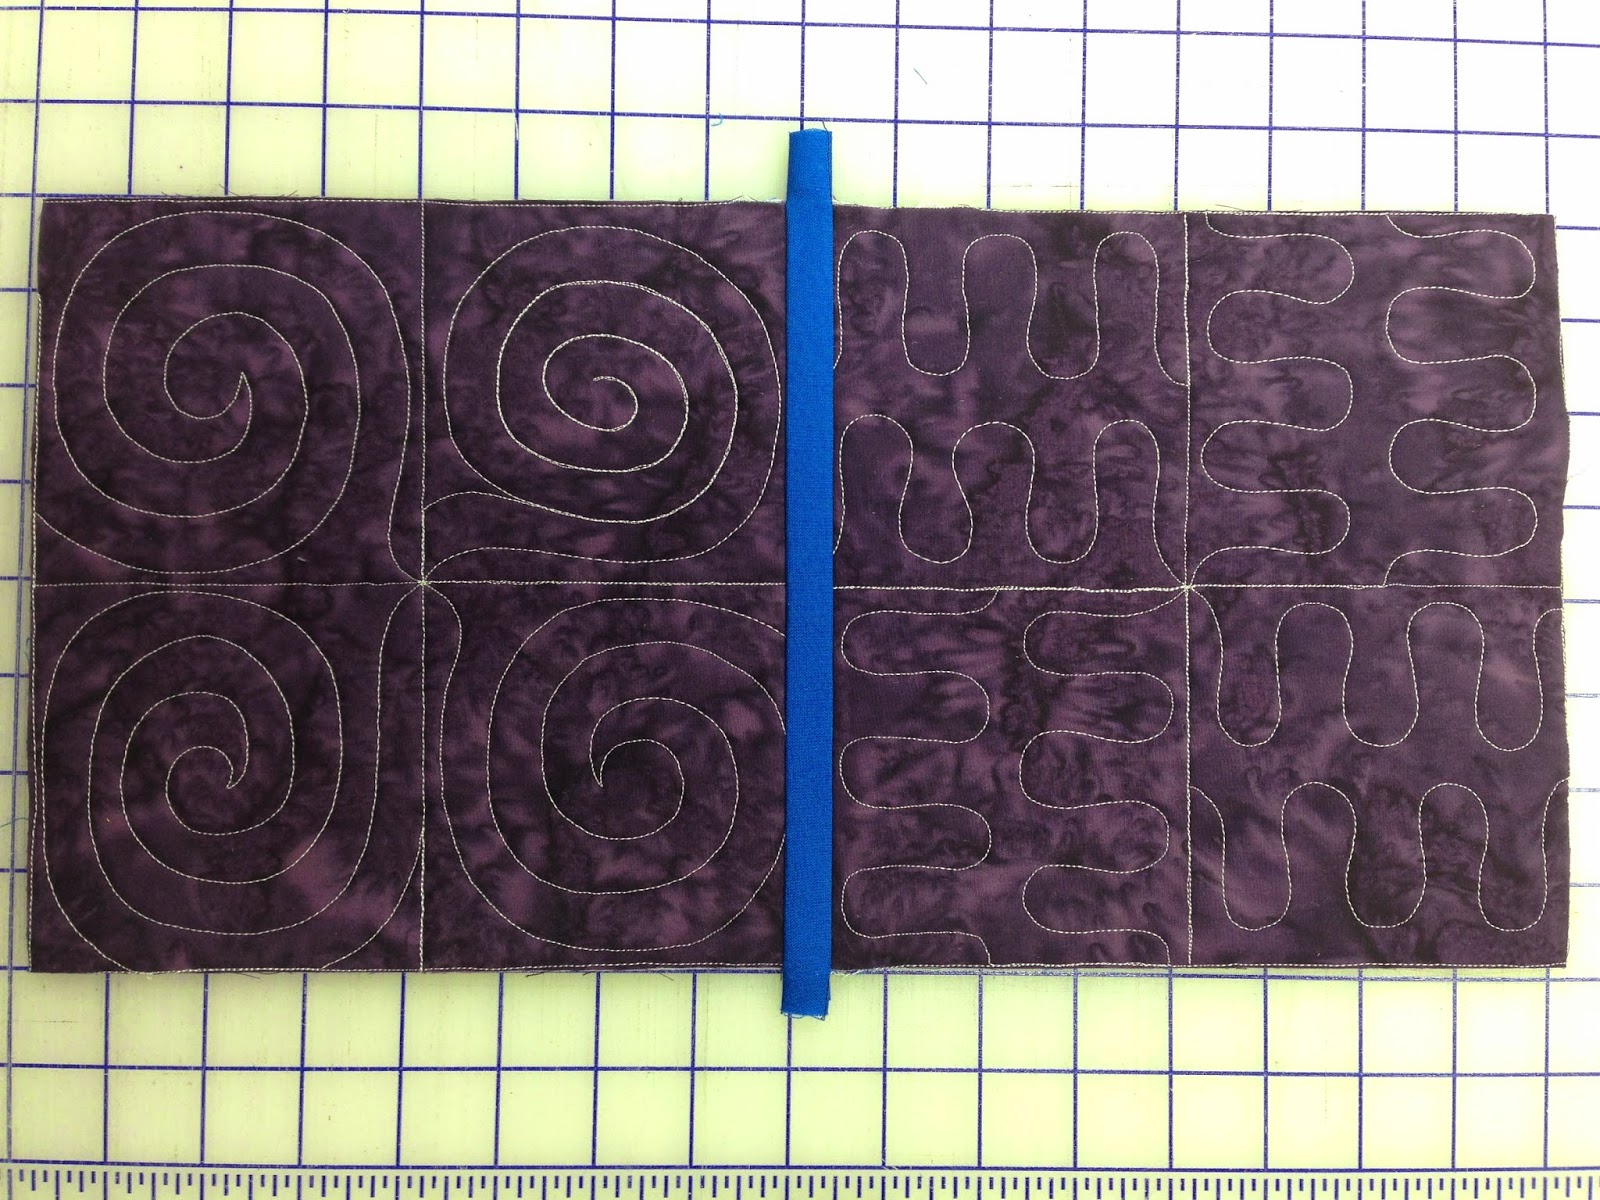
The rows will come together easier if you have starched the binding strips twice because the fabric will have less play and won’t want to wiggle like crazy as you stitch the longer seams.
As the rows come together, it will help to have your machine in a flat bed table or at least pull up a small table nearby to rest the weight of the quilt on. The hardest seam will be the last one where the quilt is nearly at full size and the weight will fight the hardest against you.
Of course, a quilt isn’t completely finished without the binding. Check back here tomorrow to see the final binding video so you can finish the edges of your Building Blocks quilt completely!
-3157531812-O.jpg)
So that is it! I really hope you’ve enjoyed this Building Blocks Quilt Along and have learned loads throughout this process. I have certainly learned loads myself about teaching, connecting with so many people at once, and managing a project this massive!
Make sure to link up your finished quilt right here on the Building Blocks Gallery Page and share your experience making it. If you don’t have a blog, you can always upload a photo to Pinterest instead.
So what has been the #1 thing you’ve learned in this project? Are you ready to branch out and start quilting all the quilts you’ve pieced? Are you looking for what’s next?

Don’t worry! We’ll have a new quilt along cranking up in December filled with beautiful new designs, applique butterflies, and lots more to learn in 2015.
Sign up for our newsletter so you’ll get the best deal on the new Dancing Butterfly Quilt pattern when it first launches!
Let’s go quilt,
Leah Day
Question: I am using the Cheater cloth. How do you feel about pressing before beginning the block sqaring up? Should each block be pressed and what about using steam? I am loving your tuts, Leah. Thank you for making things so clear. The photography/video really allow me to see exactly what you've done – even when it's not perfect (according to you!). I'm behind on my blocks and don't see that I'll have much time until after the holidays but I will continue working as time permits and will link up when it's done. Thanks again.
It's perfectly fine to press the cheater cloth anytime during this process. In fact, it might help the fabric retain it's color better in the end. Remember when you wash your finished quilt to use a chlorine free detergent or no detergent at all because it can fade the colors considerably.
Thanks for that tip; sounds like the way to go with this.
I've always wondered how to put QAYG blocks together. Thanks for the step by step Leah!
I watched your video twice and then did a practice piece with scraps. Next put together some "inherited" blocks to practice on full size (11'x11') squares. It all looks terrific.
Now the true test: I'm demonstrating it to my quilt guild [with kudos and references to leahday.com]. I was glad I could find the video again for a review. Demonstration is during next month's meeting.
I'm so nervous…!