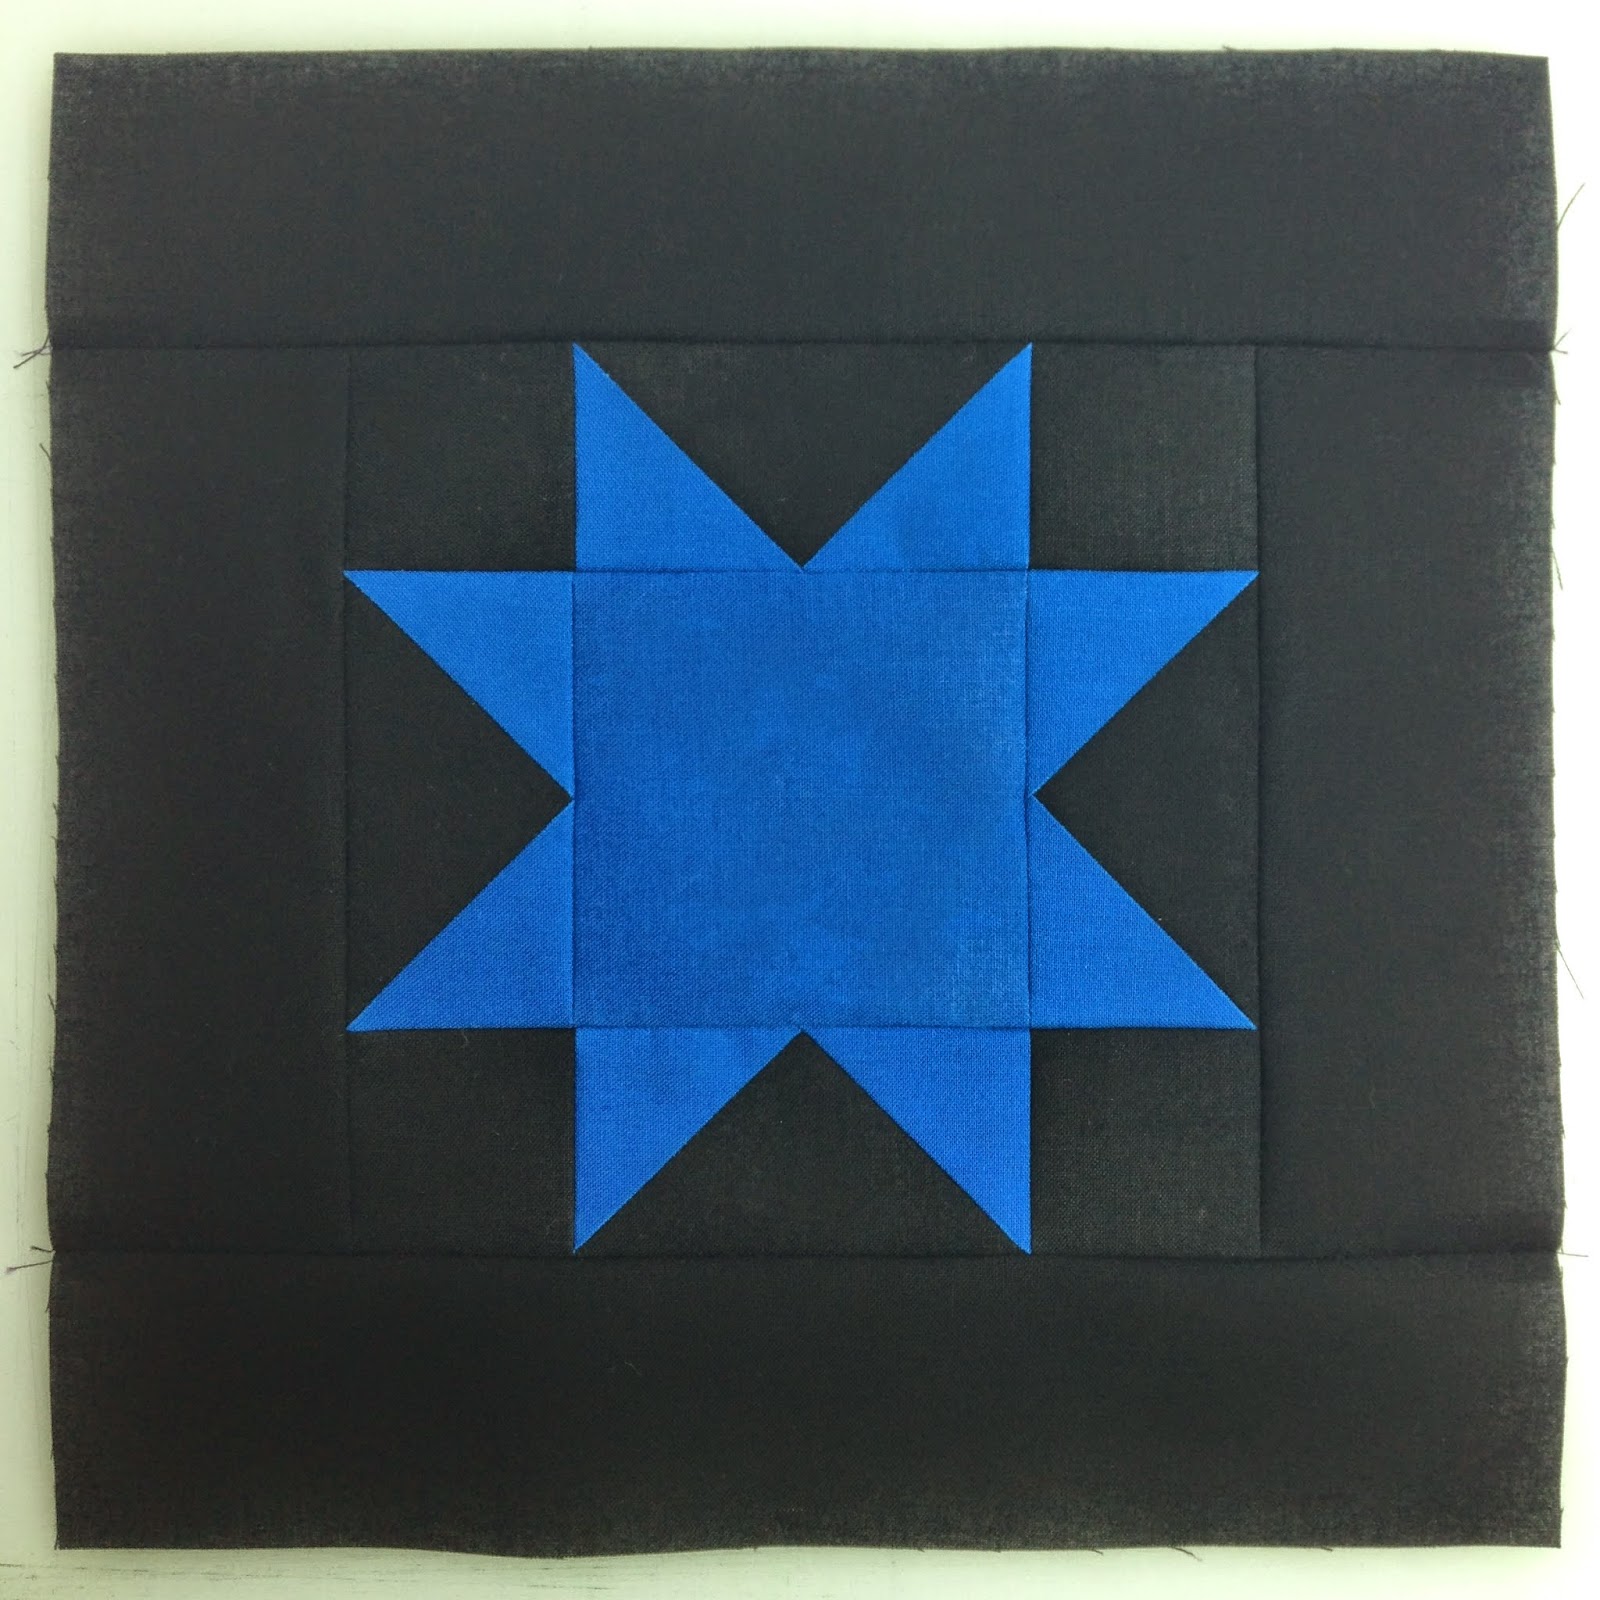
46. How to Piece a Sawtooth Star Block
This was actually one of the first blocks I ever learned how to piece nearly 10 years ago. I loved the flying geese blocks and basically found any excuse to piece them.
This radiating sawtooth mini quilt was one of my first perfect piecing projects. I learned how to piece an perfect 1 1/2 inch sawtooth in a workshop with Sally Collins and used it as the center for a bigger star, then that as the center for another star and so on to create this radiating effect.
Piecing these stars does require precision and accuracy, both of which I seemed to be lacking when I made this video! Excuse the lack of editing – I believe I had shot the middle section twice and just forgot to delete the first take. Oh well, at least there shouldn’t be any confusion about how to piece this block!
Looking for piecing instructions? Find the cutting, piecing, and quilting instructions for each block in the Building Blocks Quilt Pattern.
Let’s piece three Sawtooth Stars this week and then learn how to quilt them with all these beautiful designs!
We’re also going to speed up the posting again and Josh and I will be combining our posts together. We will likely finish posting all the videos in early November, but remember – everything is staying online for you to watch and learn so there’s no rush if you’re just starting this project!
You can absolutely work at your own pace and always find all the videos for this project right here.
Let’s go quilt!
Leah Day


I am happy to see your e-mails again! I don't know what happened, but for months I haven't seen you, I saw you rip up your carpet and not find pretty wood floors the other day. Today I find you working on #46 or block 11. I don't know where you started. I do see a link to find other videos, but you know what it's like trying to play catch up. I am certainly glad nothing has happened and all is well. I sure hope I don't miss anymore e-mails!
Hi Leah love your way of making flying geese. I have often stuffed up when making my geese like what you did in your video. Now days when sewing the fabric to the base fabric instead of sewing on the exact centre line I move my line approximately 1/8 away from it to allow for the fabric to fold over normally it works perfectly sometimes.! Then only to find when I have cut off both pieces of excess fabric its all loped sided. I will give your technique a go next time and I know that's only going to be a few days away. Will let you know how it all turns out. Happy quilting Julie Beard.
Thanks for the trimming tip on the flying geese. I had the best points on my stars that I have ever had when I followed your advice. Hooray for you!!