Getting Connected
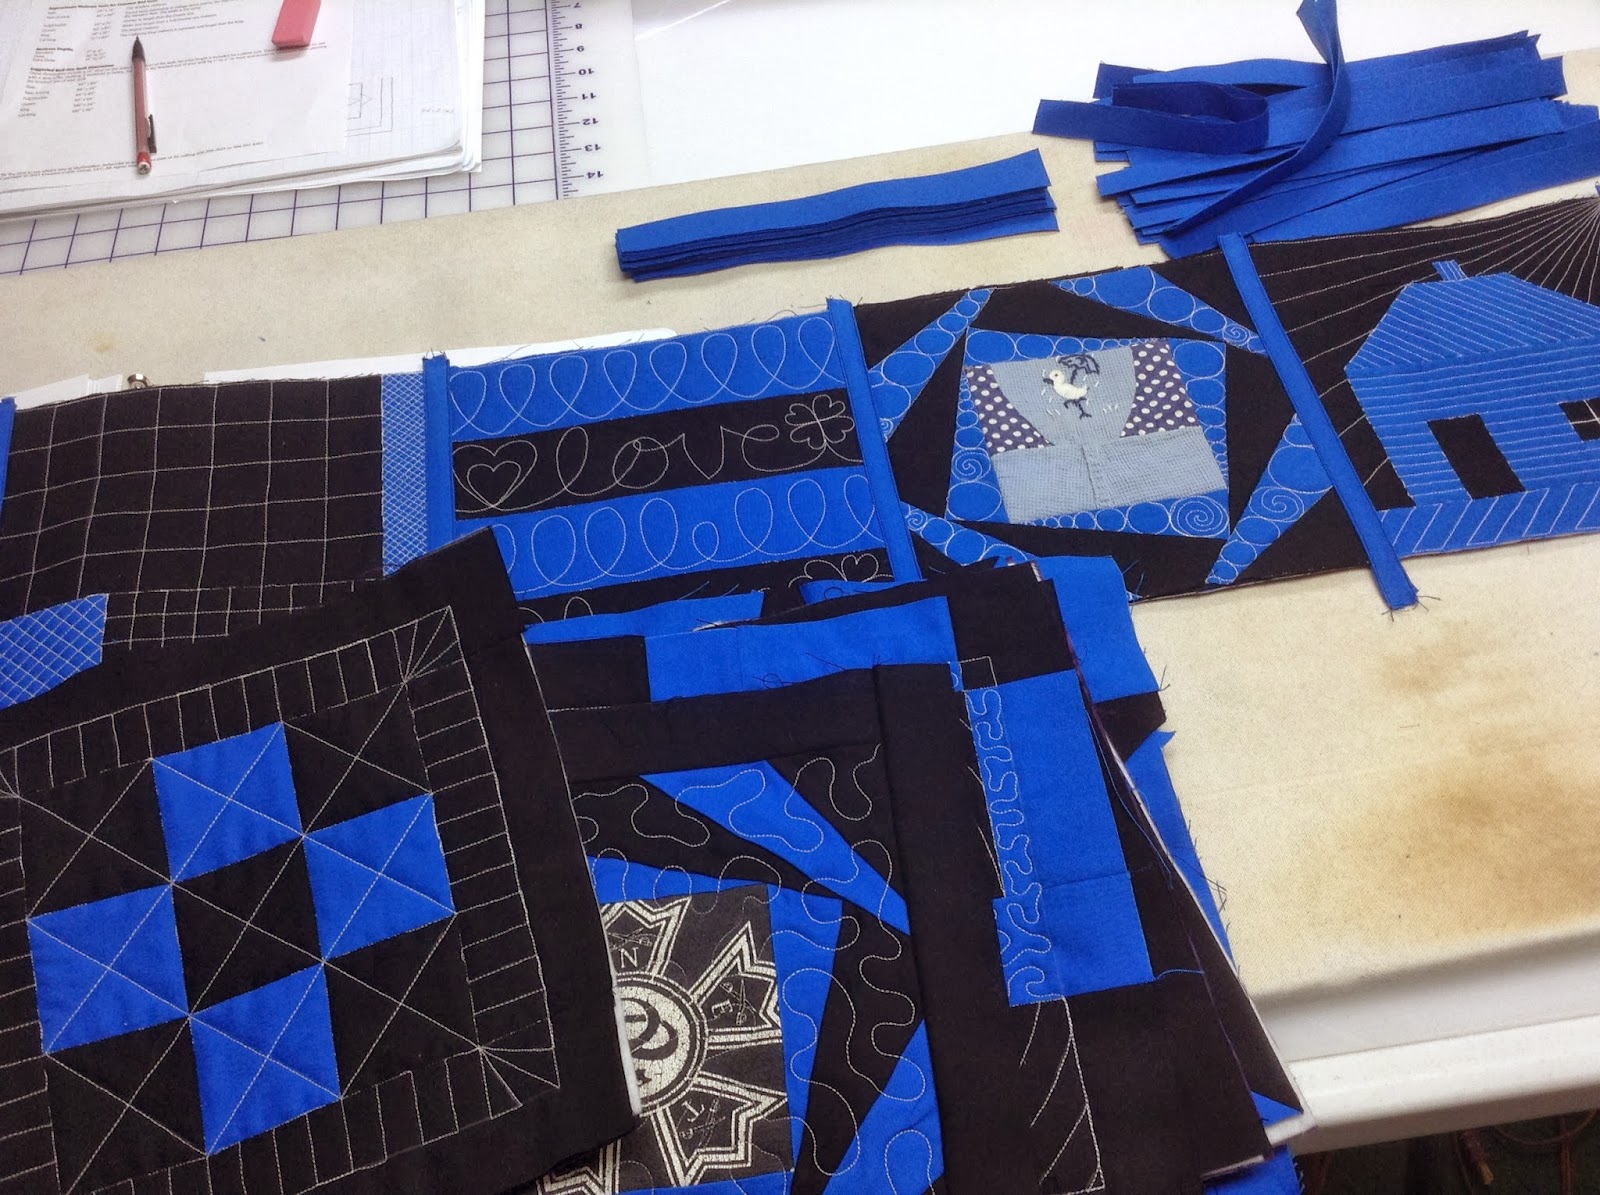
Yep, I’m connecting my Building Blocks into rows! It’s so nice to see this quilt coming together and taking shape.
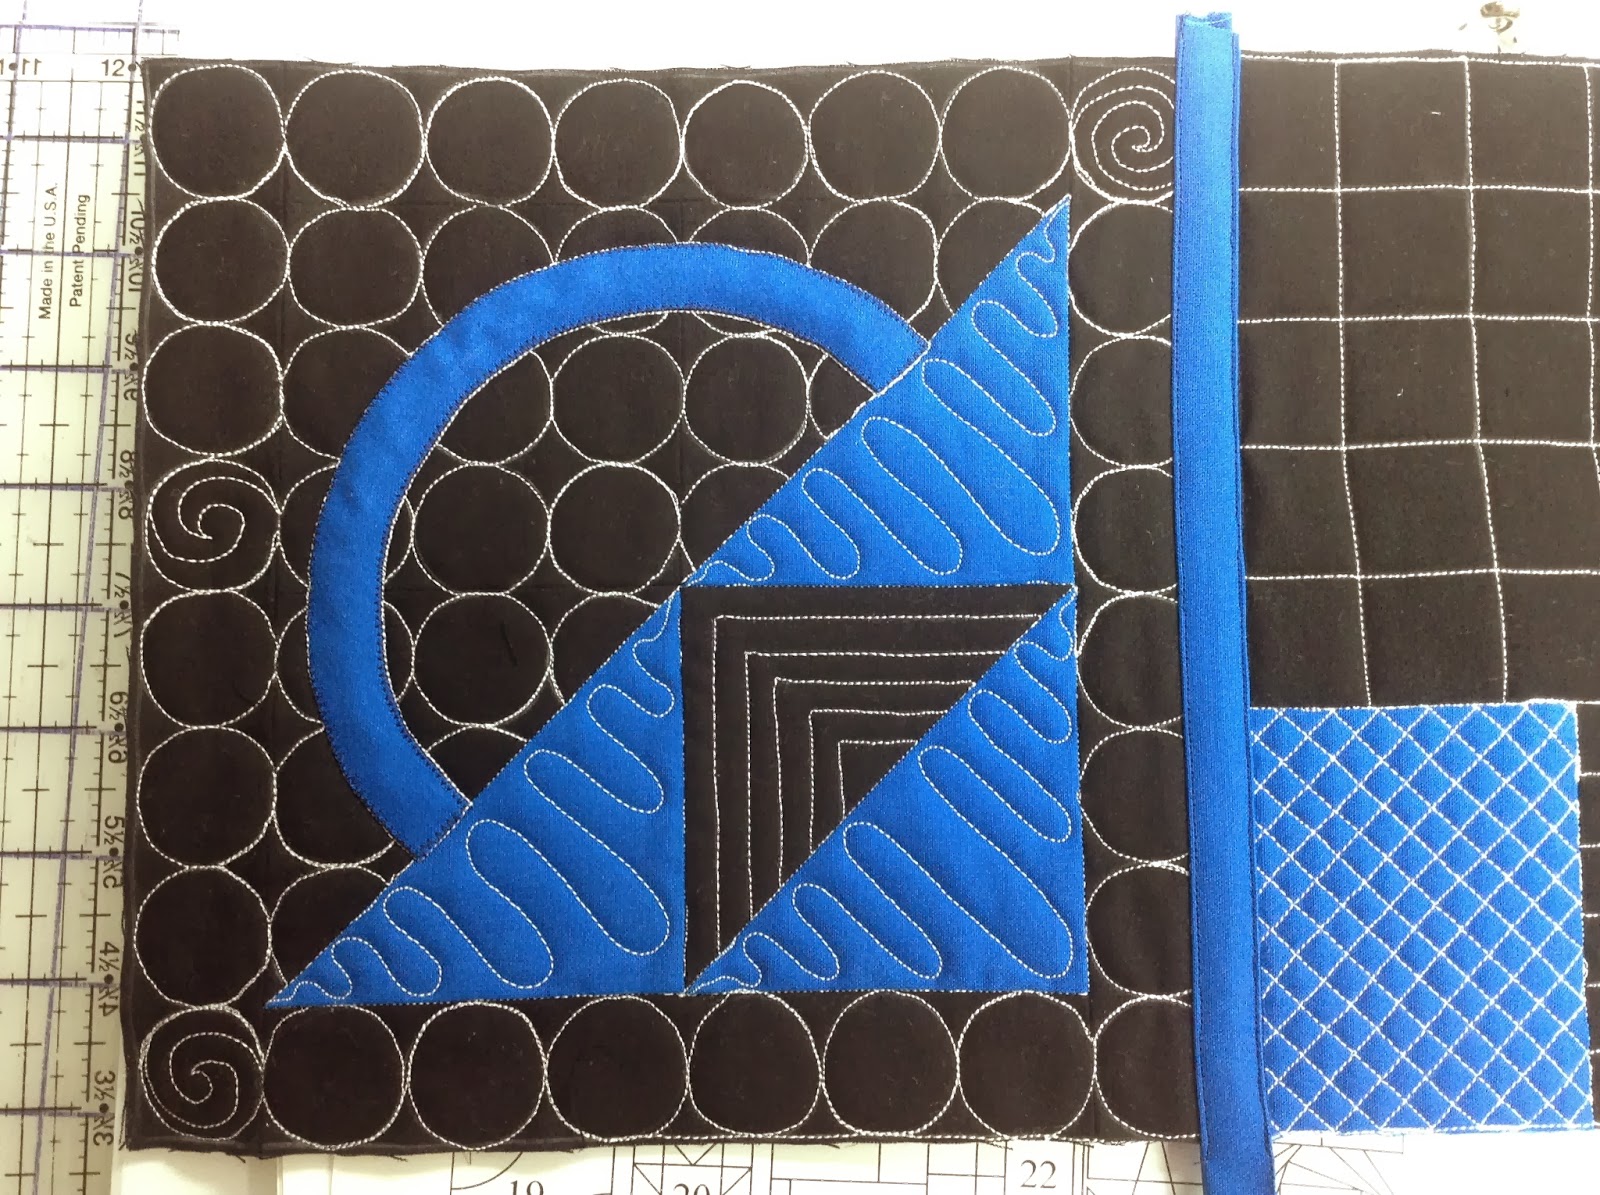
It’s also nice to double check my instructions and make sure they are accurate. This part of the process has caused a lot of quilters confusion because we’re squaring the blocks down to 8 inches, then binding together, which causes the binding to overlap the quilting by 1/4 inch:
See how the binding covers the circles along the right side of that basket block? When this block is complete, binding will overlap all four sides, but the circles still look great!
This is exactly how I intentionally designed the quilt because the outer edges are usually a bit messy. I liked the idea of hiding the many stitch issues and birds nests that can happen along the perimeter of the block by covering it with binding. This method is also super secure too, and once the blocks are connected, they are NOT coming apart!
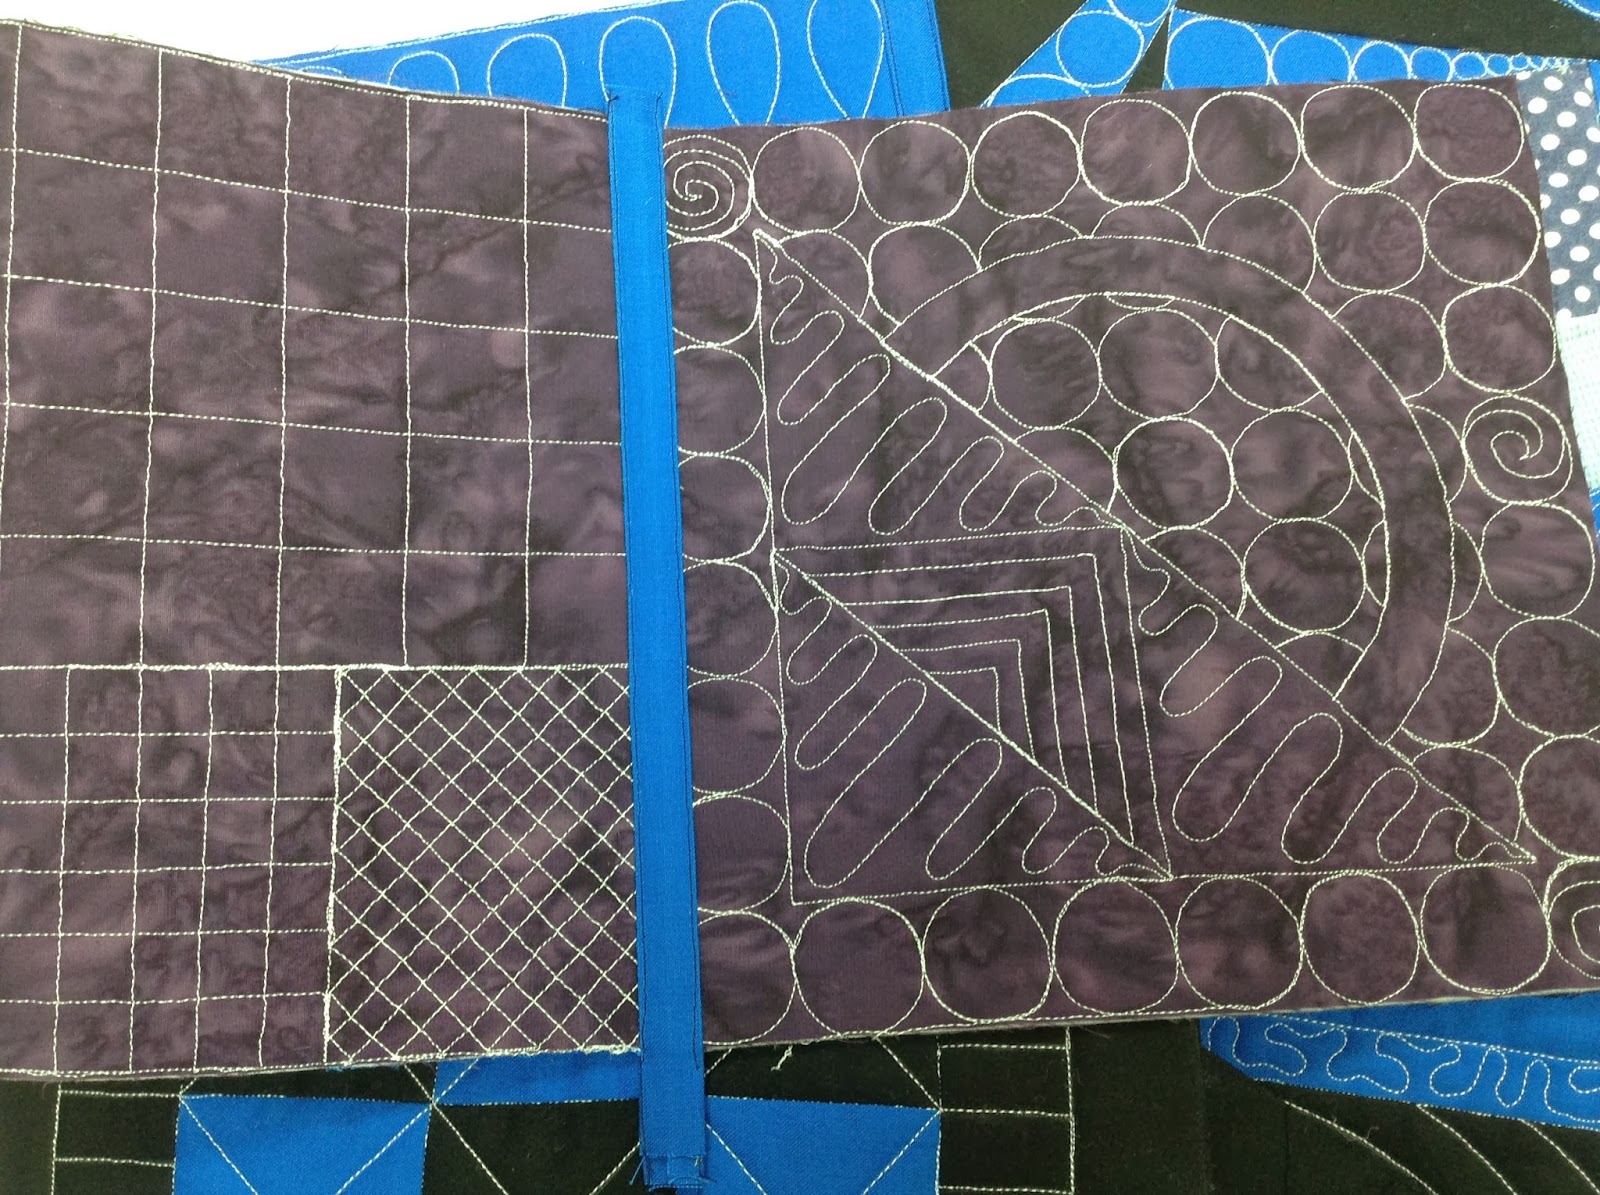
I used the same blue fabric for the back binding as the front and side binding. However, you could change this up and cut binding to match your backing fabric instead.
Just watch out for the stitching that secures the binding (unless you hand applique your binding strips down) your stitching will show and contrast if you’re changing the fabric colors from the front to the back drastically.
Working on this today has made me super happy. I’m really pleased with how it’s all coming together and I can’t wait to get it all finished in one piece!
Just in case you’re still on the fence about this project, this month really is a great time to jump in because the rail fence block we’ve been working on is super simple and a great block to get started with. Jump in today – all you need is a copy of the Building Blocks Quilt Pattern and you’ll be ready to go!
Let’s go quilt,
Leah Day


