
Josh’s Gridlines
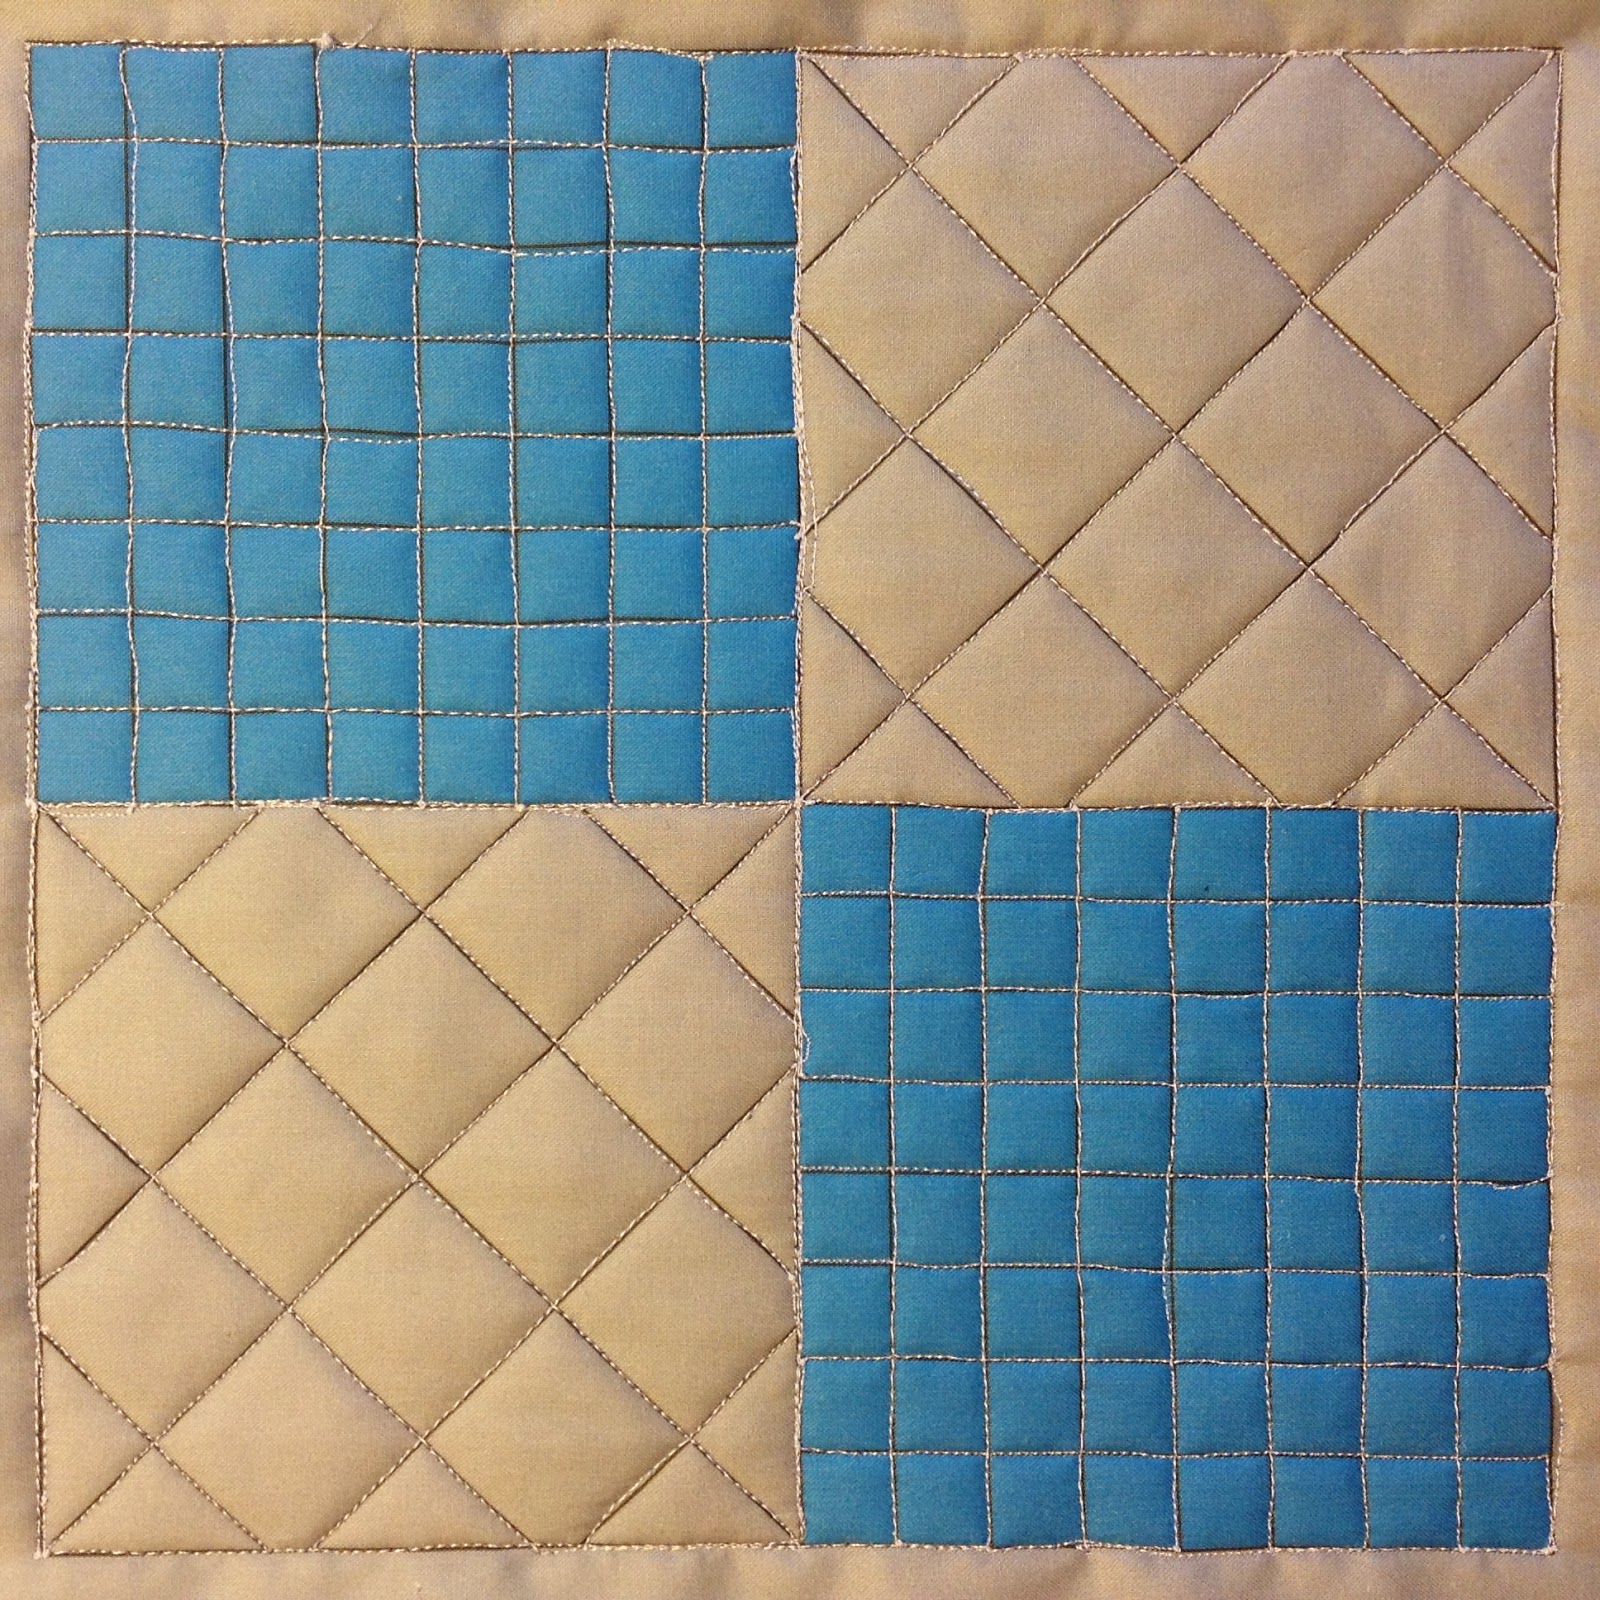 |
| Learn more about the Printed Cheater Cloth blocks Josh is working on right here |
Overall I found this design tedious to quilt with all the straight lines filling the block. However, I did learn a lot about what directions the machine likes to quilt it, so ultimately it was worth it. Let’s watch the video and you’ll see what I mean:
I actually broke thread several times by pushing the machine in a direction it just didn’t want to go. This will quickly make itself known to you. Here’s a helpful tip: don’t be stubborn and try to force the machine. Instead, work with the machine and rotate your block as needed.
You’ll notice this issue on this particular block because of all of the straight lines. Generally, curves are more forgiving.
Leah jumped in and included tips on tying and hiding the threads in the middle of the quilt with a cheater needle. I ended up with several thread breaks on this block, but she was able to tie them all off so they were less noticeable. Even still, I had a lot of little thread knots on the back of the block, especially around the outer edge.
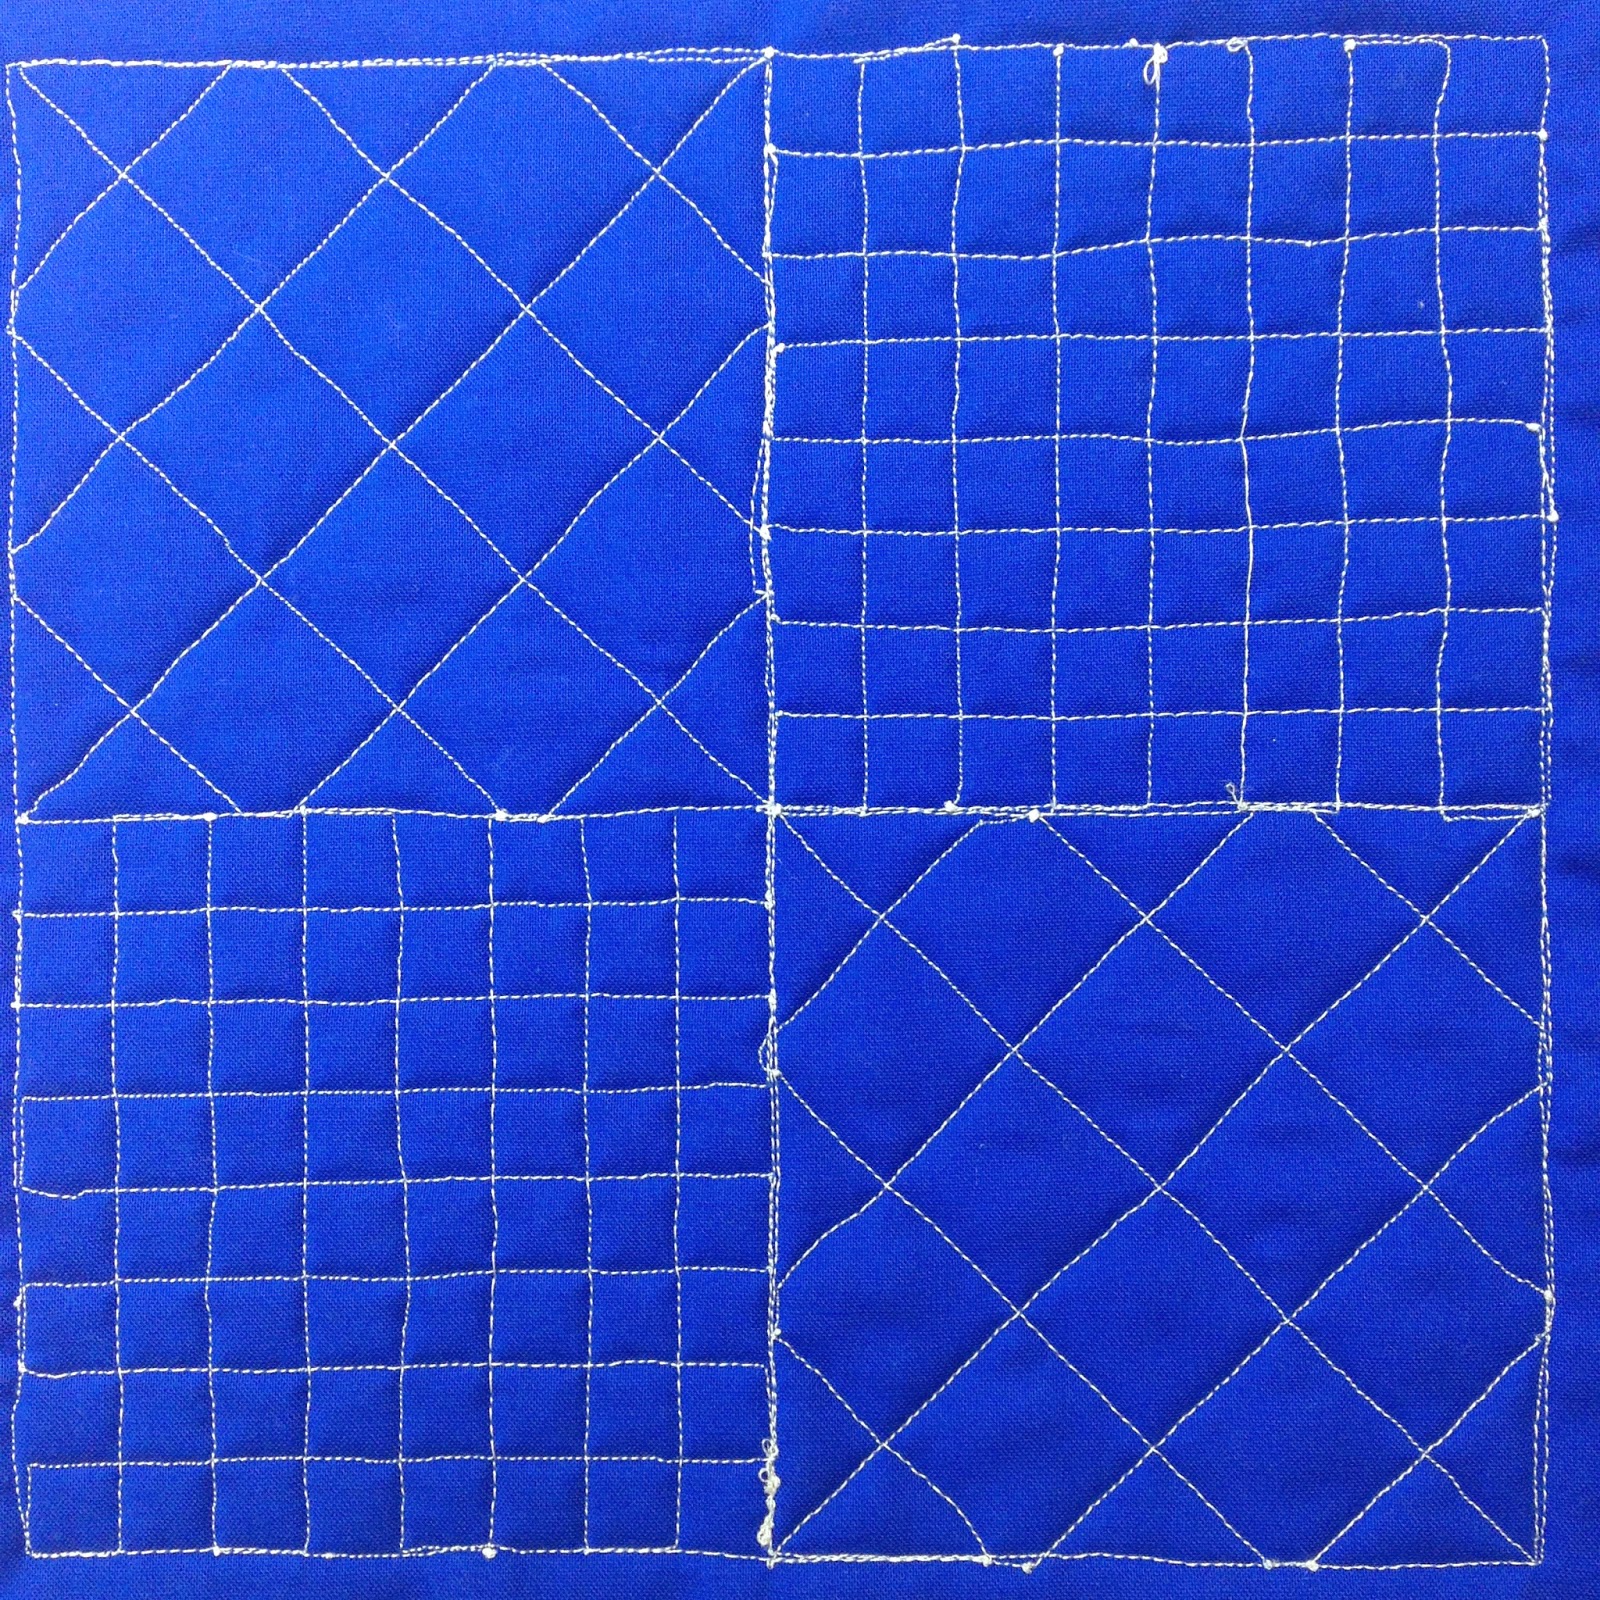
So you’ll see I had a lot of thread buildup with this one. This was due to user error, and as Leah said at the end of the video, if your hands stop moving, take your foot off the foot pedal.
It’s easy to say, but we’ll see if I can remember that tip for the next block.
Until next week, let’s go quilt!
Josh
You guys rock! Every video is so helpful. QUESTION: My machine doesn't have a needle up/down button. I find myself pressing the pedal to try and get my needle down so I can rotate my block. Sometimes it takes awhile to get it down and in the meantime I am overlapping my stitches, creating the very dot you guys mention in your video. I guess my question is, is there a better way to get my needle down to turn my block without using my presser foot or is it just practice and timing? Thanksso much . This project is so exciting. This quilt will be able forever reminder of when I first started this wonderful journey!
Josh is really doing great. I really want to thank you for it tip of lining up your fingers straight with the machine for doing straight lines. Mine have really been better since I've tried that. Straight lines with an darning foot can really be tricky and that tip worked wonders.
I am enjoying watching your progress on this project Josh. Thank you for sharing how you got on with this pattern. Lots of good tips to bare in mind.
Hi Reagan – Instead of pressing your pedal to get the needle down, try taking 1 hand off the quilt and rotating your hand wheel so the needle drops. So long as you do this carefully, the quilt shouldn't shift and it will soon become routine.
I quilted for years without a needle up / down button and I still find myself reaching over for the hand wheel. Only 100 questions in a Craftsy class (Why don't you use the button???) finally forced me to start using the button in front of me!
Cheers,
Leah
I have my cheater cloth now but haven't started anything yet. It's really been fun watching your progress, Josh. I think you're doing extemely well considering how new a quilter you are.
Leah, I've noticed in the different videos that sometimes there is a zig-zag stitch around the perimeter of the blocks but other times, like today, there is none. Should I be adding that before I begin quilting the blocks, after all the quilting is done, or is it even necessary? Thanks for your help.
Hi LJ – The blocks with zigzag were simply quilted ahead of time and washed to showcase how the blocks shrink differently with different batting. No, you don't need to zigzag around the edges of your blocks.
Cheers,
Leah
Josh, thanks for being courageous enough to show off your mistakes so we can all learn from them. I never paid any attention to the notion of stop-the-hands/stop-the-foot to stop-the-knotting, but now I will.
Love that Josh is learning to quilt. He is doing a great job and is inspiring me to have go more often and yes practice does make you better!. Thanks for sharing your tips and journey, Josh.
Josh is asking all the questions I would have. Great idea for Josh to be your first time quilter. Just now finding the time to begin this project so before I start just one question. White thread is for sewing squares and blue thread is for quilting. Correct?
Hi Zelda – If you ordered a kit, the white thread is for quilting and the blue thread is for piecing.
Cheers,
Leah Day
Josh is doing a great job and is inspiring me to have go more often and yes practice does make you better! Thanks for sharing everything that happens to him! It serves for when I start my own project. Have a beautiful day!
The Supreme Slider does make a difference Leah, I did not use it on my first block but did use it on the grid lines block…what a difference…it just flows so smoothly….also, should we be washing or removing our chalk lines after quilting each block or will we be washing the entire quilt when completed.
Hi Kathleen – When it comes to erasing, it depends on the marker you used. If you used a water soluble pen, you can wait until the end to wash it out until the end. Just make sure not to hit the blocks with any heat in the meantime.
For the fons & porter or any other ceramic pencil, erasing using the eraser is a good idea.
Really it's entirely up to you when you erase, but it is something to be mindful of as the blocks will be waiting a year to connect and finish into a quilt.
Cheers,
Leah Day
I am so encouraged by Josh's participation…it is always nice to know that we don't have to quilt as beautifully as Leah even though I have to admit that until I took Leah's Craftsy class I had NO confidence to even try FMQ. Thank you both for sharing your talents!!
I love watching Josh's progress and seeing both his achievements and imperfections – I relate! This is an aside, but I love seeing the two of you working on a common project. I golf with my husband so we can share time together, but sometimes I'd rather be at home quilting. (: How wonderful, if he discovered the joy of quilting and we could spend our time together doing that!!