
Building Block Sizes and Connection Method
We’re just getting our feet wet this week with free motion quilting our very first blocks…but wouldn’t you know, my inbox is filled with worried emails about how we will put the blocks together!
I understand the need to get all the little details straight so everything is clear from the beginning, so this post will be all about clarifying any confusion about block sizes, the quilting guides, and how the blocks will connect together at the end of this process.
#1 – All blocks will piece to 10 inches.
We are piecing the blocks bigger for a reason! We need extra space all around the block to hang onto the edges while free motion quilting. This gives you lots more control over the quilt block, and it results in prettier stitches within the blocks.
At times you may notice a situation that I have called for a longer strip – like 10.5 inches to be pieced along the edge of the block. I do this because it’s sometimes easier to piece with a slightly longer strip and trim the edges of the block down to square the end.
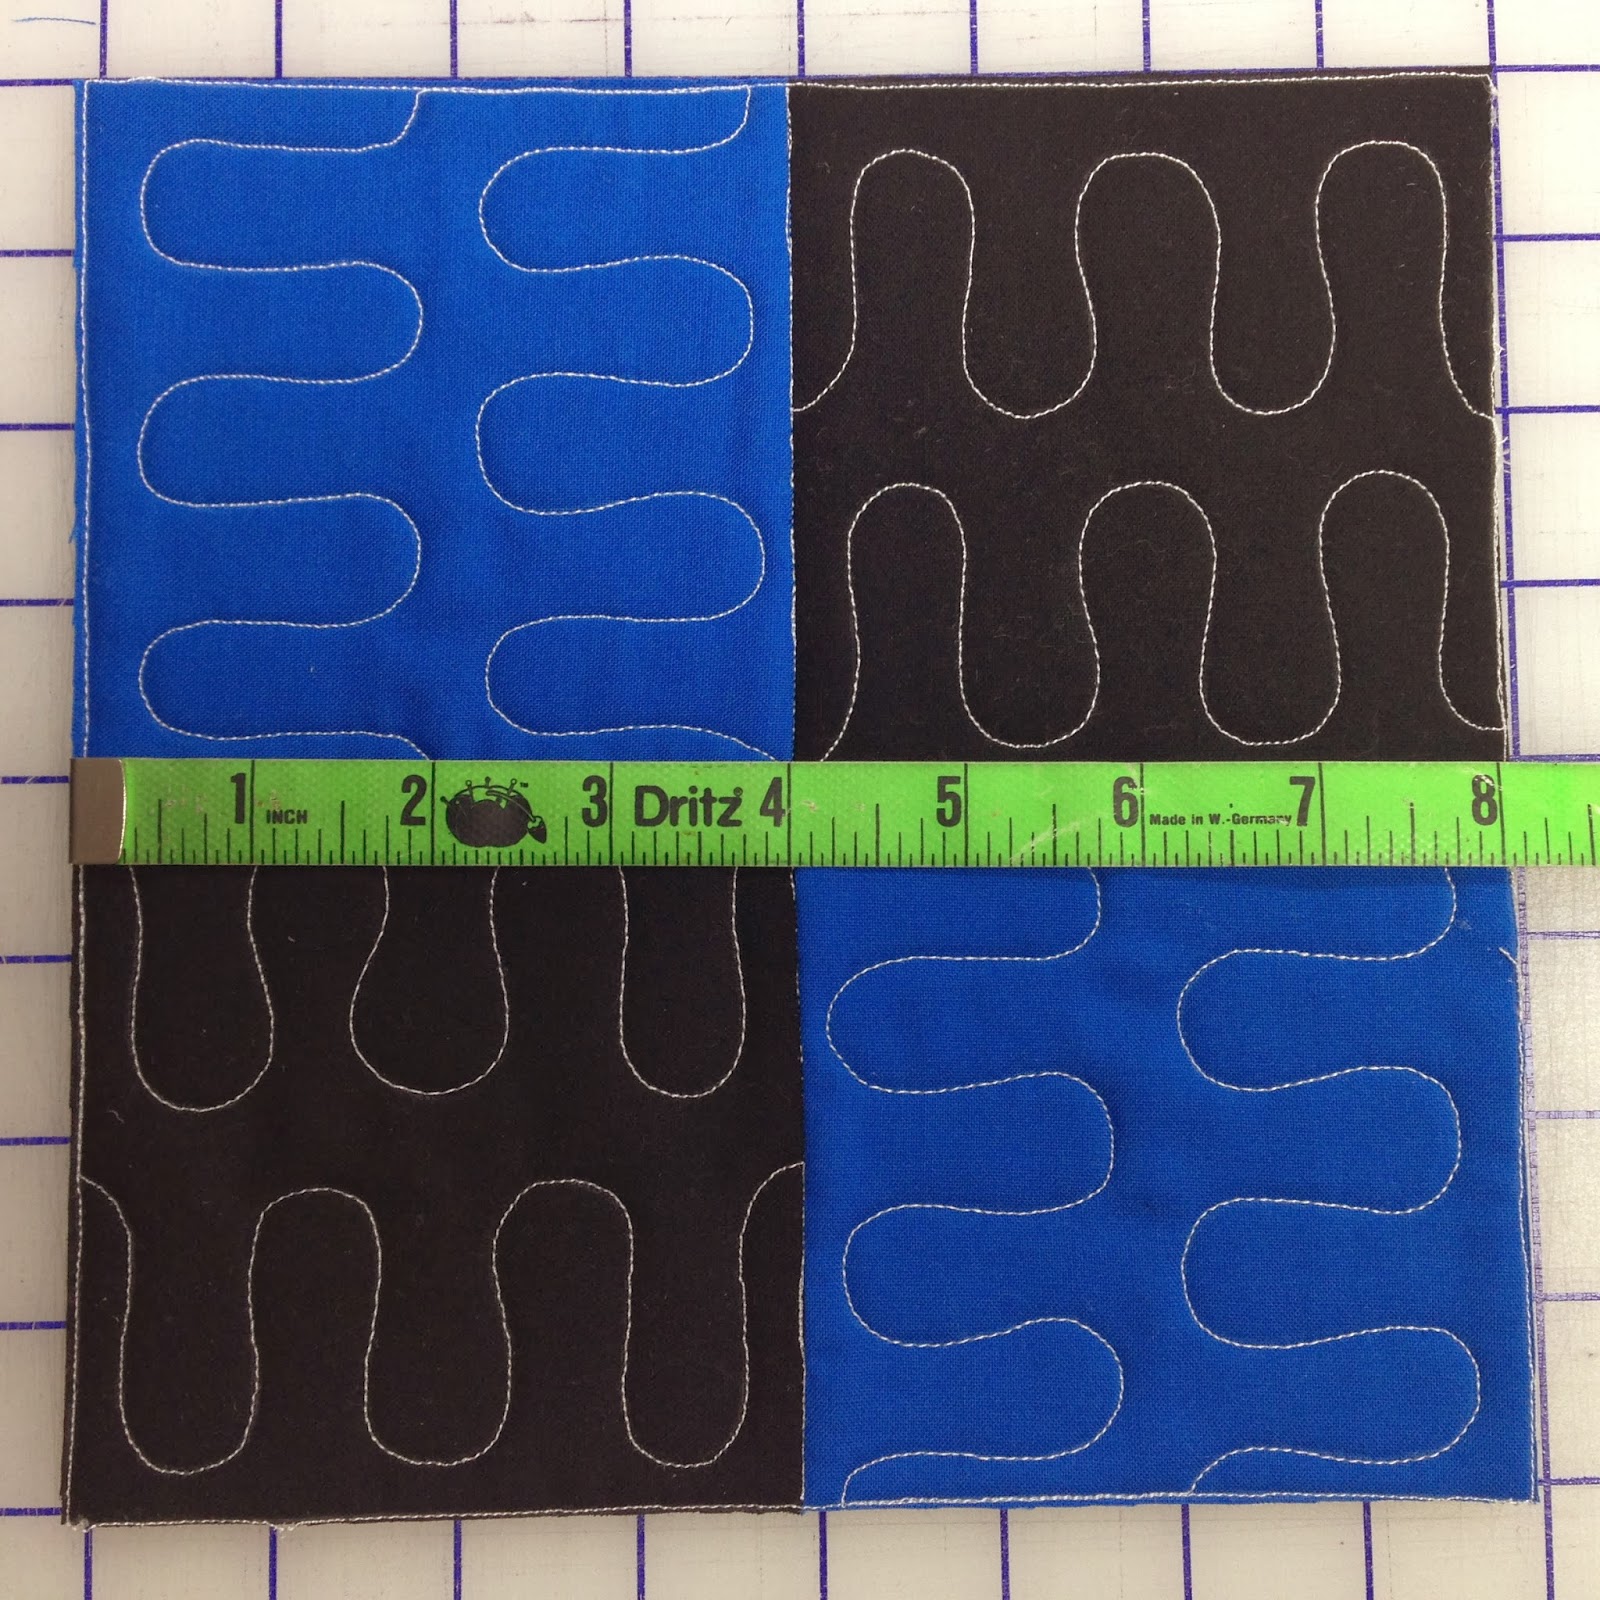
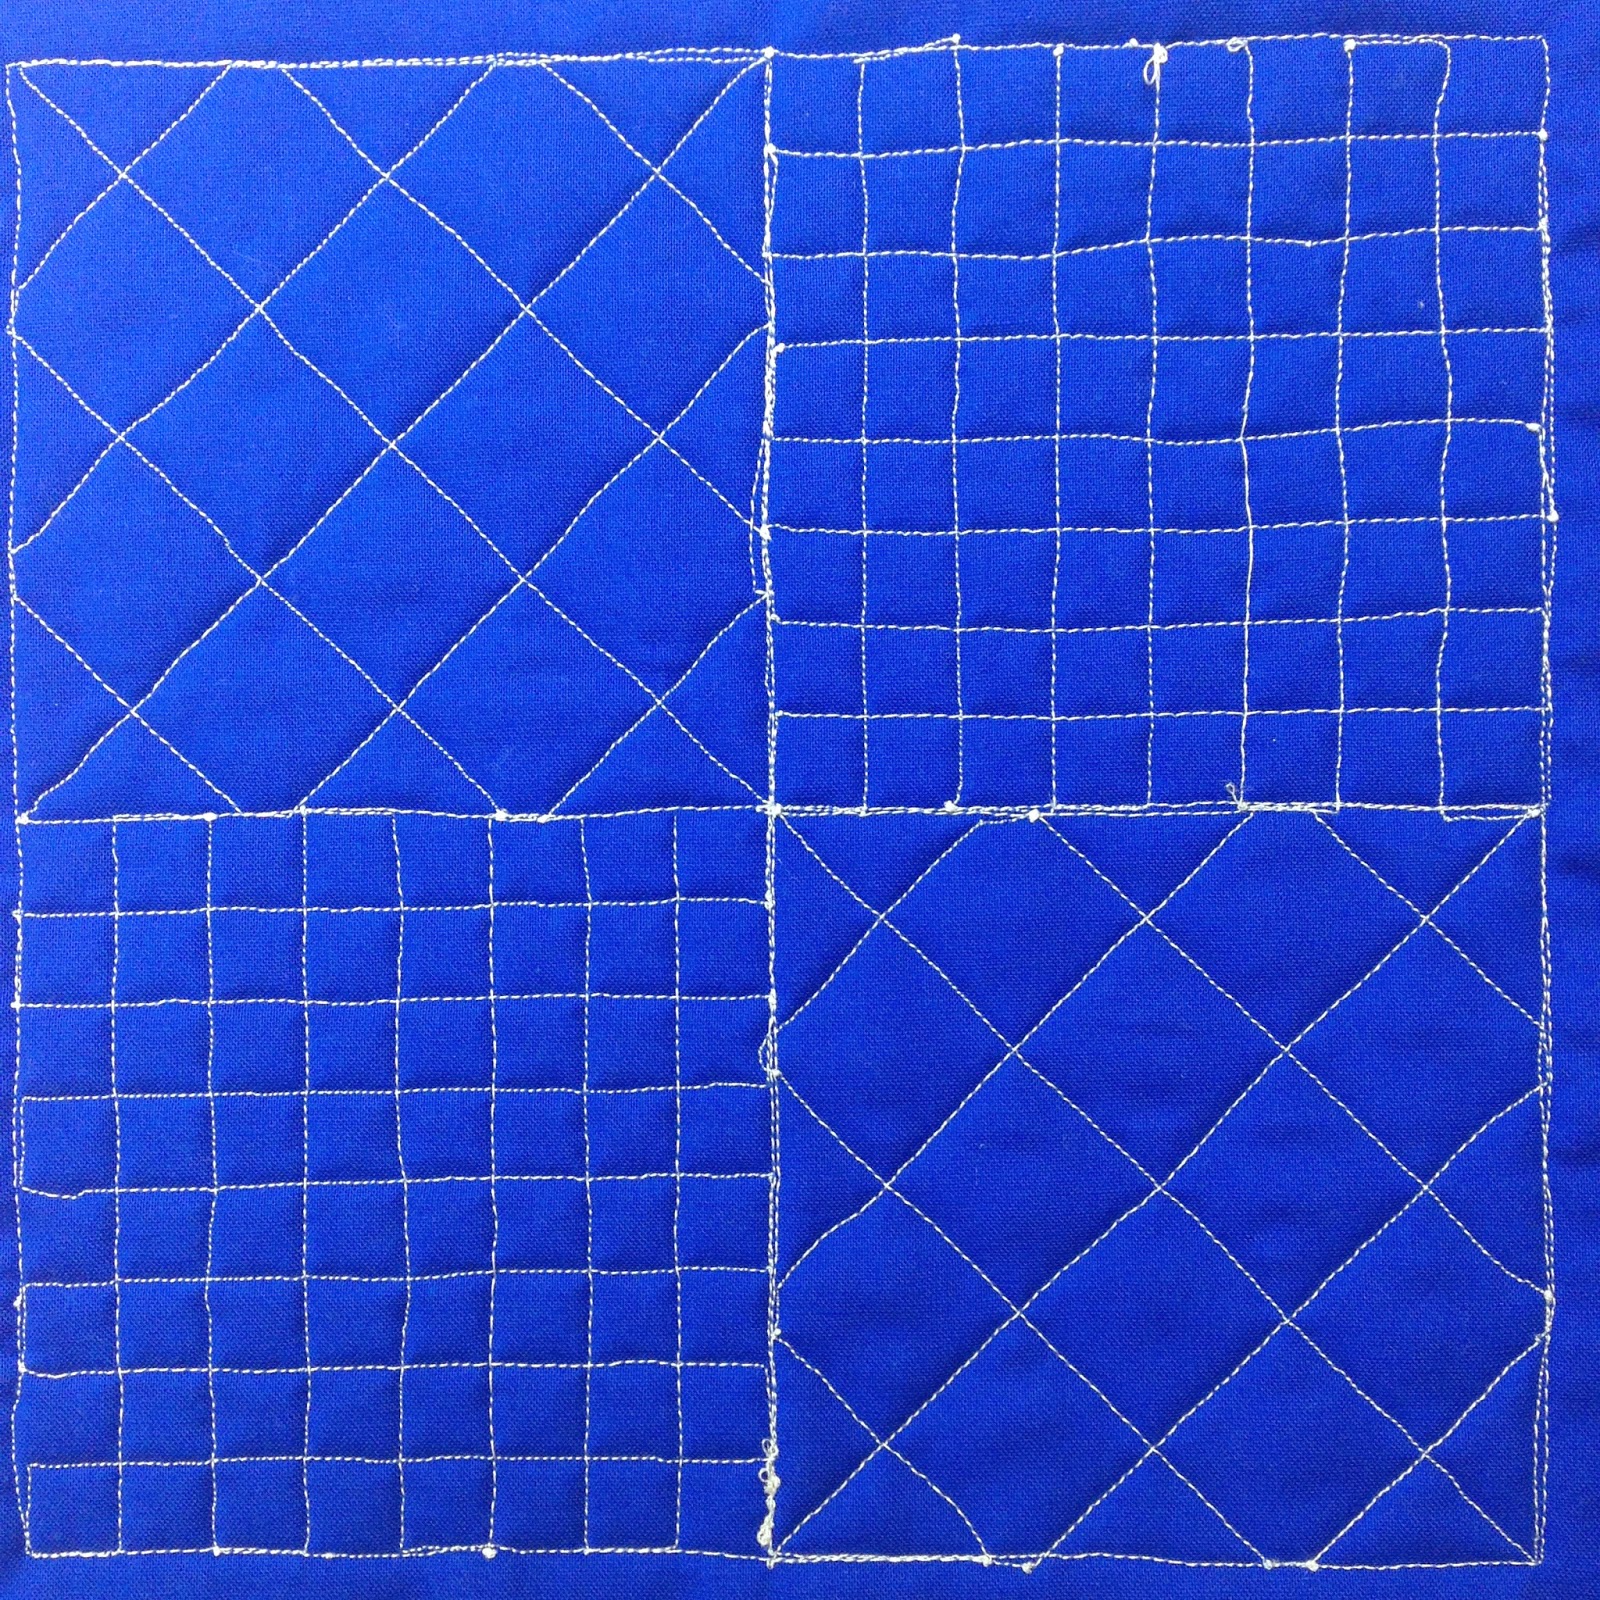
#2 – All blocks will be quilted to 8 inches.
All 42 full size quilting guides included in the Building Blocks Quilt Pattern should measure exactly 8 inches square.
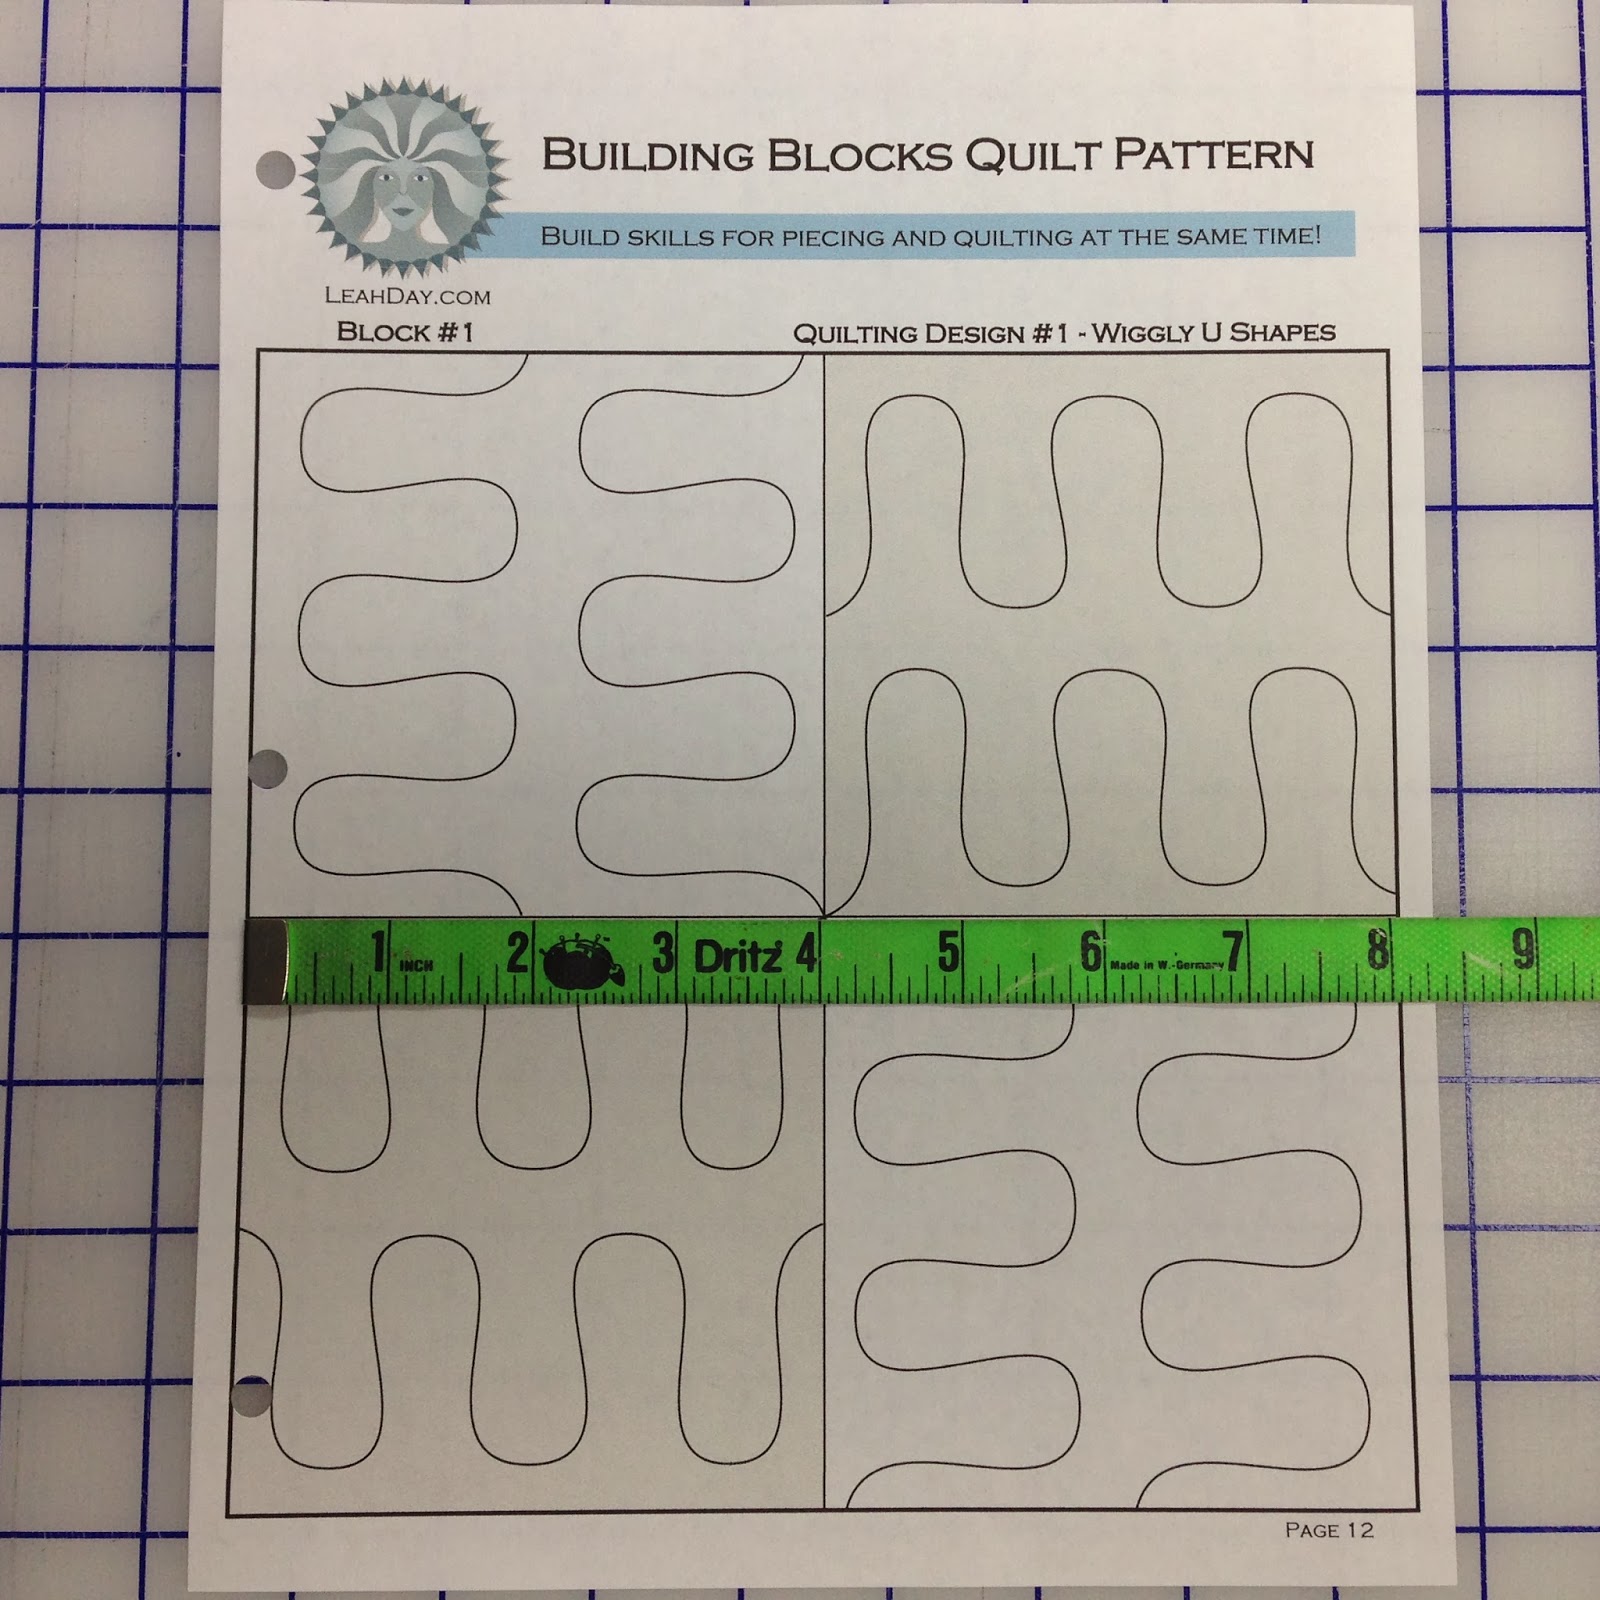
Many quilters are reporting guides measuring 7 3/4 inches. This means when you printed the document, your printer shrunk the pages slightly. You will need to print again, and this time select “actual size” in your printer dialog box.
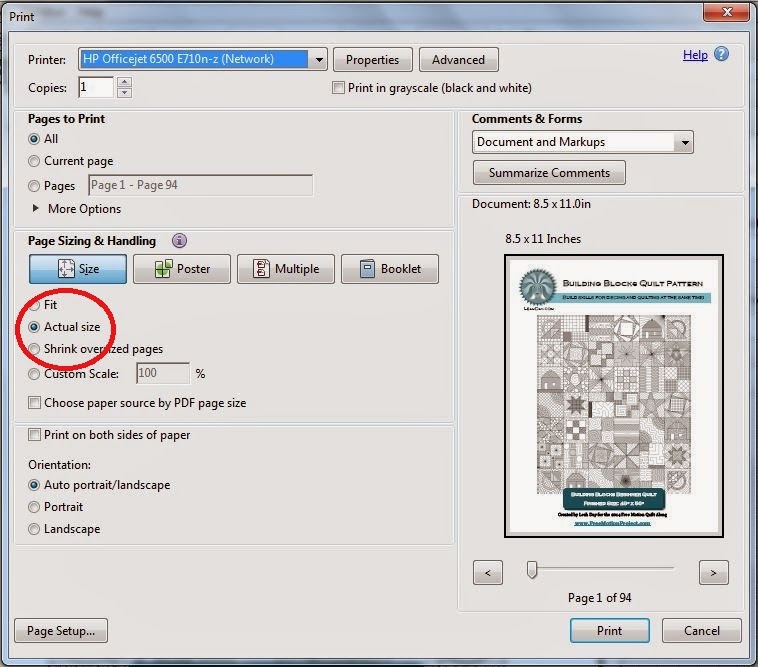
Just in case you don’t have it, Adobe Reader is the free program I’m using to open the PDF and print to the proper size.
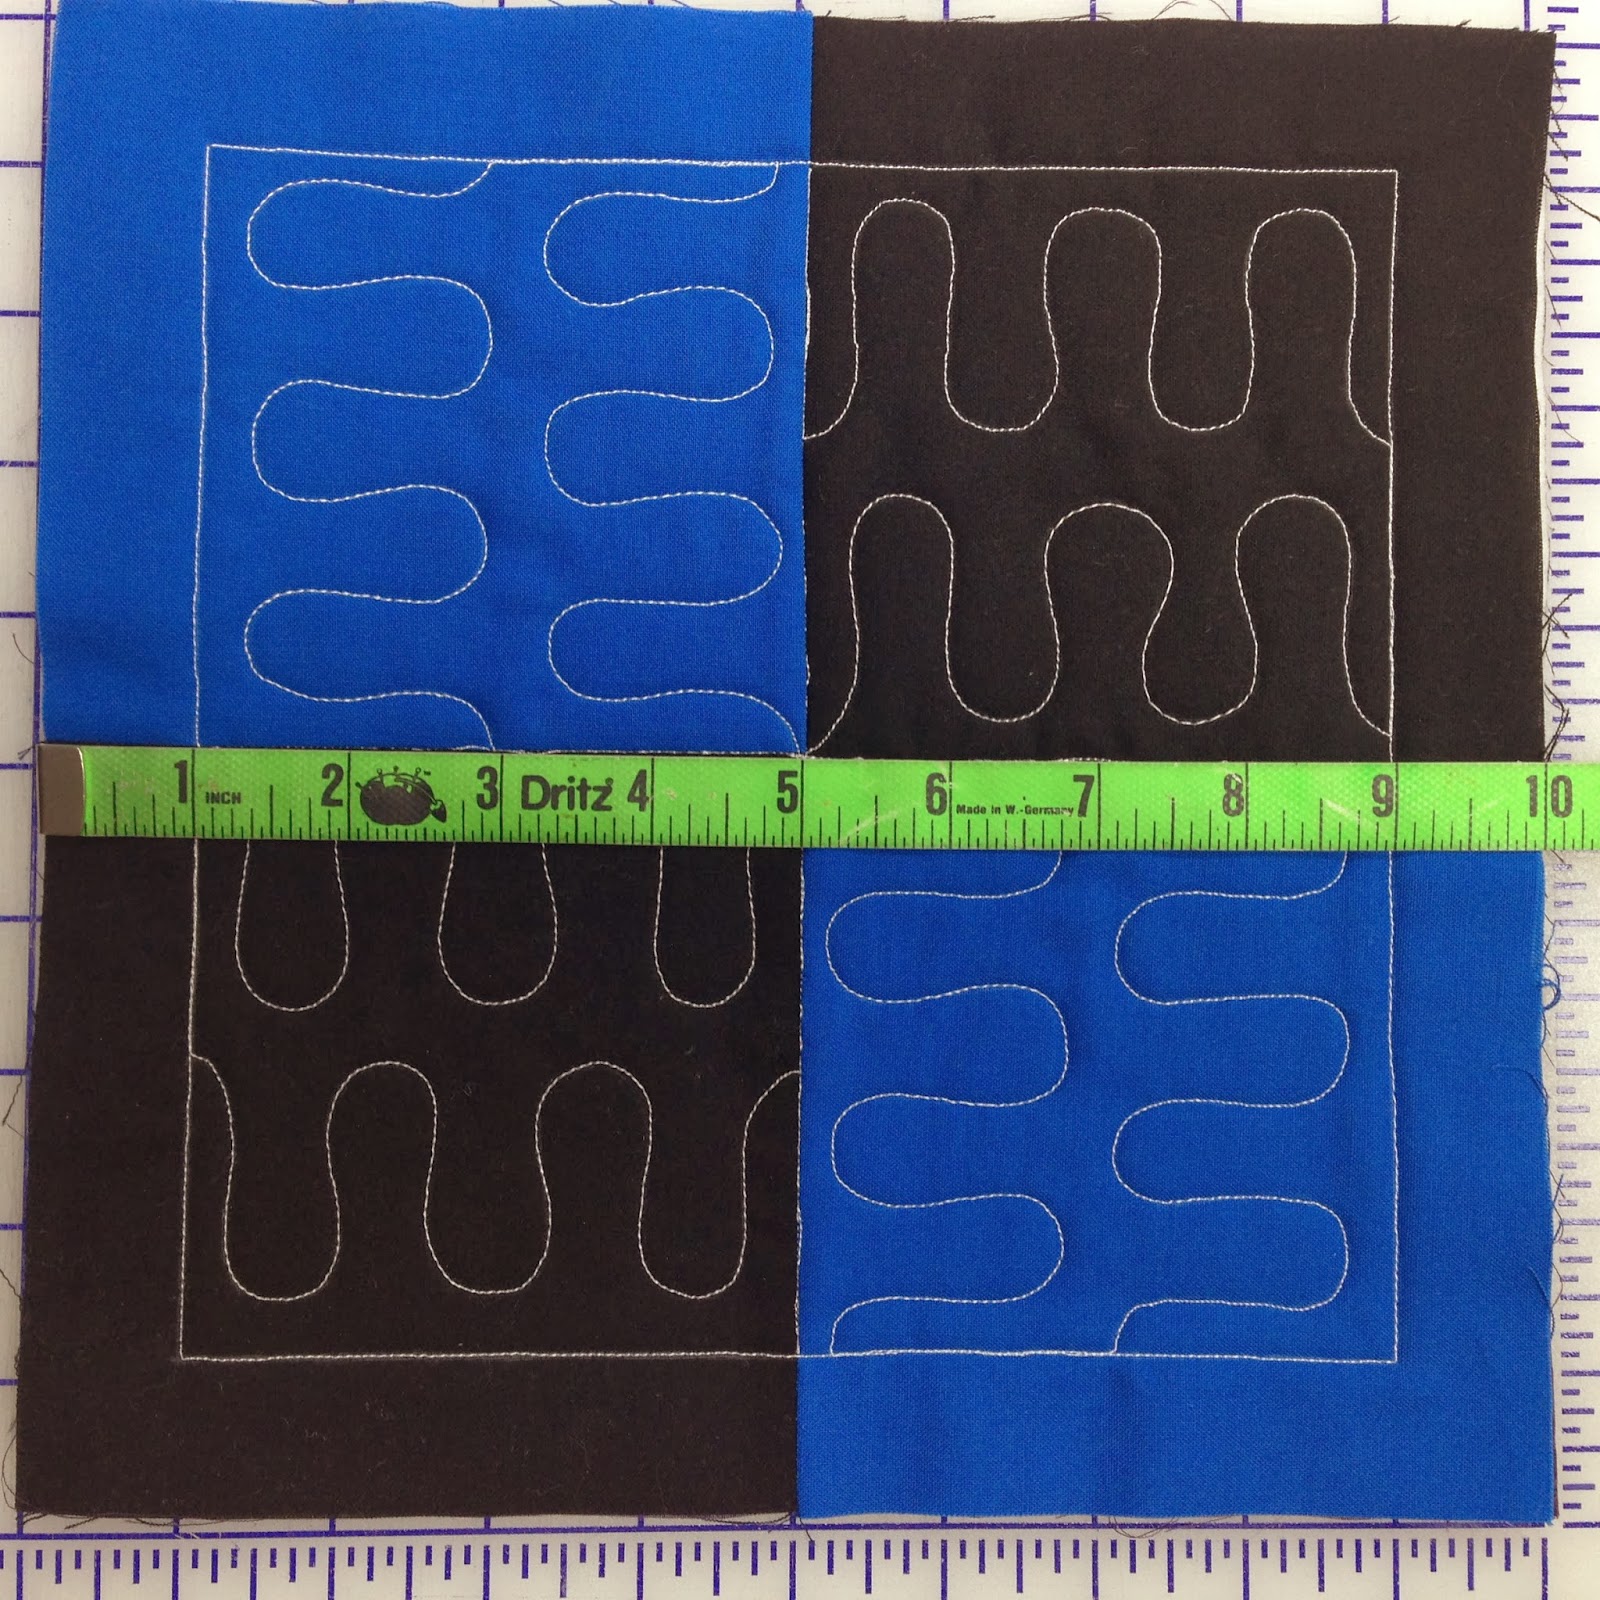
#3 – All blocks will be cut down to 8 inches.
In 11 months we will be finished with this project, and we will cut down all the blocks to 8 inches square. Yes, you may end up cutting through the outline of your block, but most likely the quilting will shrink your block enough to be within this 8 inch square.
 |
| The free motion quilting design shrunk the block by 1/8 inch all around |
Even if you trim through quilting lines, your block will be okay! We are about to secure all those lines of stitching and the edges of the block with the next step.
#4 – All blocks will be connected together using a binding Quilt As You Go Method.
This method uses 1 inch strip on the back of the block and a folded 1.5″ strip on the front.
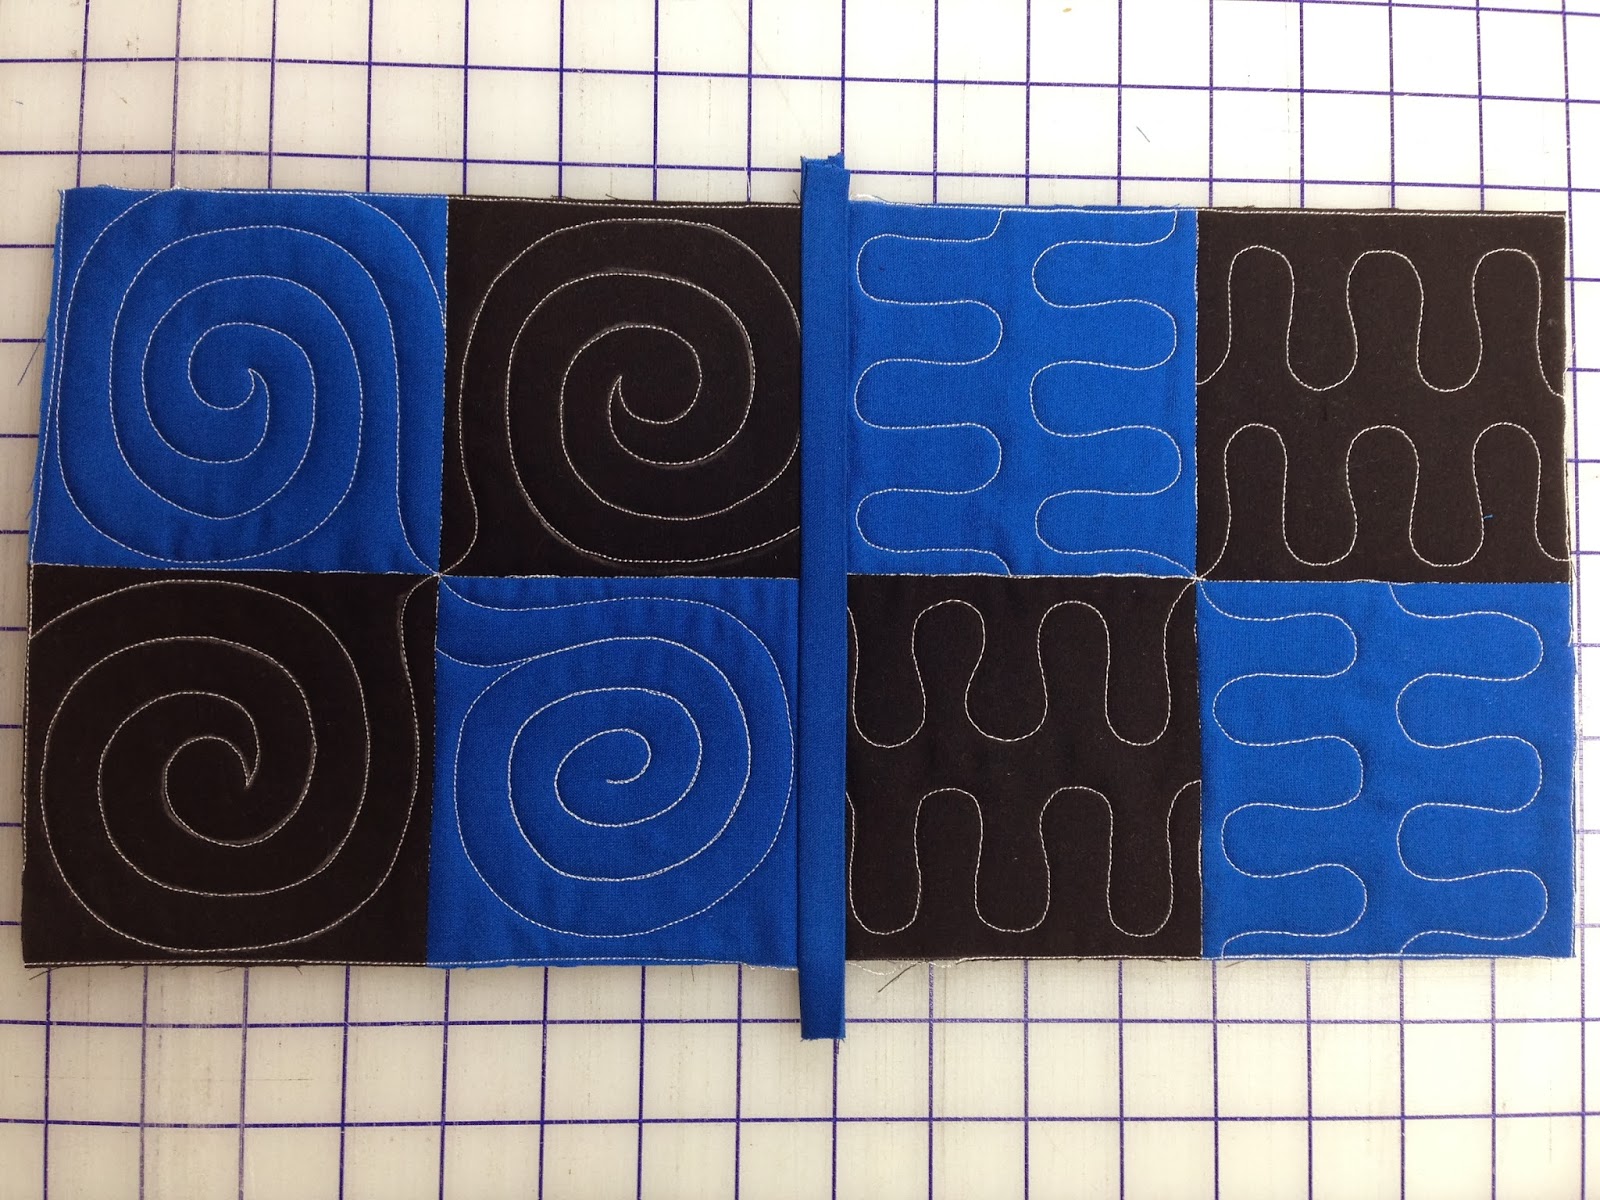
When completed correctly, you will have a 1/2″ strip of binding showing on the front and back between the blocks.
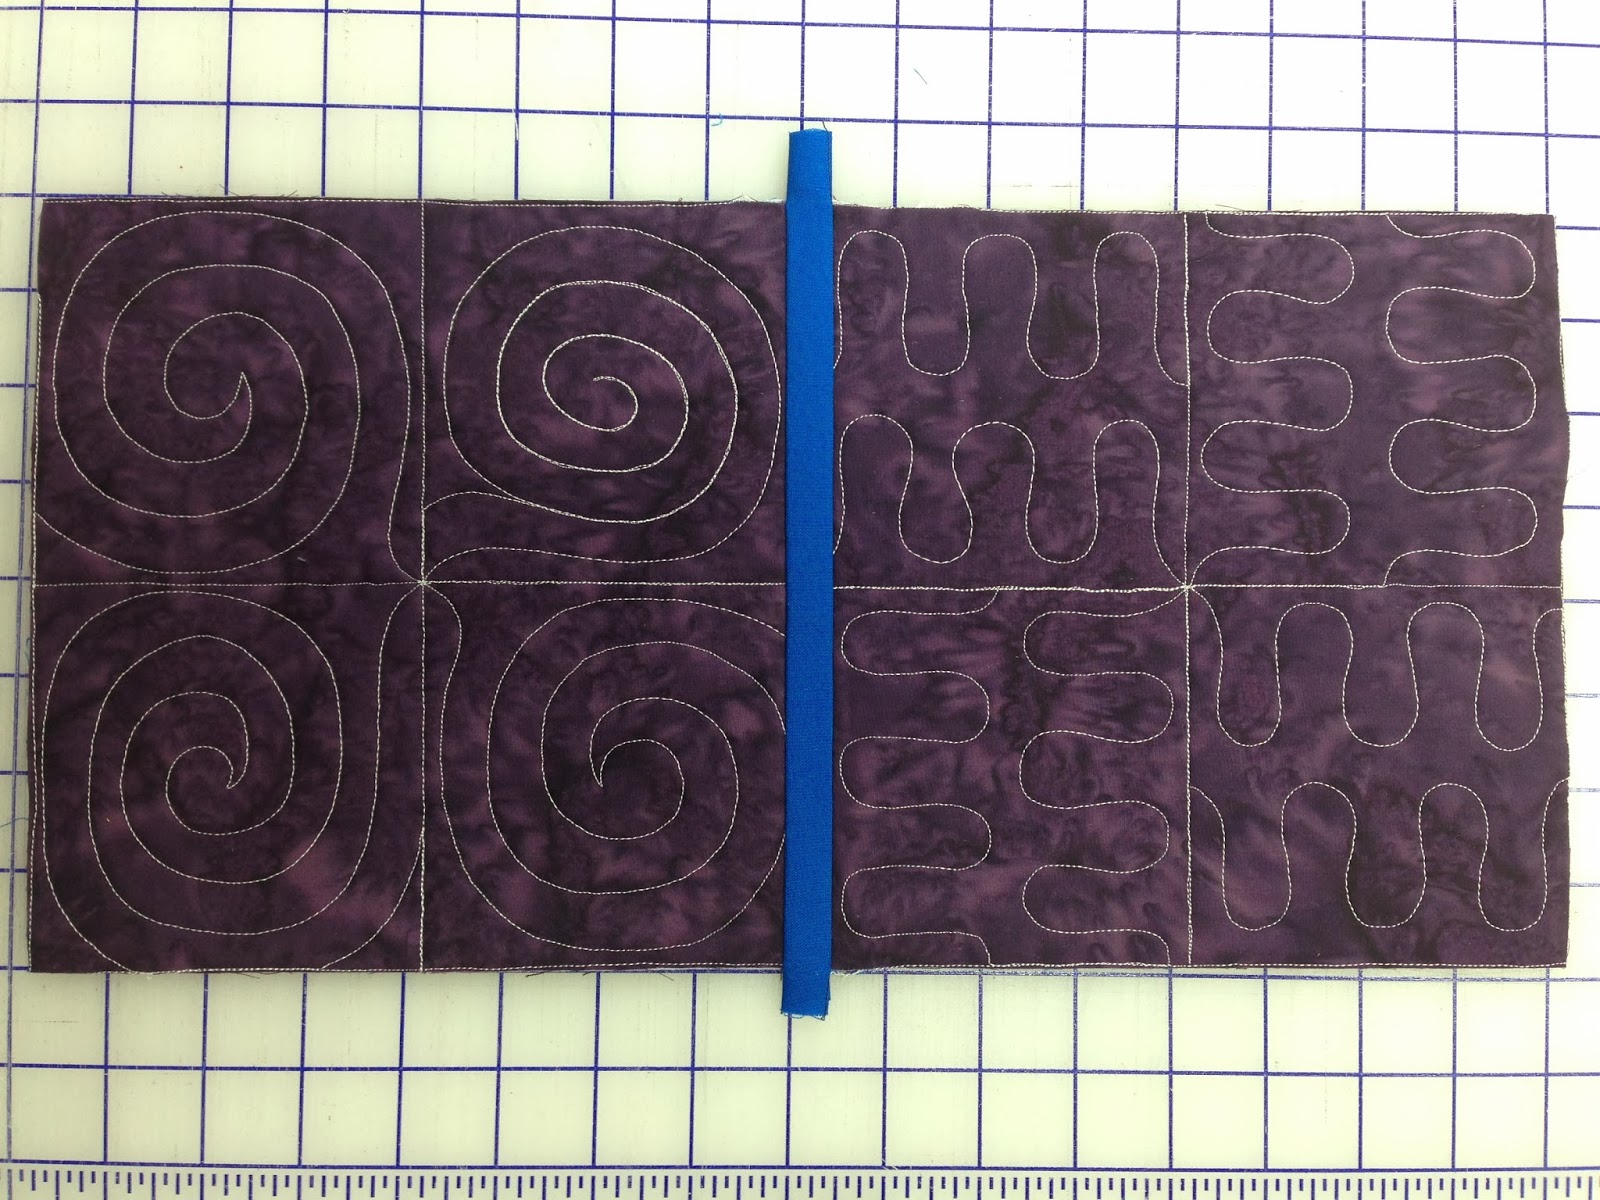
This binding strip will cover the edges of the block by 1/4″
YES, this binding WILL overlap your quilting by 1/4 inch. I’m repeating it because I want to make it very clear. This isn’t a huge overlap, but it seems to be confusing a lot of quilters.
I designed the pattern this way because:
 |
| This is the back of Josh’s next block. All of the thread knots along the edges will be hidden by the binding at the end. |
#1 – Most stitch issues happen around the edges. By binding this edge, you hide the issues!
#2 – Most thread breaks to start and stop quilting will likely happen around the edges. By overlapping this area, you are securing the stitching to ensure it does not come out with wash and wear.
#3 – Quilting shrinks the size of the blocks. If we cut the blocks a bigger size (let’s say 9 inches), you should theoretically have 1/2 inch unquilted all around, which will be 1/4 inch after the binding is in place.
The problem is it never works out perfectly! Some blocks will shrink more than others and you may have situations where that 1/4 inch unquilted space grows and shrinks quite noticeably along the edge of the binding.
I made the decision in the design process to eliminate this space and trim right to the quilted edges of the blocks simply to reduce the likelihood of very noticeable stitch issues and hopefully make the process easier for beginners.
I want you to #1 have the greatest chance of success with this project, #2 have the greatest ability to hide mistakes that make you uncomfortable, and #3 be proud of your work!
But if you absolutely hate this idea of covering up the edges of the block and overlapping with binding, by all means, please feel free to cut your blocks bigger and bind with an open space between the quilting and the binding.
As with my Craftsy classes, if you pursue your own design or whim with the pattern, you’re on your own as it is beyond the scope of this quilt along (and my brain space) to calculate binding for a different block size.
The choice is yours, but the pattern is now explained! It will be many, many months before we need to worry about connecting these blocks together, so between now and then let’s piece and quilt and be merry!
Let’s go quilt,
Leah Day
Thank you– This answers many questions!
Thank you! This answers many questions.
Thank you, Leah! Have a nice day!
Thank you for posting this detail Leah. Very clear, easy to follow!
Thank you Leah, I hadnt given it any concern, I trust that it will look great and work out fine, I've seen your finished quilt and its fab, plus you have lots of experience with fmq and craftsy too. I am so pleased to have found you and thanks to you and your relaxed approach I have developed so much skill already. Hope you have had a great weekend!