4. Quilt a 4 Patch with Spirals
I’ve also seen and heard a lot of self criticism too, and this is something that I struggle with myself. It’s like there’s a little monster in the back of your mind that focuses only on the single missed stitch in the block, but ignores all the great stitching everywhere else.
It’s easy to say “Don’t listen to that negative inner critic.” It’s something else to actually not listen to it and resist the urge to begin beating yourself to a pulp for all your imperfection. Recently I learned a cool technique for controlling the thoughts in my head, and since it might help some of you, I’ve posted it here:
1. First I listen to hear the thought clearly. Sometimes this voice can come in like background noise or a whisper in the night. “You know, you’re really not that good. You should just stop trying. Why bother?”
2. After acknowledging that a negative voice is present, I imagine my brain is a stage and that voice is an actor in the back of the stage ruining the performance. There’s lots of other actors present – voices that are reminding me of what I need to do today, voices that are positive and uplifting, voices that are kind and forgiving. But that negative inner critic is a real slime ball and he’s ruining the whole show!
3. So then I call in my stage director. I imagine her to me a small, feisty woman with a clip board who’s in charge of the show. I imagine her spotting the inner critic and screaming at the top of her voice “GET THE HELL OFF MY STAGE! OUT! OUT! GET OUT!” The negative critic cringes away from this onslaught and is kicked off the stage in disgrace.
I don’t know about you, but that mental image really helps kick my inner critic off the stage of my mind. It also makes me feel very in control of my thoughts, and it makes me smile – and I think turning it into a funny show is why this has helped me so much. Turning that kind of depressing negativity into light humor is a very powerful trick indeed.
This kind of thing might seem silly, or pointless, in the face of the negativity you’re under. Trust me, I’ve been there, and I still struggle with it myself! If this mental picture doesn’t work for you, find a picture that does work, and put yourself in control of what is going on in your head.
The point here is simple: You Are In Control.
We just sometimes need a reminder that we can kick that negativity to the curb!
Whew! So that was an interesting start to this post, but it’s quite timely because we’re learning spirals today:
Spirals can be tricky. They are definitely easier to quilt on a marked line than free hand, at least until you get some practice with it.
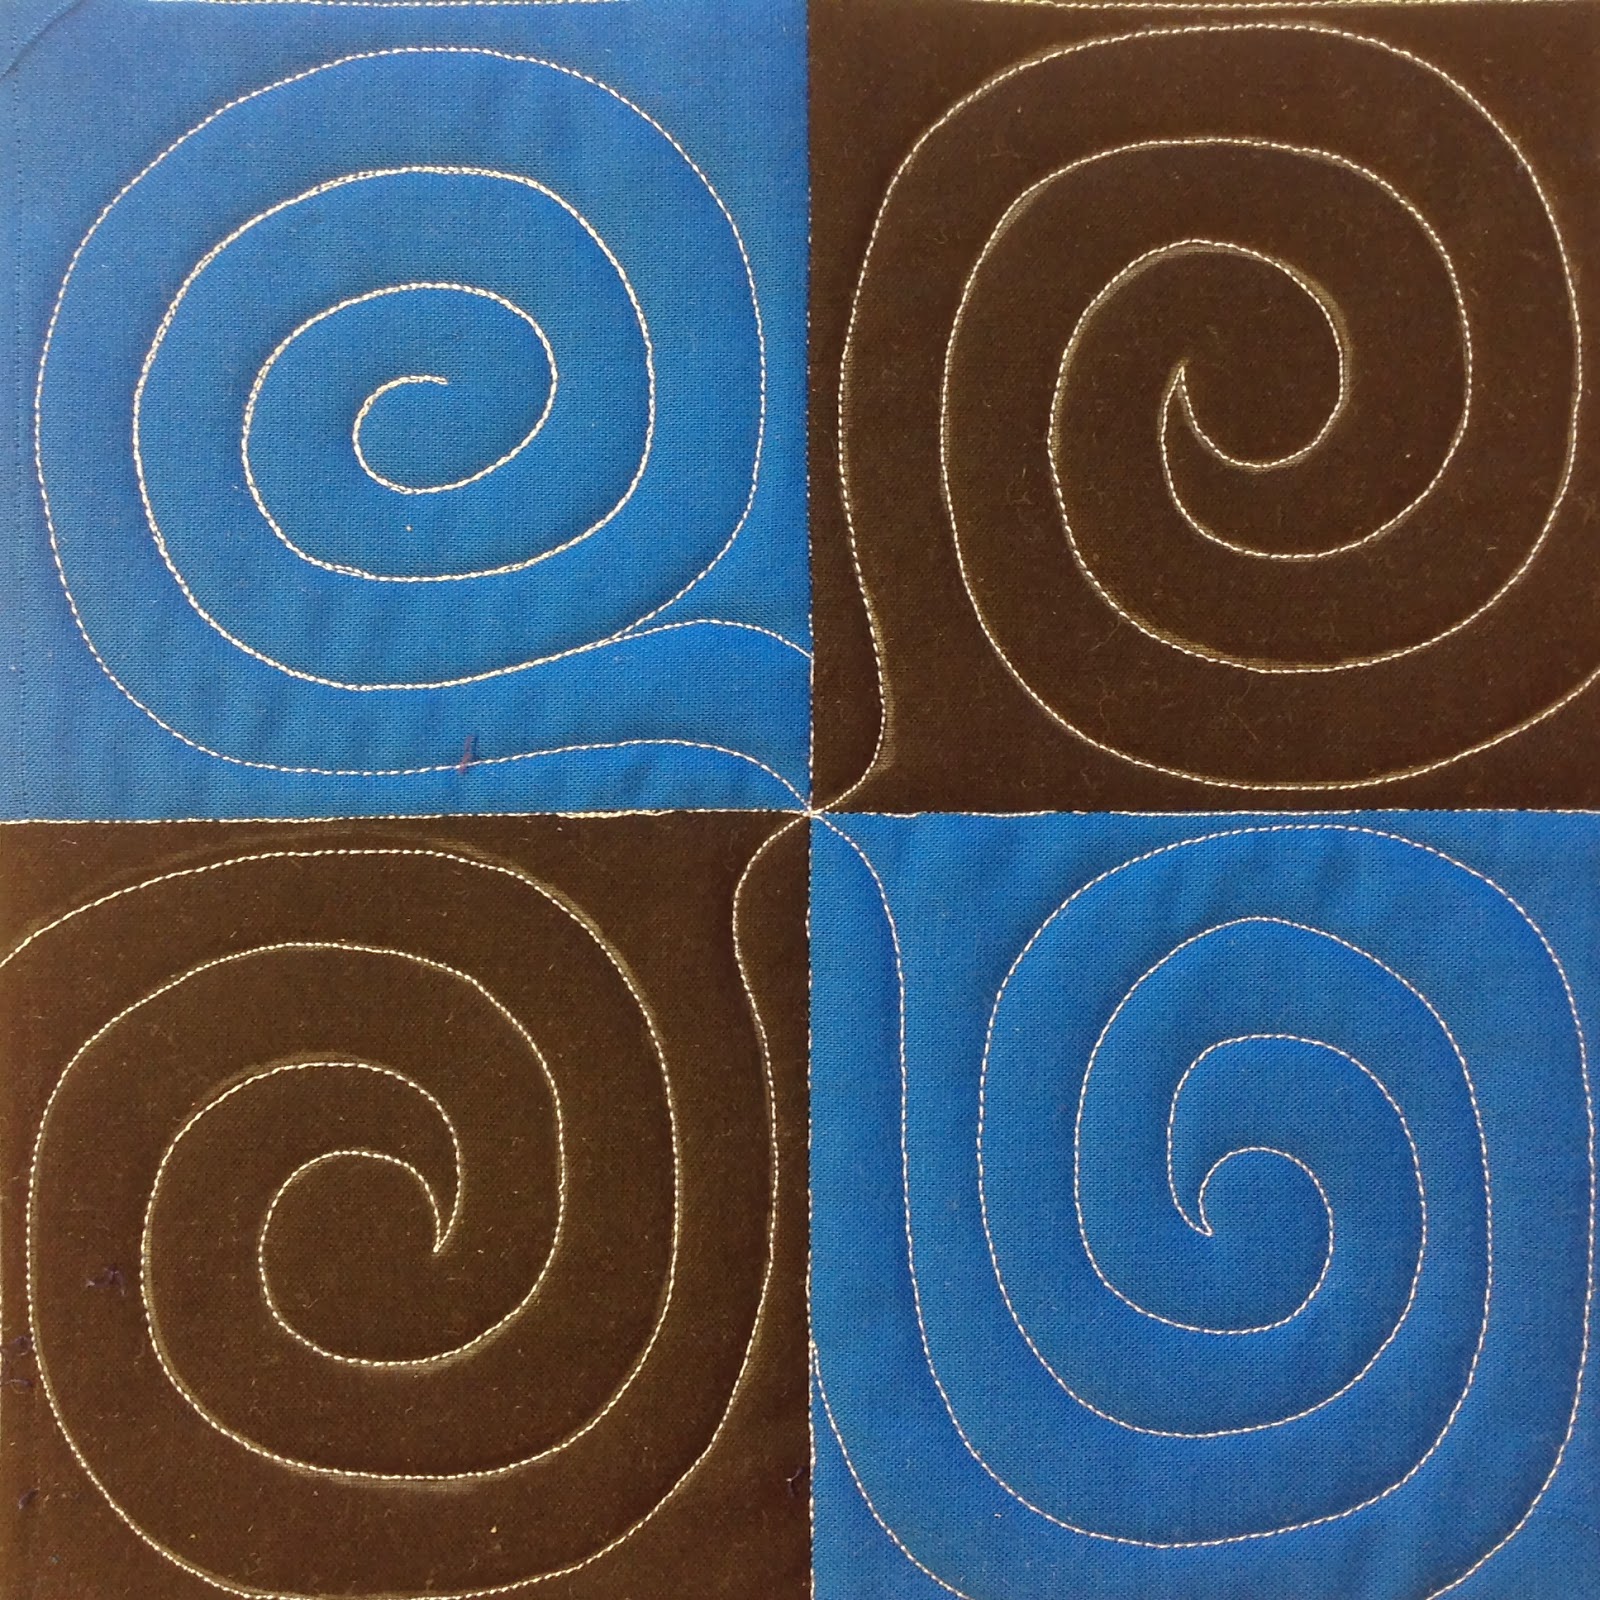
Just to illustrate this point, I marked the black squares for this block, but didn’t mark the blue squares. See how they’re a little different? This is the main difference with quilting on a line verses free hand quilting – you’re going to end up with a slightly different design and it might not be as perfect looking as the marked design.
I also simulated a mistake that’s very easy to make with spirals, so make sure to watch the video so you catch all the details for this design:
 Just in case you haven’t picked one up yet, you can find Building Blocks Quilt Pattern right here in Print Format and in Downloadable PDF Format which includes the piecing and quilting guides for all 42 blocks in this series.
NEW! This block design is now available in a quilting stencil from Quilting Creations International. Use the stencil to easily mark the design on plain fabric, your block, or another fun quilt you’re working on! Click here to find the 8 inch stencil compatible with the Building Blocks Quilt.
Just a bit of a recap:
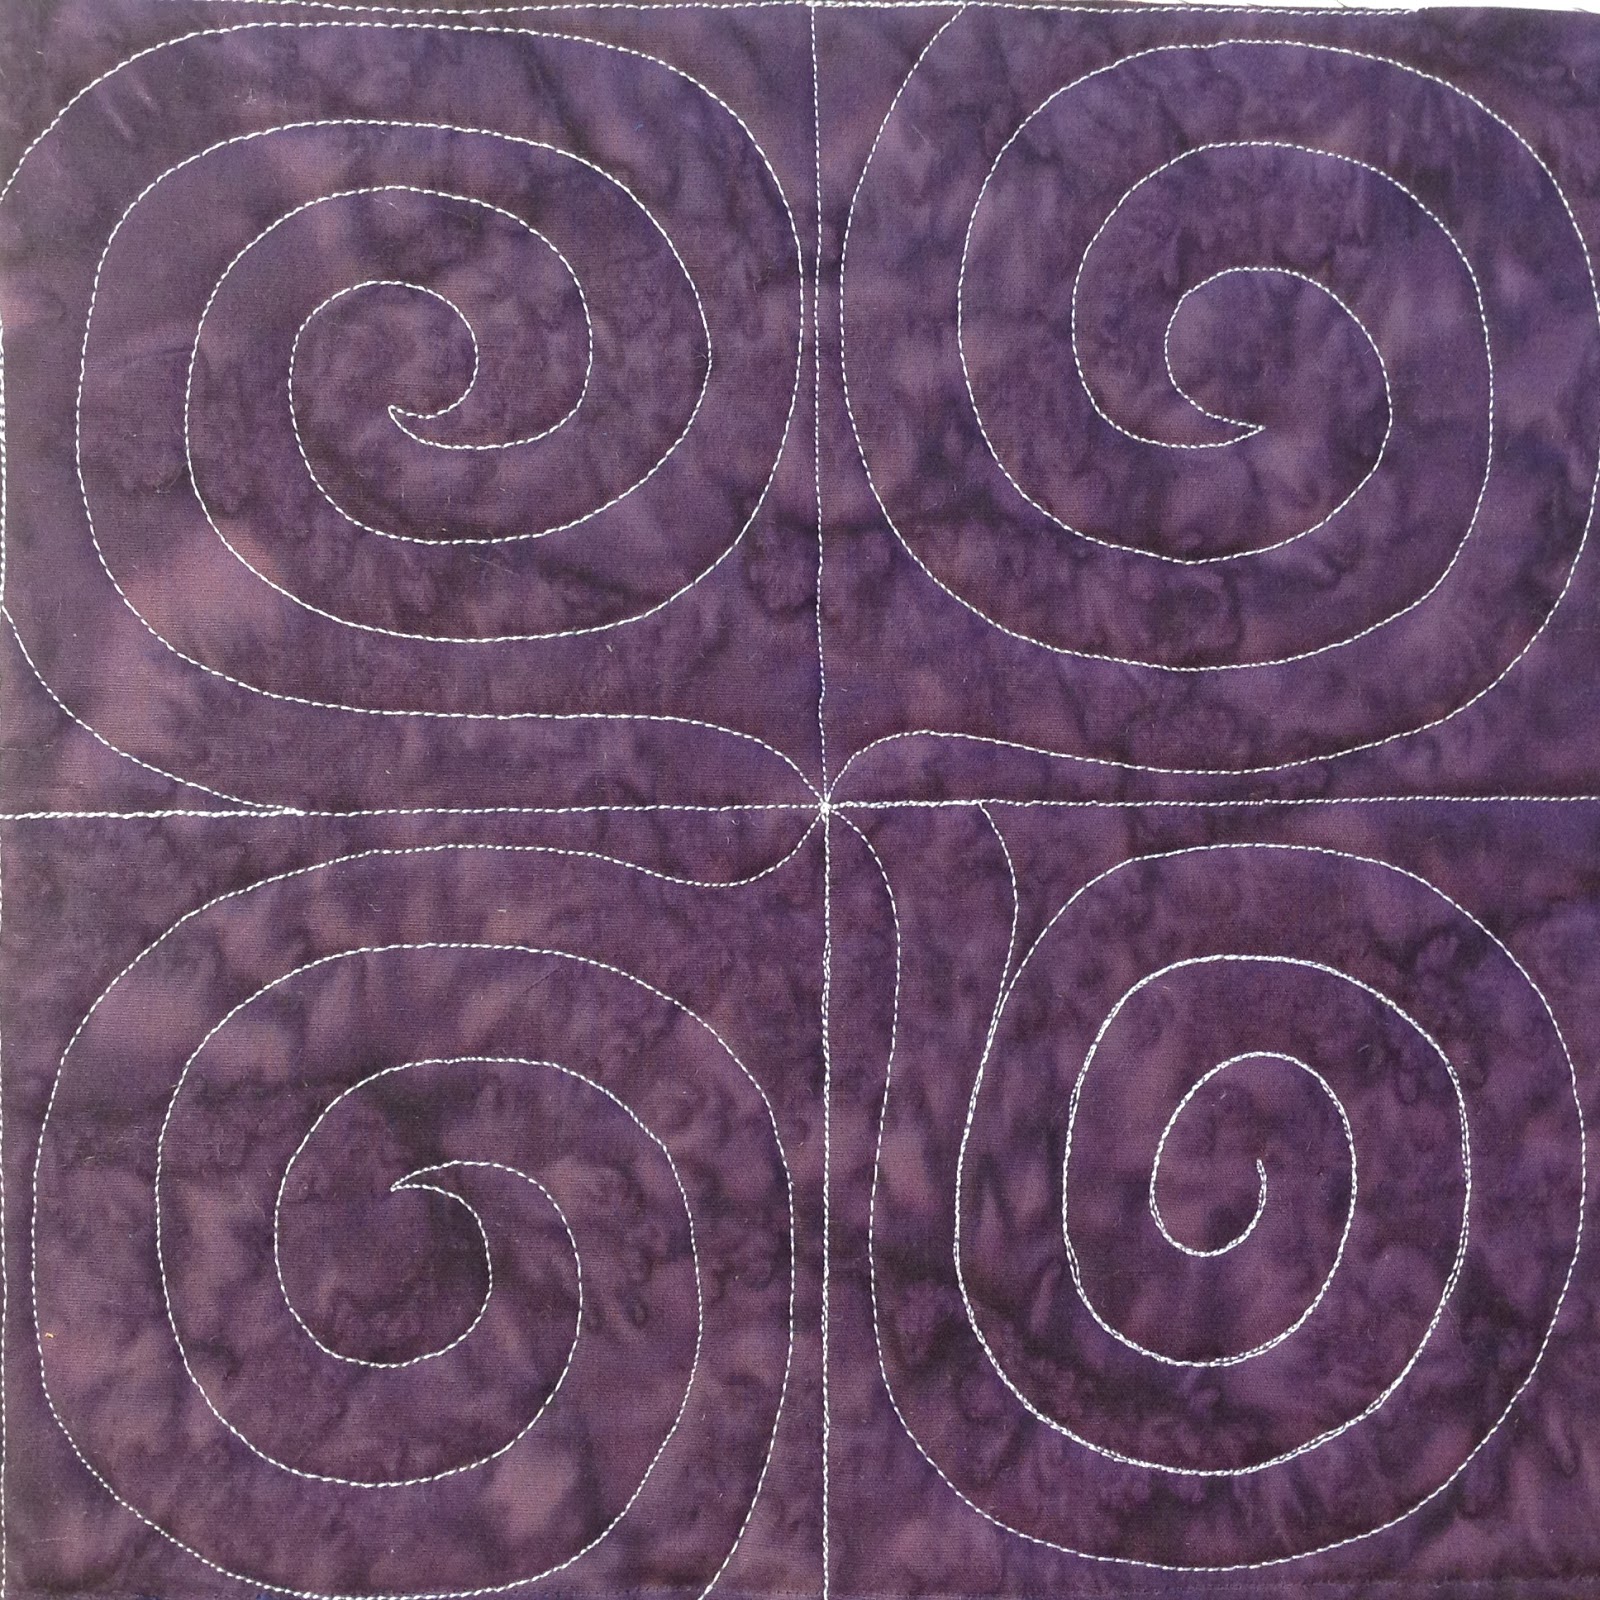
An open spiral is literally open – you stitch inside the spiral leaving an open space to stitch back out of. There’s no travel stitching involved, but you do need to be able to visually estimate your space to work into and out of the shape smoothly.
A closed spiral is locked up – you fill in the entire space as you stitch into the center of the spiral and travel stitch back out. The travel stitching is time consuming, but beautiful because it adds an extra layer of thread to the surface of your quilt. Notice how the spiral in the lower right corner appears slightly bolder, with the white thread standing out more? The only difference is the travel stitching!
Understand that there are two ways to stitch spirals and both look beautiful! There’s no right or wrong way to stitch this design, and even my slightly funny block is still going to fit perfectly into my finished quilt.
So have fun with Spirals this week and remember to pop back over for Josh’s video on this design tomorrow!
Let’s go quilt,
Leah Day


I have also noticed a lot of people being super hard on themselves. We all need to remember we do this for fun and because we like it. Relax and enjoy! I seem to have a different perspective than many I see on the FB group. I am basically a beginner at sewing. I thought this would basically be a trainwreck and I'm really pleasantly surprised that it isn't as hard as I thought it would be. Sure, I make mistakes, but I'm doing it and thats how you learn! 🙂
Love that stage story…shall try this next time I stand there looking at my work cringing away. This can be so annoying and is really debilitating because it can lead to some kind of standstill at times. Would love to just go for it at times like other people do.
Yes! Ditto! As for me, I'm going to keep practicing. Some things don't work for me, some do. I try to evaluate it early enough so I can take it out if need be. I have to remember to check on a small scrap sandwich to see if my machine is cooperating and get into a rhythm.